I figured mini cheeseburger sliders were just smaller versions of regular burgers — less bun, less patty, less hassle. It took about one game-day party for that assumption to fall apart completely.
The first batch I made back in college was a disaster of dry meat, soggy buns, and cheese that slid off like it had somewhere better to be. I remember standing in my tiny kitchen, staring at a tray of sad little sliders while the game blared in the other room, wondering how something so simple could go so wrong. That night, I learned a hard truth: sliders aren’t just burgers that got shrunk in the wash. They need their own approach — different ratios, different cooking methods, a whole different mindset.
Fast forward a few years and a dozen failed attempts later, and these best mini cheeseburger sliders have become my game-day signature. The trick? It’s all about the bun-to-patty ratio (you want a bit more meat than you think), a special sauce that ties everything together, and a baking method that keeps the buns toasty without turning them into croutons. Honestly, once I figured out the sweet spot, these sliders became the thing people text me about before the big game.
So here’s the version that finally worked — the one that disappears in minutes and makes you look like you actually know what you’re doing in the kitchen.
Why You’ll Love This Recipe
These aren’t your average party sliders. After testing this recipe at tailgates, Super Bowl parties, and casual Sunday gatherings, I can tell you exactly why they keep getting requested:
- Ready in Under 30 Minutes — From start to finish, you’re looking at about 25 minutes. That’s less time than it takes to find parking at the stadium.
- Simple Ingredients, Big Flavor — Ground beef, slider buns, cheese, and a handful of pantry staples. No fancy grocery store trips required.
- Perfect for Game Day — These hold up well on a buffet table, they’re easy to eat standing up, and they don’t require forks or plates if you’re smart about napkins.
- Crowd-Pleaser Status — I’ve watched grown men argue over the last slider. Kids love them. Picky eaters love them. They’re basically universal currency at any gathering.
- Unbelievably Juicy — The secret is in how you season and cook the meat. No dry, crumbly patties here — just tender, flavorful sliders that actually taste like something.
What makes these different from every other slider recipe out there? It’s the combination of a slightly sweet Hawaiian roll bun, a perfectly seasoned thin patty, and a tangy special sauce that cuts through the richness. I’ve tweaked the seasoning blend over probably fifteen batches until the flavors balanced just right — not too salty, not too bland, with just enough Worcestershire to make you wonder what that little something extra is.
This is comfort food that actually works for a crowd. No stress, no complicated techniques, just really good sliders that make people happy.
What Ingredients You Will Need
This recipe uses straightforward ingredients that come together for something way better than the sum of their parts. Here’s what you’ll need:
For the Patties:
- 1 ½ pounds ground beef (80/20 blend — the fat keeps them juicy)
- 1 teaspoon garlic powder
- 1 teaspoon onion powder
- 1 teaspoon salt
- ½ teaspoon black pepper
- 1 tablespoon Worcestershire sauce (adds that savory depth)
- 1 tablespoon olive oil (for cooking)
For the Sliders:
- 12 slider buns (Hawaiian sweet rolls are my go-to — the slight sweetness balances the savory meat perfectly)
- 6 slices cheddar cheese, cut in half (or use 12 small slices of your favorite cheese)
- 2 tablespoons butter, melted (for brushing the tops)
- 1 tablespoon sesame seeds (optional, but adds a nice touch)
For the Special Sauce:
- ½ cup mayonnaise
- 2 tablespoons ketchup
- 1 tablespoon yellow mustard
- 1 teaspoon pickle relish (sweet or dill — I prefer dill for tang)
- ½ teaspoon garlic powder
- ½ teaspoon smoked paprika
For Topping (optional but recommended):
- Pickle slices
- Shredded lettuce
- Thinly sliced red onion
- Tomato slices
I recommend using 80/20 ground beef here — the fat content keeps the sliders from drying out during cooking. If you go with leaner beef, you’ll need to be extra careful not to overcook them. For the buns, King’s Hawaiian rolls are my personal favorite because they’re soft, slightly sweet, and hold up well to the meat without falling apart. If you can’t find them, any soft slider bun will work — just avoid anything too dense or crusty.
For a gluten-free option, use gluten-free slider buns and double-check your Worcestershire sauce (some brands contain gluten). The special sauce can be made dairy-free by using vegan mayo.
Equipment Needed
Nothing fancy here — you probably already own everything you need:
- Large skillet or griddle — A cast-iron skillet works beautifully for getting a good sear on the patties
- Spatula — A thin metal spatula works best for flipping thin patties
- Baking sheet — For assembling and baking the sliders
- Small bowl — For mixing the special sauce
- Pastry brush — For brushing melted butter on the buns (a spoon works too)
- Knife and cutting board — For prepping toppings
- Meat thermometer — Optional but helpful for checking doneness
If you don’t have a griddle, a large non-stick skillet works just fine. You might need to cook the patties in two batches, which is totally fine. I’ve made these sliders with a basic skillet for years before upgrading to a flat-top griddle — both work, the griddle just lets you cook more at once.
Preparation Method
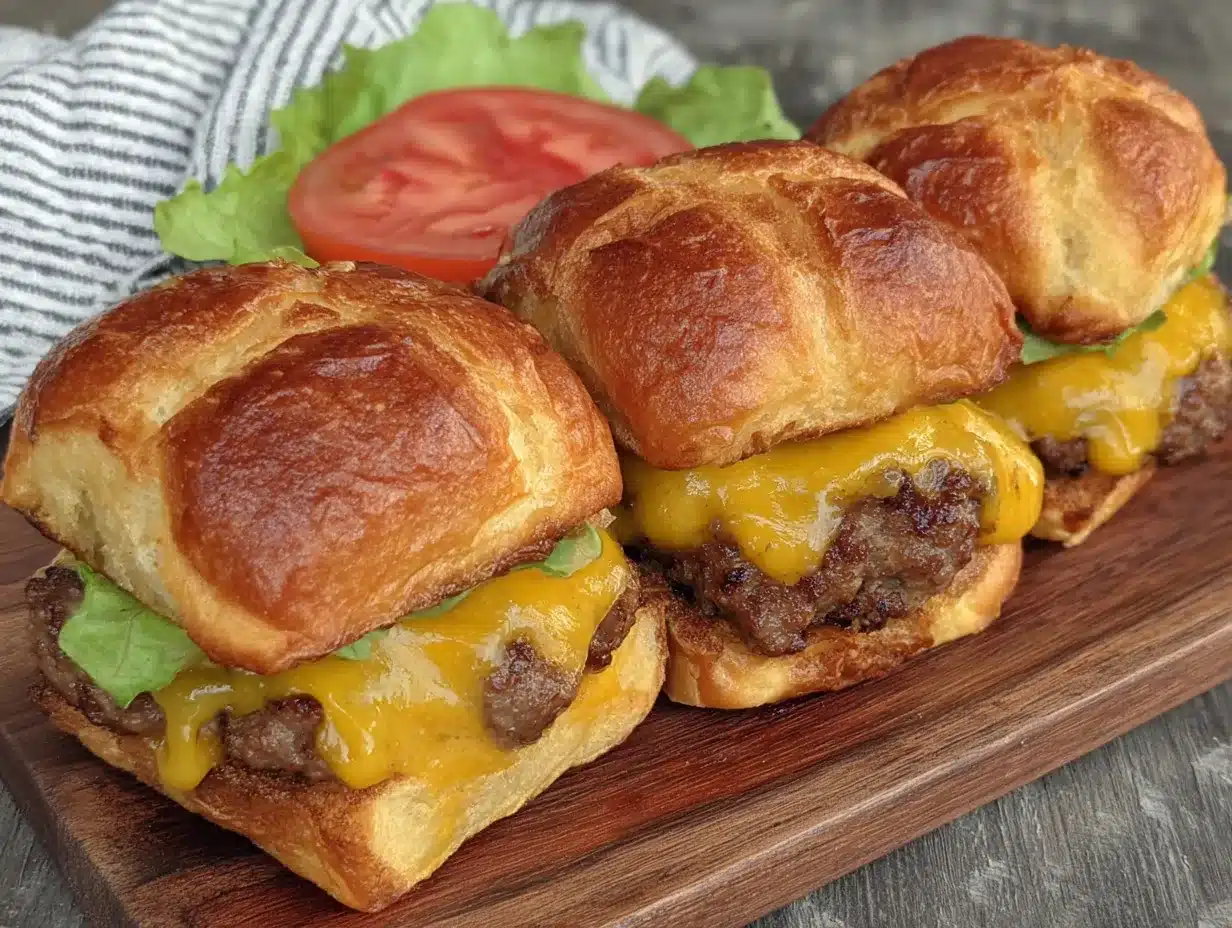
Step 1: Make the Special Sauce
In a small bowl, combine the mayonnaise, ketchup, yellow mustard, pickle relish, garlic powder, and smoked paprika. Stir until smooth. Set aside — this gets better as it sits, so making it first is ideal.
Step 2: Season the Beef
In a large bowl, combine the ground beef with garlic powder, onion powder, salt, pepper, and Worcestershire sauce. Mix gently with your hands until just combined — overmixing will make the patties tough. Divide the mixture into 12 equal portions (about 2 ounces each).
Step 3: Form the Patties
Shape each portion into a thin patty, about ¼-inch thick and slightly larger than your slider buns. The patties will shrink a bit during cooking, so making them a touch oversized ensures they’ll fit the buns perfectly. Press a small indent in the center of each patty with your thumb — this prevents them from puffing up into meatballs.
Step 4: Cook the Patties
Heat the olive oil in a large skillet or griddle over medium-high heat. Once the oil shimmers, add the patties in batches (don’t overcrowd the pan). Cook for 2-3 minutes per side for medium doneness. You’re looking for a nice brown crust on the outside while the inside stays juicy. If using a meat thermometer, aim for 160°F (71°C) for well-done. During the last minute of cooking, place a half-slice of cheese on each patty and cover the pan briefly to melt the cheese.
Step 5: Toast the Buns
While the patties cook, preheat your oven to 350°F (175°C). Slice the slider buns in half horizontally (keep them connected in a single slab if using Hawaiian rolls). Place the bottom halves on a baking sheet. Spread a thin layer of special sauce on the bottom buns.
Step 6: Assemble the Sliders
Place each cheesy patty on the sauced bottom buns. Add pickle slices, lettuce, onion, and tomato if using. Place the top buns on. Brush the tops with melted butter and sprinkle with sesame seeds.
Step 7: Bake to Perfection
Bake the assembled sliders for 5-7 minutes, until the buns are golden and the cheese is fully melted. This step is crucial — it warms everything through and melds the flavors together. Don’t skip it, even if the patties are already hot.
Step 8: Serve Immediately
Remove from the oven, let rest for 2 minutes (this helps the sliders hold together), then separate and serve warm. Watch them disappear.
Cooking Tips & Techniques
Here’s what I’ve learned from making these sliders more times than I can count:
- Don’t skip the indent. I learned this the hard way after making slider meatballs instead of slider patties. Pressing a small dent in the center of each patty keeps them flat during cooking.
- Let the pan get hot. A screaming-hot skillet gives you that beautiful brown crust. If the pan isn’t hot enough, the patties will steam instead of sear, and you’ll lose that flavor.
- Work in batches. Crowding the pan drops the temperature and leads to uneven cooking. Cook 4-6 patties at a time depending on your pan size.
- Toast the buns. I know it’s an extra step, but it makes a huge difference. Toasted buns hold up better to the juicy meat and sauce without getting soggy.
- Let them rest. Those 2 minutes after baking aren’t just for show. The sliders set up and become much easier to handle without falling apart.
One mistake I made early on was using lean ground beef to be “healthier.” The sliders came out dry and crumbly, and nobody ate them. Stick with 80/20 — the fat renders out during cooking and keeps everything moist. If you’re worried about grease, you can drain the patties on paper towels after cooking.
Variations & Adaptations
These sliders are endlessly customizable. Here are some variations I’ve tried and loved:
- Bacon Cheeseburger Sliders: Add a half-slice of crispy bacon to each slider before baking. Because bacon makes everything better.
- Spicy Jalapeño Sliders: Mix 1-2 tablespoons of chopped pickled jalapeños into the ground beef and top with pepper jack cheese instead of cheddar.
- BBQ Sliders: Swap the special sauce for your favorite BBQ sauce and add crispy fried onions on top.
- Turkey Sliders: Use ground turkey instead of beef. Add 1 tablespoon of olive oil and an extra tablespoon of Worcestershire sauce to keep the turkey moist.
- Vegetarian Option: Use plant-based ground meat substitute. Cook according to package directions, then follow the same assembly and baking steps.
I once made a batch with caramelized onions and blue cheese crumbles for a more grown-up crowd — they were a huge hit. Don’t be afraid to experiment based on what you have in the fridge.
If you’re planning a full game-day spread, these sliders pair perfectly with a batch of perfect pink champagne jello shots for a fun, festive touch. And if you’re in the mood for something sweet after all that savory goodness, these delicious cherry chocolate brownies make an excellent dessert option that’s just as easy to throw together.
Serving & Storage Suggestions
These sliders are best served warm, straight from the oven. Arrange them on a platter with extra special sauce on the side for dipping. I like to serve them with sweet potato fries, coleslaw, or a simple green salad to round out the meal.
For storage, place leftover sliders in an airtight container and refrigerate for up to 3 days. The buns will soften slightly, but the flavor will still be great. To reheat, wrap individual sliders in foil and warm in a 350°F (175°C) oven for 5-7 minutes. You can also microwave them, but the buns will be much softer.
These sliders freeze surprisingly well. Assemble them without the special sauce, wrap tightly in plastic wrap and foil, and freeze for up to 3 months. To serve, thaw overnight in the refrigerator, add the sauce, and bake as directed. The flavors actually meld together nicely during freezing.
One note: the special sauce will keep in the refrigerator for up to a week, so feel free to make extra. It’s also great on regular burgers, as a dip for fries, or spread on sandwiches.
Nutritional Information & Benefits
Per slider (based on 12 servings, with basic toppings):
- Calories: 290
- Protein: 18g
- Fat: 16g
- Carbohydrates: 18g
- Fiber: 1g
- Sugar: 5g
- Sodium: 480mg
These sliders provide a good amount of protein from the beef, which helps keep you full and satisfied. The beef also supplies iron, zinc, and B vitamins. If you’re watching your sodium, you can reduce the salt in the patties and use low-sodium cheese.
For a lighter option, use lettuce wraps instead of buns, or opt for whole wheat slider buns for extra fiber. The special sauce can be made with Greek yogurt instead of mayonnaise to reduce fat and calories.
These sliders are not gluten-free (unless you use gluten-free buns), but they are naturally nut-free and egg-free.
Conclusion
These best mini cheeseburger sliders have become my go-to for every game day, party, and casual gathering. They’re quick, they’re forgiving, and they always, always disappear. The combination of juicy seasoned beef, melty cheese, soft sweet buns, and tangy special sauce is just unbeatable.
What I love most about this recipe is how adaptable it is. You can dress these up or down, make them spicy or classic, and they’ll still be the first thing to run out on the buffet table. They’re the kind of recipe that makes you look like a hero without actually having to work that hard.
I’d love to hear how yours turn out! Drop a comment below with your favorite toppings or variations — I’m always looking for new ideas. And if you’re hosting a party, don’t forget to check out these mini lemon blueberry cheesecakes for a dessert that’s just as crowd-pleasing as these sliders. Happy cooking, and enjoy the game!
Frequently Asked Questions
Can I make these sliders ahead of time?
Absolutely. You can cook the patties, make the special sauce, and prep the toppings up to a day in advance. Assemble and bake just before serving for the best results. The baked sliders can also be refrigerated and reheated, but they’re best fresh.
What’s the best cheese for sliders?
Cheddar is my go-to because it melts beautifully and has a sharp flavor that stands up to the beef. American cheese is also a classic choice — it melts like a dream and has that nostalgic burger-joint taste. Pepper jack adds a nice kick if you want some heat.
Can I use frozen slider buns?
Yes, just thaw them completely before using. Frozen buns can be a bit drier, so brush them with a little extra butter before baking to help them brown and stay soft.
How do I keep the sliders from getting soggy?
Toast the buns before assembling, and don’t add too much sauce directly to the buns. You can also serve the sauce on the side for dipping instead of spreading it on the buns. Letting the assembled sliders rest for a couple minutes after baking also helps the structure set.
Can I grill the patties instead of using a skillet?
Definitely! Grilling adds a nice smoky flavor. Just make sure your grill grates are clean and well-oiled so the thin patties don’t stick. Cook over medium-high heat for about 2-3 minutes per side, same as the stovetop method.
Pin This Recipe!
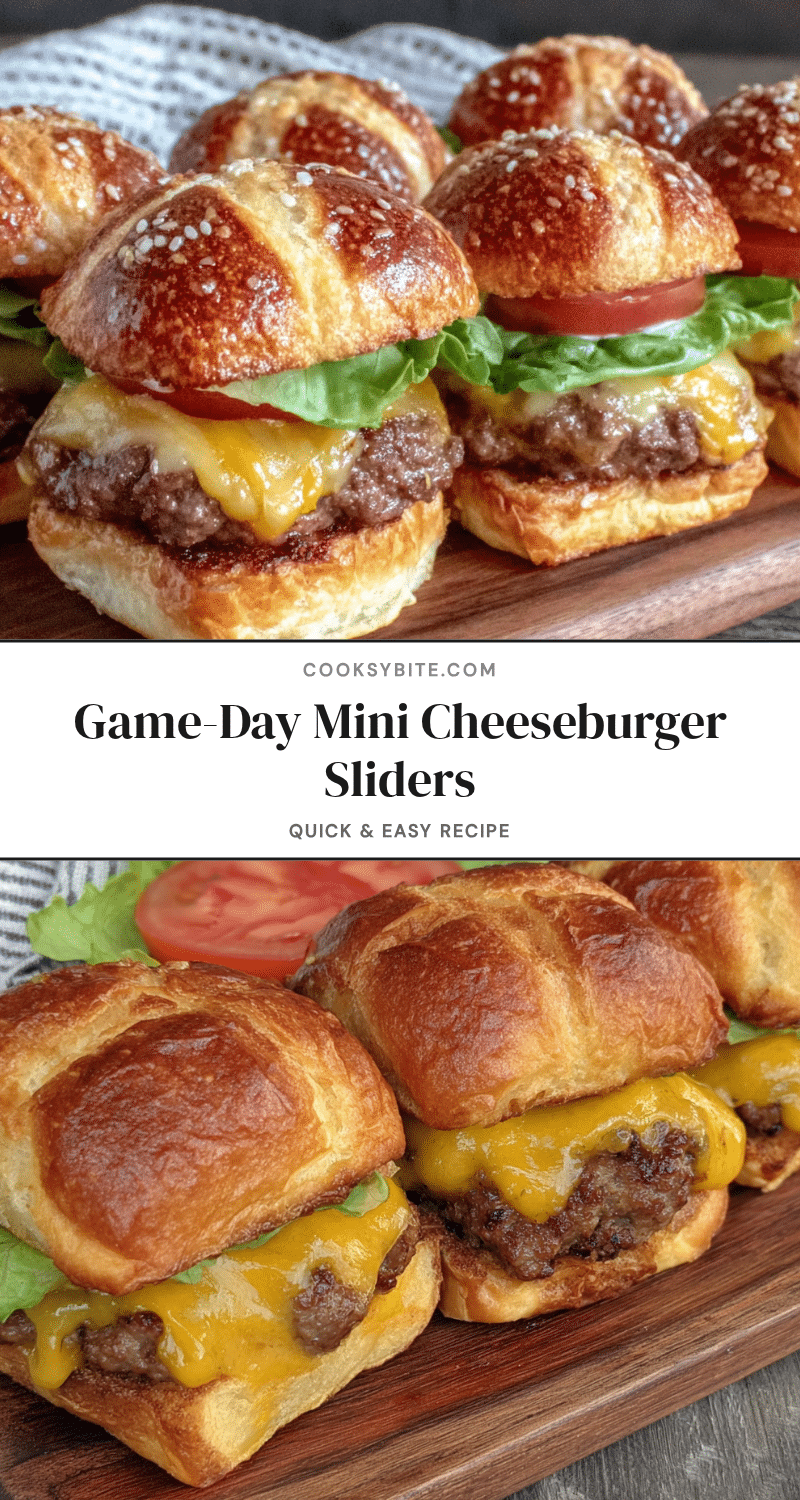
Best Mini Cheeseburger Sliders: Easy Game-Day Appetizer
These mini cheeseburger sliders are the ultimate game-day appetizer, featuring juicy seasoned beef, melty cheese, soft sweet buns, and a tangy special sauce. Ready in under 30 minutes, they’re a crowd-pleaser that disappears fast.
- Prep Time: 15 minutes
- Cook Time: 10 minutes
- Total Time: 25 minutes
- Yield: 12 sliders 1x
- Category: Appetizer
- Cuisine: American
Ingredients
- 1 ½ pounds ground beef (80/20 blend)
- 1 teaspoon garlic powder
- 1 teaspoon onion powder
- 1 teaspoon salt
- ½ teaspoon black pepper
- 1 tablespoon Worcestershire sauce
- 1 tablespoon olive oil
- 12 slider buns (Hawaiian sweet rolls recommended)
- 6 slices cheddar cheese, cut in half
- 2 tablespoons butter, melted
- 1 tablespoon sesame seeds (optional)
- ½ cup mayonnaise
- 2 tablespoons ketchup
- 1 tablespoon yellow mustard
- 1 teaspoon pickle relish (sweet or dill)
- ½ teaspoon garlic powder
- ½ teaspoon smoked paprika
- Pickle slices (optional)
- Shredded lettuce (optional)
- Thinly sliced red onion (optional)
- Tomato slices (optional)
Instructions
- Make the special sauce: In a small bowl, combine mayonnaise, ketchup, yellow mustard, pickle relish, garlic powder, and smoked paprika. Stir until smooth. Set aside.
- Season the beef: In a large bowl, combine ground beef with garlic powder, onion powder, salt, pepper, and Worcestershire sauce. Mix gently with your hands until just combined. Divide into 12 equal portions (about 2 ounces each).
- Form the patties: Shape each portion into a thin patty, about ¼-inch thick and slightly larger than the slider buns. Press a small indent in the center of each patty with your thumb.
- Cook the patties: Heat olive oil in a large skillet or griddle over medium-high heat. Cook patties in batches for 2-3 minutes per side for medium doneness. During the last minute, place a half-slice of cheese on each patty and cover briefly to melt.
- Toast the buns: Preheat oven to 350°F (175°C). Slice slider buns in half horizontally. Place bottom halves on a baking sheet. Spread a thin layer of special sauce on the bottom buns.
- Assemble the sliders: Place each cheesy patty on the sauced bottom buns. Add pickle slices, lettuce, onion, and tomato if using. Place top buns on. Brush tops with melted butter and sprinkle with sesame seeds.
- Bake: Bake assembled sliders for 5-7 minutes, until buns are golden and cheese is fully melted.
- Serve: Remove from oven, let rest for 2 minutes, then separate and serve warm.
Notes
Use 80/20 ground beef for juiciness. Don’t skip the indent in the patties to prevent puffing. Toast the buns to avoid sogginess. Let sliders rest after baking for easier handling. For gluten-free, use gluten-free buns and check Worcestershire sauce. For dairy-free, use vegan mayo and dairy-free cheese.
Nutrition
- Serving Size: 1 slider
- Calories: 290
- Sugar: 5
- Sodium: 480
- Fat: 16
- Saturated Fat: 6
- Carbohydrates: 18
- Fiber: 1
- Protein: 18
Keywords: mini cheeseburger sliders, game-day appetizer, slider recipe, cheeseburger sliders, party food, easy appetizer


