I had been looking for a baked chicken wing that actually got crispy without a deep fryer or a complicated flour-dredging situation. For a while, I just accepted that oven-baked wings were going to be a little flabby. You know the ones—they come out steamed, the skin rubbery, and you end up eating them anyway because you already made them. That was my reality for years. Every game day, every casual dinner, I’d try a new method. Higher heat, lower heat, broil at the end, flip halfway through. Nothing worked the way I wanted.
Then I started playing around with a baking powder trick I’d heard about (honestly, I was skeptical), and paired it with a honey sriracha glaze that I’d been tweaking for months. The first batch came out of the oven and I actually stood there in the kitchen, holding a wing by the tip, just staring at it. The skin was crackled. The glaze had caramelized into something sticky but not goopy. It was exactly what I’d been picturing. (Side note: I ate four before I even put them on a plate.) That was the moment I stopped looking for another recipe. This one stuck because it didn’t ask me to compromise—not on crunch, not on flavor, and definitely not on time.
Why You’ll Love This Recipe
Let’s be honest. Most baked wing recipes promise crunch but deliver disappointment. These crispy honey sriracha baked chicken wings are different. I’ve tested this method more times than I care to admit, and it works because of a few key choices.
- Quick & Easy : These come together in about 40 minutes. No marinating overnight, no complicated steps. Just a little prep and the oven does the heavy lifting.
- Simple Ingredients : You probably have most of this stuff already. The baking powder trick uses a pantry staple, and the glaze is just honey, sriracha, and a few extras.
- Perfect for Game Day or Dinner : Honestly, I make these for Super Bowl parties and random Tuesday nights. They work for both.
- Crowd-Pleaser : I’ve brought these to gatherings where people asked for the recipe before they finished their first wing. Kids like them because the heat is mild. Adults go back for seconds.
- Unbelievably Delicious : The texture is what gets you. The skin shatters a little when you bite into it, and the glaze balances sweet heat perfectly.
What makes this version different from every other honey sriracha wing out there? It’s the method. The combination of a dry brine with baking powder and a two-temperature bake creates that crackly skin without frying. The glaze gets brushed on at the right moment so it sticks without making the wings soggy. This isn’t just another wing recipe—it’s the one that finally made me stop searching.
There’s something about that first bite. The crunch, then the sweet heat, then the juicy meat. It’s the kind of thing that makes you close your eyes for a second. Comfort food reimagined—healthier, faster, but with the same soul-soothing satisfaction.
What Ingredients You Will Need
This recipe uses simple, pantry-friendly ingredients to deliver that bold sweet-and-spicy flavor and satisfying crunch. Most of these are things you probably already have on hand, which is exactly how I like to cook.
- Chicken wings, 2 lbs (about 900g) — I use whole wings and separate them myself, but pre-separated flats and drumettes work fine too. Pat them very dry with paper towels. (Moisture is the enemy of crispy skin.)
- Baking powder, 1½ teaspoons — This is the secret to crispy skin without frying. Make sure it’s baking powder, not baking soda. Aluminum-free is best to avoid any metallic aftertaste.
- Salt, 1 teaspoon — I use fine sea salt. It dissolves better on the skin.
- Garlic powder, ½ teaspoon — Adds savory depth without burning in the oven.
- Black pepper, ¼ teaspoon — Freshly ground, if you have it.
- Honey, ⅓ cup (about 110g) — Use a runny honey that’s not too thick. I prefer a mild wildflower honey, but any liquid honey works.
- Sriracha, 2 tablespoons — Adjust this up or down depending on your heat tolerance. I use Huy Fong brand for that classic garlicky heat.
- Butter, 1 tablespoon — Unsalted, melted. This helps the glaze stick and adds richness.
- Rice vinegar, 1 teaspoon — Balances the sweetness with a little acidity. You can substitute apple cider vinegar if needed.
- Soy sauce, 1 teaspoon — Adds umami depth. Use tamari for gluten-free.
- Sesame seeds, 1 tablespoon — For garnish. Optional but pretty.
- Green onions, 2 stalks — Sliced thin for a fresh finish.
I recommend using a brand like Rummo or De Cecco for pasta if you’re ever making a side dish, but for wings, just grab whatever chicken looks fresh. I personally prefer organic wings when I can find them—they tend to be meatier and have better texture. For the sriracha, Huy Fong is my go-to. It has that perfect balance of heat and garlic that makes the glaze sing.
Equipment Needed
You don’t need much for these wings, and that’s part of why I make them so often.
- Baking sheet — A rimmed baking sheet works best. I use a half-sheet pan (18×13 inches).
- Wire rack — This is important. A wire rack set inside the baking sheet lets air circulate under the wings so they crisp evenly. If you don’t have one, you can flip the wings halfway, but the rack makes a big difference.
- Mixing bowls — One large bowl for the wings and one small bowl for the glaze.
- Tongs — For flipping the wings and tossing them in the glaze.
- Pastry brush — Optional, but helpful for applying the glaze evenly.
- Paper towels — You’ll need a lot of these for drying the wings thoroughly.
I bought my wire rack set on Amazon for about ten bucks, and it’s paid for itself a hundred times over. If you’re on a budget, you can use a foil-lined baking sheet and just flip the wings every 15 minutes. It works, but the rack is worth the investment if you make wings often.
Preparation Method
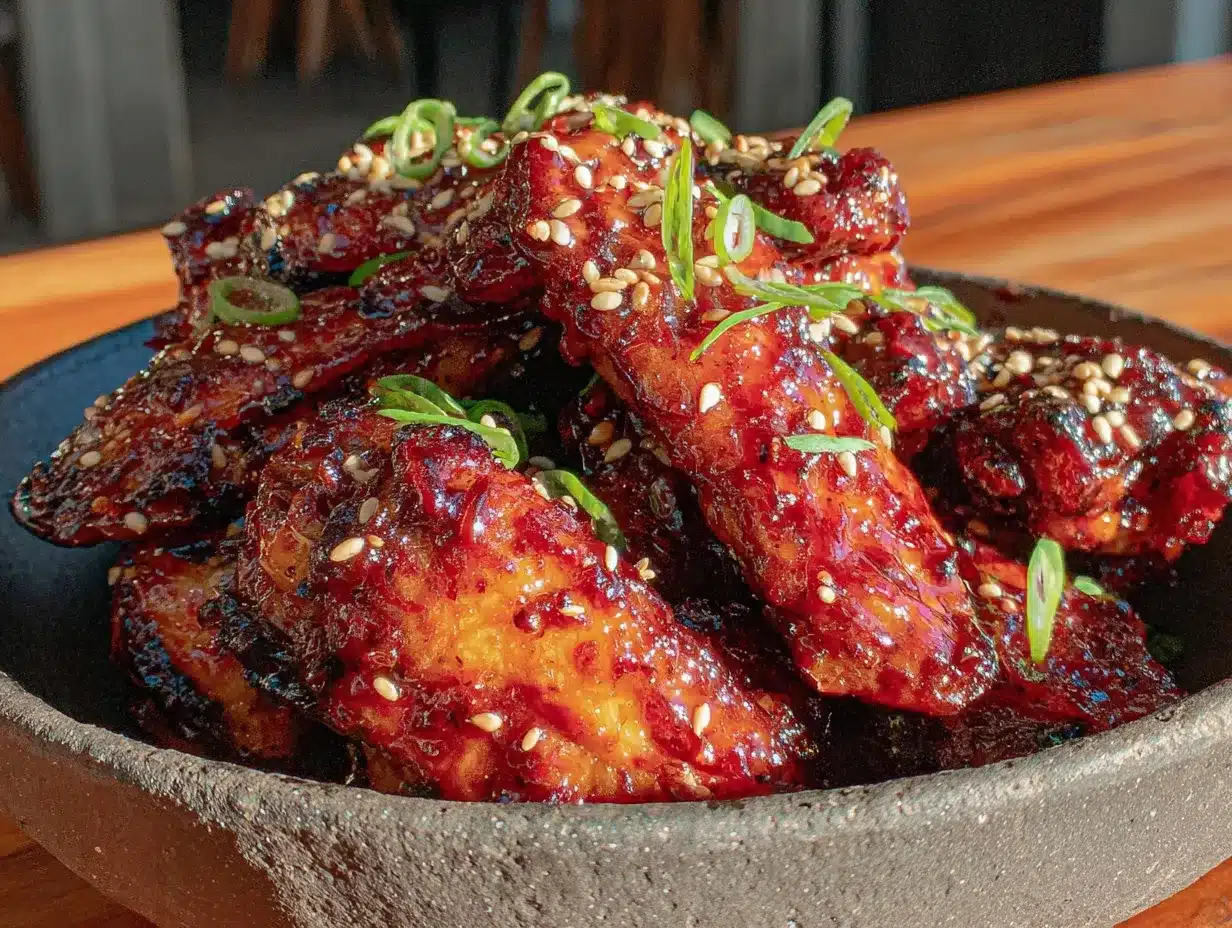
Let’s get into the actual cooking. I’ve broken this down step by step because the details matter here. Trust me, I’ve made every mistake possible with these wings, and I’m sharing what actually works.
- Preheat your oven to 250°F (120°C). Yes, that’s low. We’re starting low to render the fat slowly, which is the foundation of crispy skin. Position your oven rack in the middle.
- Prep the wings. If you bought whole wings, cut through the joint to separate the drumette from the flat. Discard the wing tip or save it for stock. Pat every single piece completely dry with paper towels. I cannot stress this enough—wet skin will not crisp. Take your time here.
- Season the wings. In a large bowl, whisk together the baking powder, salt, garlic powder, and black pepper. Add the dried wings and toss until every piece is evenly coated. The mixture should look like a light dusting on the skin. (If it looks clumpy, you used too much baking powder. That’s okay—just brush off the excess.)
- Arrange on the rack. Place the wire rack on your baking sheet and arrange the wings in a single layer with space between each piece. Crowding them will trap steam and ruin the crispiness. If you have too many, use two baking sheets.
- Bake at 250°F for 30 minutes. This low-temperature step renders the fat slowly. You’ll see the skin start to tighten and turn slightly golden. Don’t skip this—it’s the secret to that crackly texture.
- Increase the temperature to 425°F (220°C). After 30 minutes, turn the oven up. Don’t take the wings out. Let them come up to temperature with the oven. Bake for another 20-25 minutes, until the skin is deep golden brown and crispy. The wings should look slightly blistered in spots.
- Make the glaze while the wings bake. In a small bowl, whisk together the honey, sriracha, melted butter, rice vinegar, and soy sauce. Taste it. If you want more heat, add another half tablespoon of sriracha. If you want it sweeter, add a little more honey. Set aside.
- Glaze the wings. When the wings come out of the oven, let them rest for 2 minutes on the rack. Then transfer them to a large bowl. Pour the glaze over the wings and toss gently with tongs until every piece is coated. Don’t drench them—you want a thin, sticky layer, not a pool of sauce.
- Optional broil for extra stickiness. If you want the glaze to caramelize a bit more, spread the glazed wings back on the rack and broil for 1-2 minutes. Watch them closely—honey burns fast. I usually skip this step because the residual heat from the wings is enough, but it’s a nice touch if you’re feeling extra.
- Garnish and serve. Transfer the wings to a serving platter. Sprinkle with sesame seeds and sliced green onions. Serve immediately while the skin is still crispy.
A few sensory cues to watch for: at the 250°F stage, the wings should look slightly tight and glossy, not wet. At the 425°F stage, you’ll hear a faint sizzle—that’s the fat rendering. The wings are done when the skin looks crackled and the meat near the bone is no longer pink. If you’re unsure, use an instant-read thermometer; the thickest part of the meat should read 165°F (74°C).
Cooking Tips & Techniques
I’ve made these wings at least a dozen times, and I’ve learned a few things the hard way. Here’s what I wish someone had told me.
Dry the wings obsessively. This is the most important step. Moisture is the enemy of crispy skin. I pat each wing individually with paper towels, then let them sit on the counter for 10 minutes to air-dry. If you’re in a humid climate, you might need to pat them dry twice.
Don’t skip the low-temperature step. I know it seems fussy, but it’s not. That 30 minutes at 250°F renders the fat slowly, which means the skin gets thin and crispy instead of chewy. I once tried to shortcut this by starting at 400°F, and the wings came out tough and greasy. Don’t be like me.
Use a wire rack. I already mentioned this, but it’s worth repeating. A wire rack lets air circulate under the wings so they crisp evenly. If you don’t have one, flip the wings every 15 minutes during the high-temperature bake. It’s not as good, but it works.
Glaze at the very end. This is a common mistake—people brush the glaze on too early and the sugar burns or makes the skin soggy. Wait until the wings are fully baked, then glaze them. The residual heat will warm the glaze without ruining the crunch.
Work in batches if needed. Overcrowding the pan is the second most common mistake after not drying the wings. If you’re making a big batch, use two baking sheets and rotate them halfway through the high-temperature bake. Your wings will thank you.
One more thing: if you’re making these for a party, you can bake the wings ahead of time and reheat them. Bake at 250°F for 30 minutes, then at 425°F for 20 minutes. Let them cool completely, then refrigerate. When you’re ready to serve, reheat them on a wire rack at 400°F for 8-10 minutes, then glaze. The texture holds up surprisingly well.
Variations & Adaptations
One of the best things about these crispy honey sriracha baked chicken wings is how flexible they are. I’ve tried several variations, and most of them turned out great. Here are a few to play with.
Spicy Garlic Honey Wings : Add 3 cloves of minced garlic to the glaze and increase the sriracha to 3 tablespoons. The garlic adds a punchy kick that pairs well with the sweet heat. I made this version for a friend who claims to love spicy food, and she ate an entire batch by herself.
Smoky Chipotle Honey Wings : Replace the sriracha with 2 tablespoons of adobo sauce from a can of chipotle peppers. The smokiness adds a whole new dimension. This is my personal favorite for fall game days. (Side note: the leftover chipotle peppers can be frozen and used later in sauces or marinades.)
Milder Version for Kids : Use only 1 tablespoon of sriracha and add 1 tablespoon of ketchup to the glaze. The ketchup adds sweetness and color without the heat. My nephew, who thinks black pepper is spicy, ate six of these without complaint.
Air Fryer Adaptation : If you have an air fryer, you can use it for the high-temperature step. Start the wings in the oven at 250°F for 30 minutes, then transfer them to the air fryer at 400°F for 10-12 minutes. The air fryer gets the skin even crispier, if you can believe it. Just work in batches so you don’t overcrowd the basket.
Gluten-Free Version : This recipe is naturally gluten-free as written, as long as you use tamari instead of soy sauce. The baking powder should also be gluten-free (most brands are, but check the label). Perfect for anyone avoiding gluten without sacrificing flavor.
Serving & Storage Suggestions
These wings are best served immediately, while the skin is still crackly and the glaze is warm and sticky. I like to pile them on a big platter with a few celery sticks and carrot chips on the side. The crunch of fresh vegetables is a nice contrast to the rich wings.
For dipping, I usually serve a simple ranch or blue cheese dressing on the side. The cool, creamy dressing balances the sweet heat of the glaze. If you’re feeling fancy, a quick yogurt dip with lemon and herbs works beautifully too.
These wings pair well with a cold beer or a crisp white wine like Sauvignon Blanc. For a non-alcoholic option, iced tea with a squeeze of lemon is perfect. If you’re serving them as part of a bigger spread, they go great with a simple coleslaw or roasted sweet potato wedges.
Storage: Leftover wings can be stored in an airtight container in the refrigerator for up to 3 days. The skin will soften, but the flavor will still be good. To reheat, place them on a wire rack over a baking sheet and bake at 400°F for 8-10 minutes. This will help restore some of the crispiness. Avoid microwaving—it makes the skin rubbery.
Freezing: You can freeze the baked (but unglazed) wings for up to 3 months. Let them cool completely, then freeze them in a single layer on a baking sheet. Once frozen, transfer them to a freezer bag. To serve, reheat directly from frozen at 400°F for 12-15 minutes, then glaze. The texture won’t be quite as good as fresh, but it’s still pretty impressive for a freezer meal.
One thing I’ve noticed: the flavors actually meld together a bit more after a day in the fridge. The honey sriracha glaze soaks into the meat slightly, making the leftovers almost a different (but still delicious) experience. If you’re meal-prepping, this is a good thing.
Nutritional Information & Benefits
Here’s the approximate nutritional breakdown for a serving of 4-5 wings (about ⅙ of the recipe):
| Nutrient | Amount per Serving |
|---|---|
| Calories | 310 |
| Protein | 22g |
| Fat | 18g |
| Carbohydrates | 14g |
| Fiber | 0g |
| Sugar | 12g |
| Sodium | 580mg |
These numbers are estimates and will vary based on the specific ingredients you use. If you’re watching your sodium, you can reduce the salt in the dry brine and use low-sodium soy sauce.
Chicken wings are a good source of protein and contain essential B vitamins, including niacin and B6, which support energy metabolism. The honey provides quick energy in the form of natural sugars, while the garlic in the sriracha has been linked to immune support. (I’m not saying these wings are health food, but they’re not terrible for you either.)
This recipe is naturally gluten-free and can be made dairy-free by using a plant-based butter substitute. If you’re following a low-carb or keto diet, you can replace the honey with a sugar-free honey alternative, though the texture of the glaze will be slightly different.
Potential allergens include chicken (obviously) and soy (from the soy sauce). If you have a soy allergy, use coconut aminos instead.
From a personal perspective, I love that these wings let me enjoy a game-day favorite without the guilt of deep frying. They’re indulgent enough to feel like a treat, but baked in a way that feels a little lighter. That balance is exactly what I look for in comfort food.
Conclusion
These crispy honey sriracha baked chicken wings are the recipe I keep coming back to because they actually deliver on their promise. The skin is crackly, the glaze is perfectly balanced between sweet and spicy, and the whole thing comes together in about 40 minutes with minimal fuss. No deep frying, no complicated techniques, just good food that makes people happy.
I hope you try them exactly as written the first time, but I also hope you make them your own. Add more sriracha if you like heat. Swap the honey for maple syrup if that’s what you have. Throw in some garlic or ginger if you’re feeling creative. That’s the beauty of a simple recipe—it’s a starting point, not a rulebook.
If you make these wings, I’d love to hear how they turned out. Drop a comment below and let me know if you tweaked anything or if they disappeared as fast as they do at my house. And if you’re looking for more party-friendly recipes, you might enjoy these pink champagne jello shots or this decadent red wine chocolate cake for dessert. Happy cooking!
Frequently Asked Questions
Can I use frozen wings for this recipe?
Yes, but you need to thaw them completely first and pat them very dry. Frozen wings release a lot of moisture as they thaw, so give them extra time with paper towels. I recommend thawing them in the refrigerator overnight.
Why did my wings come out soggy?
This usually happens for one of three reasons: the wings weren’t dried thoroughly, the baking sheet was overcrowded, or the glaze was applied too early. Make sure you pat the wings dry, leave space between each piece on the rack, and only glaze them after they’re fully baked.
Can I make these wings in an air fryer?
Absolutely. Start the wings in the oven at 250°F for 30 minutes, then transfer them to an air fryer at 400°F for 10-12 minutes. The air fryer gets the skin even crispier. Just work in batches so you don’t overcrowd the basket.
How do I make the wings less spicy?
Reduce the sriracha to 1 tablespoon and add an extra tablespoon of honey or ketchup to balance the heat. You can also serve the wings with a cooling dip like ranch or blue cheese dressing to tone down the spice.
Can I prep these wings ahead of time for a party?
Yes! Bake the wings through the high-temperature step, let them cool completely, and refrigerate them unglazed for up to 2 days. When you’re ready to serve, reheat them on a wire rack at 400°F for 8-10 minutes, then toss with the glaze. The texture holds up surprisingly well.
Pin This Recipe!
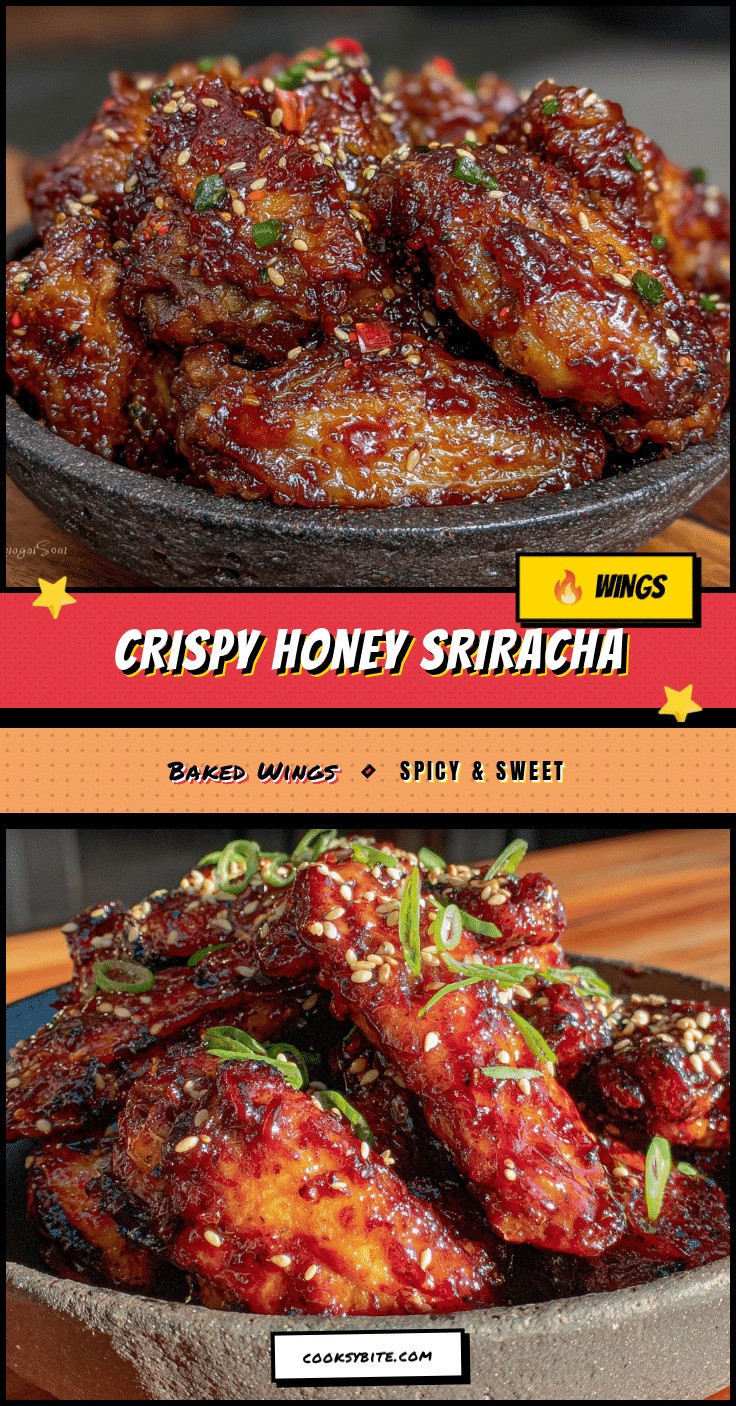
Crispy Honey Sriracha Baked Chicken Wings (Easy 40-Min Recipe)
These crispy honey sriracha baked chicken wings are oven-baked to perfection with a crackly skin and a sweet-and-spicy glaze. Ready in about 40 minutes, they’re perfect for game day or a quick dinner.
- Prep Time: 10 minutes
- Cook Time: 30 minutes
- Total Time: 40 minutes
- Yield: 4 servings 1x
- Category: Appetizer
- Cuisine: American
Ingredients
- 2 lbs (about 900g) chicken wings
- 1½ teaspoons baking powder
- 1 teaspoon fine sea salt
- ½ teaspoon garlic powder
- ¼ teaspoon black pepper
- ⅓ cup (about 110g) honey
- 2 tablespoons sriracha
- 1 tablespoon unsalted butter, melted
- 1 teaspoon rice vinegar
- 1 teaspoon soy sauce
- 1 tablespoon sesame seeds (for garnish)
- 2 stalks green onions, sliced thin (for garnish)
Instructions
- Preheat your oven to 250°F (120°C). Position the oven rack in the middle.
- If using whole wings, cut through the joint to separate the drumette from the flat. Discard the wing tip or save for stock. Pat every piece completely dry with paper towels.
- In a large bowl, whisk together the baking powder, salt, garlic powder, and black pepper. Add the dried wings and toss until evenly coated.
- Place a wire rack on a rimmed baking sheet. Arrange the wings in a single layer with space between each piece.
- Bake at 250°F for 30 minutes. The skin will start to tighten and turn slightly golden.
- Increase the oven temperature to 425°F (220°C). Leave the wings in the oven and bake for another 20-25 minutes, until the skin is deep golden brown and crispy.
- While the wings bake, make the glaze: In a small bowl, whisk together the honey, sriracha, melted butter, rice vinegar, and soy sauce. Adjust to taste.
- When the wings are done, let them rest on the rack for 2 minutes. Transfer to a large bowl, pour the glaze over, and toss gently with tongs until coated.
- Optional: For extra stickiness, spread the glazed wings back on the rack and broil for 1-2 minutes, watching closely.
- Transfer to a serving platter, sprinkle with sesame seeds and sliced green onions, and serve immediately.
Notes
Dry the wings thoroughly for crispy skin. Do not skip the low-temperature step. Glaze at the very end to avoid sogginess. For a party, bake ahead and reheat at 400°F for 8-10 minutes before glazing.
Nutrition
- Serving Size: 4-5 wings
- Calories: 310
- Sugar: 12
- Sodium: 580
- Fat: 18
- Saturated Fat: 5
- Carbohydrates: 14
- Protein: 22
Keywords: crispy honey sriracha baked chicken wings, baked chicken wings, honey sriracha wings, easy chicken wings, game day wings


