The sticky, marshmallowy pull as you bite through the crisp shell into the soft center—that’s the whole point of these Easy Halloween Rice Krispie Treat Pops. I’m not here for fancy fondant or complicated piping. I’m here for that perfect contrast between the slightly crunchy chocolate coating and the chewy, buttery cereal inside. It’s a texture thing, honestly.
I stumbled onto this idea last October when my niece announced she wanted to make “spooky snacks” for her class party. I had a box of cereal, a bag of marshmallows, and about twenty minutes before she lost interest. So we melted, stirred, and pressed the mixture into a pan, then cut them into squares and stuck popsicle sticks into them before they fully set. It was chaos. But the look on her face when she dipped one into melted candy coating? Priceless.
These aren’t just any Easy Halloween Rice Krispie Treat Pops. They’re the kind of treat that makes you feel like a kitchen superhero with almost zero effort. You only need four ingredients—cereal, marshmallows, butter, and candy melts—and you probably already have three of them in your pantry. No baking, no fancy equipment, no stress. Just pure, messy, delicious fun.
I’ve made these every year since that first chaotic batch, and they never fail to disappear. There’s something about a handheld treat that feels more like a party. Plus, they’re endlessly customizable—orange and black sprinkles, ghost faces, or just a drizzle of white chocolate. Whatever you do, don’t skip the stick. It changes everything.
Why You’ll Love This Recipe
Let’s be real—Halloween can be a lot. Between costumes, candy, and chaos, the last thing you need is a complicated dessert. These pops are my secret weapon for every spooky gathering, and here’s why they work so well.
- Only 4 Ingredients: Butter, marshmallows, crispy rice cereal, and candy melts. That’s it. No weird extracts, no specialty flours, no trips to three different stores.
- No Baking Required: You don’t even need to turn on your oven. Everything happens on the stovetop or in the microwave. Perfect for hot October afternoons or last-minute party prep.
- Kid-Friendly and Kid-Approved: My niece can practically make these herself now. It’s a great recipe for little hands to help with—mixing, pressing, and dipping are all fun tasks.
- Perfect for Parties and Classrooms: These pops are individually portioned, easy to grab, and don’t require plates or forks. They’re ideal for Halloween parties, school celebrations, or trunk-or-treat events.
- Endlessly Customizable: You can make them spooky, cute, or elegant. Change the color of the candy coating, add sprinkles, or pipe on faces. Each batch can look completely different.
- Make-Ahead Friendly: These pops hold up beautifully for days. You can prep them a day or two in advance and they’ll still be perfectly crisp and delicious.
What sets this version apart from other Halloween treats is the texture. The candy coating creates a thin, snappy shell that shatters when you bite into it, revealing the soft, marshmallowy interior. It’s a contrast that feels more like a fancy confection than a simple Rice Krispie treat. I’ve tested this with different coatings—chocolate, white chocolate, colored candy melts—and they all work beautifully. Just make sure you seal the entire surface so the treats stay fresh and crisp.
These pops are the kind of treat that makes people close their eyes after the first bite. They’re nostalgic but elevated, simple but special. Honestly, they’re the best thing I’ve ever brought to a Halloween party.
What Ingredients You Will Need
This recipe uses simple, everyday ingredients to create something truly special. The magic is in how they come together, not in fancy additions. Here’s everything you’ll need to make these Easy Halloween Rice Krispie Treat Pops.
For the Rice Krispie Treat Base
- 3 tablespoons unsalted butter (I use salted butter in a pinch—just skip adding any extra salt. The butter adds richness and helps the marshmallows melt smoothly.)
- 1 package (10 ounces) marshmallows (Standard size marshmallows work best. Mini marshmallows melt faster but can burn if you’re not careful. Jet-Puffed is my go-to brand for consistent results.)
- 6 cups crispy rice cereal (I prefer the classic Kellogg’s Rice Krispies for that signature snap. Generic brands work too, but the texture might be slightly different. Look for cereal that’s fresh—stale cereal makes for sad, chewy treats.)
For the Coating and Decorating
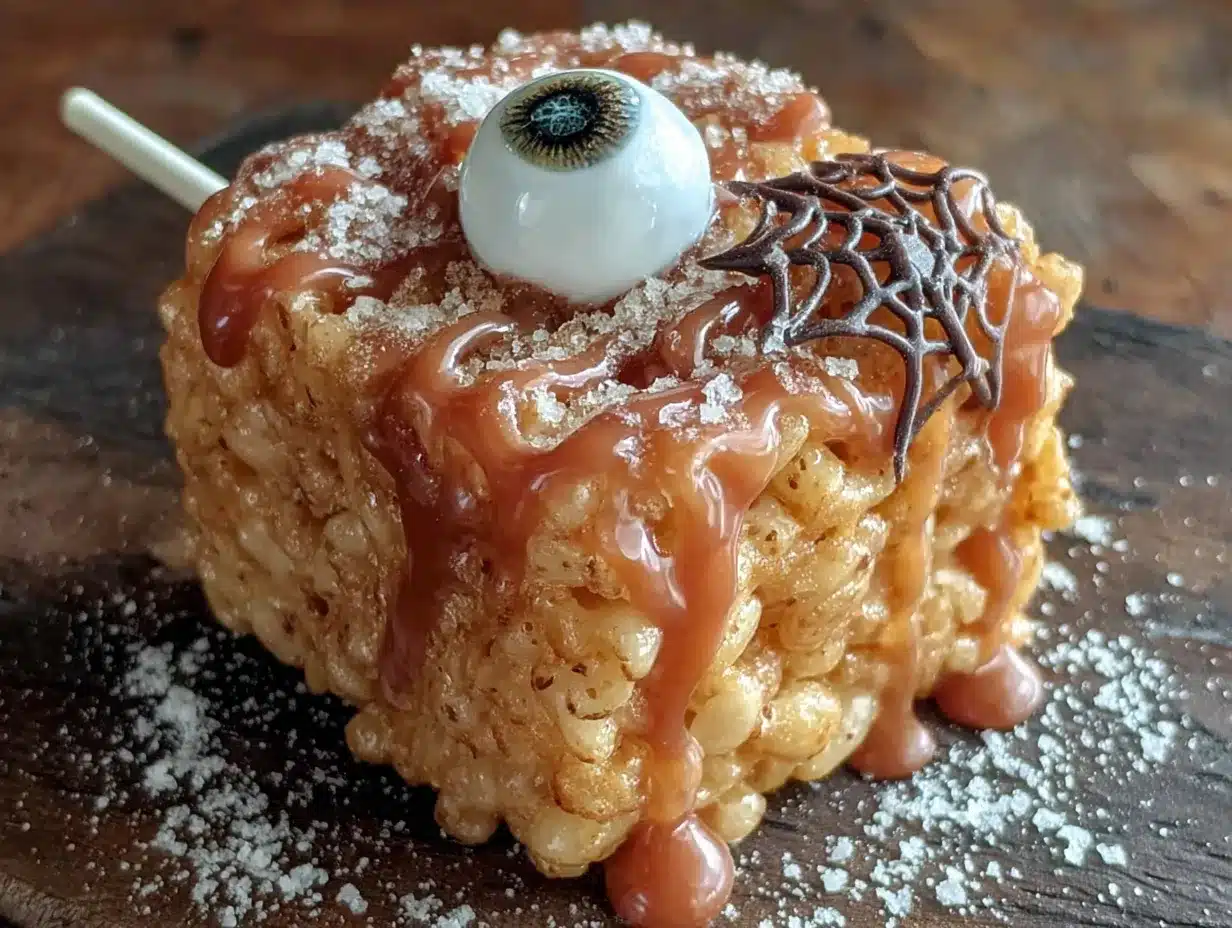
- 12 ounces candy melts or melting wafers (Orange, black, white, or purple are perfect for Halloween. I like Wilton brand for smooth melting and even coverage. You can also use white chocolate chips mixed with a teaspoon of coconut oil for a similar effect.)
- Popsicle sticks or lollipop sticks (The 6-inch size works best. You can find them at craft stores, baking supply shops, or online.)
- Optional decorations: Halloween sprinkles, edible glitter, candy eyes, or a drizzle of contrasting chocolate. I love using orange and black nonpareils for a classic spooky look.
Ingredient Tips and Substitutions
Choosing the right marshmallows makes a difference. Fresh marshmallows are softer and melt more evenly. If your marshmallows have been sitting in the pantry for months, they might be a bit tough and won’t create that perfect gooey texture. I always buy a fresh bag for this recipe.
For the candy coating, avoid using regular chocolate chips without thinning them. Chocolate chips contain stabilizers that make them too thick for dipping. If you want to use real chocolate, opt for chopped chocolate bars or melting chocolate. Add a teaspoon of coconut oil or shortening to help it flow smoothly.
If you need a gluten-free version, most crispy rice cereals are naturally gluten-free, but always check the label. Some brands use malt flavoring that contains gluten. I’ve used both name-brand and generic gluten-free options with great results.
For a dairy-free adaptation, use vegan butter and dairy-free marshmallows (Dandies is a reliable brand). The candy coating should also be dairy-free—many colored candy melts are naturally dairy-free, but double-check the package.
Equipment Needed
You don’t need a professional kitchen to make these pops. Most of these tools are already in your cupboards. Here’s what you’ll need:
- Large saucepan or pot (You need enough room to stir the marshmallows and cereal together without spilling. A 4-quart pot is perfect.)
- Rubber spatula or wooden spoon (A silicone spatula is my favorite because it scrapes the sides cleanly and doesn’t scratch your pot.)
- 9×13-inch baking dish or pan (This size gives you treats that are about 1 inch thick—perfect for pops. Line it with parchment paper for easy removal.)
- Parchment paper or wax paper (Essential for lining the pan and for setting the dipped pops. Don’t skip this—it saves you from a sticky mess.)
- Popsicle sticks or lollipop sticks (I buy mine in bulk online. They’re cheap and reusable if you wash them carefully.)
- Microwave-safe bowl or double boiler (For melting the candy coating. A microwave is faster, but a double boiler gives you more control.)
- Small deep bowl or tall glass (For dipping the pops. A narrow, deep container lets you submerge the treat completely without wasting coating.)
- Cooling rack or baking sheet lined with parchment (For letting the coated pops set. A cooling rack lets excess coating drip off cleanly.)
If you don’t have a 9×13 pan, you can use a 9×9 square pan for thicker treats or a baking sheet for thinner, crunchier pops. Just adjust the pressing technique accordingly. I’ve even used a disposable aluminum pan in a pinch—it works fine.
For the dipping step, I’ve learned the hard way that a wide, shallow bowl makes a mess. Use something tall and narrow, like a measuring cup or a pint glass. It keeps the coating contained and makes for cleaner pops.
Preparation Method
Making these Easy Halloween Rice Krispie Treat Pops is straightforward, but a few details make all the difference. Follow these steps for perfect results every time.
- Prepare your pan. Line a 9×13-inch baking dish with parchment paper, leaving some overhang on the sides. Lightly grease the parchment with butter or nonstick spray. This step is non-negotiable—trust me, you don’t want to pry stuck treats out of the pan.
- Melt the butter. In a large saucepan over medium-low heat, melt 3 tablespoons of butter. Swirl the pan occasionally so it melts evenly. Don’t let it brown—you want it just melted, not sizzling. If your butter starts to foam, reduce the heat.
- Add the marshmallows. Pour the entire 10-ounce bag of marshmallows into the melted butter. Stir constantly with your rubber spatula until the marshmallows are completely melted and smooth. This takes about 3-4 minutes. Keep the heat low—high heat will scorch the marshmallows and make the treats grainy. The mixture should be glossy and stretchy when you lift the spatula.
- Remove from heat and add cereal. Take the pot off the stove immediately. Pour in 6 cups of crispy rice cereal all at once. Fold the cereal into the marshmallow mixture gently but thoroughly. You want every piece of cereal coated, but don’t overmix—too much stirring breaks the cereal into small bits and makes the treats dense. Stop when you no longer see white streaks of marshmallow.
- Press into the pan. Scrape the mixture into your prepared pan. Lightly grease your hands or a piece of parchment paper with butter or nonstick spray. Press the mixture evenly into the pan. Don’t press too hard—you want the treats to stay light and airy, not compacted into hard bricks. Aim for an even layer about 1 inch thick.
- Insert the sticks. While the mixture is still warm (but not hot), gently push a popsicle stick into the center of each square. Insert it about halfway through the treat. If the mixture is too hot, wait 2-3 minutes. If it’s too cool, the sticks won’t go in smoothly. I usually insert sticks after about 5 minutes of cooling. Space them evenly—I get about 12 pops from one batch.
- Cool completely. Let the treats cool at room temperature for at least 30 minutes. Don’t rush this step—warm treats will fall apart when you dip them. If you’re in a hurry, pop the pan in the refrigerator for 15 minutes. The treats should feel firm to the touch but still slightly soft inside.
- Cut into squares. Use the parchment overhang to lift the entire block out of the pan. Place it on a cutting board. Use a sharp knife or a pizza cutter to cut between the sticks. A pizza cutter works beautifully—it doesn’t drag the sticky treat like a knife can. Wipe the blade clean between cuts for neat edges.
- Melt the candy coating. Place your candy melts in a microwave-safe bowl. Microwave in 30-second intervals, stirring well after each, until completely smooth. Don’t overheat—candy melts can seize and become lumpy if they get too hot. If the coating seems too thick, add 1 teaspoon of coconut oil or shortening and stir. You want it thin enough to coat the treat without clumping.
- Dip the pops. Hold a pop by the stick and submerge it into the melted coating. Tilt the bowl slightly to get full coverage. Lift it out and let the excess drip back into the bowl. Gently tap the stick on the edge of the bowl to remove extra coating. You want a thin, even layer—not a thick, gloppy mess.
- Add decorations. While the coating is still wet, sprinkle on your Halloween decorations. If you’re adding candy eyes or other large decorations, press them in gently. Work quickly—the coating sets fast, especially if your kitchen is cool.
- Let set. Place the dipped pops on a parchment-lined baking sheet or cooling rack. Let them set at room temperature until the coating is firm, about 15-20 minutes. If you’re in a hurry, pop them in the refrigerator for 5-10 minutes. The coating should be hard and shiny when fully set.
Cooking Tips & Techniques
I’ve made more batches of these Easy Halloween Rice Krispie Treat Pops than I can count, and I’ve learned a few tricks along the way. Here are the things I wish someone had told me the first time.
Don’t overheat the marshmallows. This is the most common mistake. High heat makes marshmallows turn into hard, sticky lumps that never fully melt. Keep the heat on low or medium-low, and stir constantly. The moment the marshmallows are smooth, take the pot off the stove. I’ve burned a batch or two (or three) and learned the hard way that patience pays off.
Use fresh ingredients. Stale marshmallows don’t melt as smoothly. Stale cereal tastes flat and chewy. For the best texture, buy fresh ingredients within a week of making these. I always check the expiration date on my cereal before starting.
Grease everything. Your hands, your spatula, your pan, your parchment—grease it all. Butter works, but nonstick spray is faster and less messy. This simple step prevents sticking and makes cleanup a breeze. I keep a small bowl of melted butter nearby for greasing my hands as I press the mixture.
Work quickly but carefully. The marshmallow mixture sets fast. Once you add the cereal, you have about 5 minutes to press it into the pan and insert the sticks. If the mixture gets too stiff, you can microwave it for 10-15 seconds to soften it. But don’t do this more than once—it will make the treats tough.
Test the coating temperature. If your candy coating is too hot, it will melt the marshmallow treat and make it fall apart. If it’s too cool, it will be thick and clumpy. Aim for a warm, runny consistency—like warm honey. Dip a test pop first to check. If the coating drips off cleanly, you’re good to go.
One of my biggest failures? I once tried to dip pops that weren’t fully cooled. The marshmallow center squished out like toothpaste, and I ended up with a sticky, deformed mess. Now I always let the treats cool completely—at least 30 minutes at room temperature. It makes all the difference.
Variations & Adaptations
One of the best things about this recipe is how easy it is to change up. Here are some of my favorite variations for different tastes and occasions.
Spooky Spider Pops
After dipping the pops in black candy coating, pipe on eight legs using black or white icing. Add two candy eyes for a cute-but-creepy spider look. These are always a hit at Halloween parties. I made these for my niece’s class last year, and the kids went wild.
Mummy Pops
Dip the pops in white candy coating. While the coating is still wet, drizzle a few thin lines of white coating back and forth to create a mummy wrap effect. Add two small candy eyes peeking through. It’s surprisingly easy and looks professional. I’ve seen this technique used on perfect pink champagne jello shots too—the drizzle method works beautifully for any party treat.
Monster Mash Pops
Use green candy coating for the base. While it’s still wet, sprinkle on purple, orange, and green sprinkles. Add a single candy eye in the center for a one-eyed monster look. These are great for a more playful, less spooky vibe.
Gluten-Free Version
Simply use a certified gluten-free crispy rice cereal. Most brands are naturally gluten-free, but check the label. The rest of the ingredients are already gluten-free. My gluten-sensitive friends love these—they finally get to enjoy a Halloween treat that doesn’t make them feel left out.
Chocolate Lover’s Pops
Swap the candy coating for melted dark or milk chocolate. Drizzle with white chocolate for a dramatic contrast. Add a sprinkle of sea salt on top for a sweet-and-salty finish. I’ve made these for adult parties, and they disappear faster than the candy-coated versions.
For a more elegant Halloween dessert, try pairing these pops with a decadent red wine chocolate cake. The combination of sweet, crunchy pops and rich, fruity cake is surprisingly perfect for a Halloween dinner party.
Serving & Storage Suggestions
These pops are incredibly versatile when it comes to serving and storing. Here’s everything you need to know to keep them fresh and delicious.
Serving Temperature: These pops are best served at room temperature. The coating stays crisp, and the marshmallow center is perfectly chewy. If you serve them straight from the refrigerator, the coating might be too hard and the treat might feel dense. Let them sit out for 10-15 minutes before serving.
Presentation Ideas: Arrange the pops upright in a tall glass jar, a foam block covered in festive wrapping paper, or a small pumpkin. You can also place them on a platter with the sticks pointing outward like a sunburst. For a Halloween party, I like to set them in a hollowed-out pumpkin—it looks spooky and festive.
Complementary Dishes: These pops pair beautifully with other Halloween treats. Serve them alongside delicious cherry chocolate brownies for a dessert table that has both crunch and fudgy goodness. A warm cup of apple cider or hot chocolate is the perfect drink pairing.
Storage Instructions: Store the undipped treats in an airtight container at room temperature for up to 3 days. Once dipped, they’ll keep for up to 5 days in an airtight container. Don’t stack them directly on top of each other—place a sheet of parchment paper between layers to prevent sticking.
Freezing Tips: You can freeze these pops for up to 2 months. Place them in a single layer on a baking sheet and freeze until solid, about 1 hour. Then transfer them to a freezer-safe bag or container with parchment between layers. To thaw, let them sit at room temperature for about 30 minutes. The coating might lose a bit of its shine, but the flavor and texture will still be great.
Flavor Development: These treats actually taste better the next day. The marshmallow flavor mellows, and the cereal softens just slightly—making them even more chewy and satisfying. I always make mine a day ahead for the best texture.
Nutritional Information & Benefits
Let’s be honest—these are a treat, not a health food. But here’s what you can expect from one pop (based on a batch of 12 pops with standard ingredients).
- Calories: Approximately 220-250 per pop
- Total Fat: 8-10 grams
- Saturated Fat: 5-6 grams
- Carbohydrates: 35-40 grams
- Sugar: 22-26 grams
- Protein: 2-3 grams
- Sodium: 150-180 mg
Dietary Considerations: This recipe can be made gluten-free and dairy-free with simple substitutions. It is not suitable for low-carb or keto diets due to the high carbohydrate content from the cereal and marshmallows. It contains dairy (butter) and may contain soy (in some candy coatings).
Health Benefits (such as they are): The crispy rice cereal provides iron and B vitamins if you use a fortified brand. Marshmallows contain a small amount of protein from gelatin. Mostly, this is a fun, nostalgic treat meant for special occasions—and that’s okay. Balance is everything.
I believe in enjoying treats without guilt. Halloween comes once a year, and these pops are worth every bite. Make them, share them, and savor the smiles they bring.
Conclusion
These Easy Halloween Rice Krispie Treat Pops are everything I want in a holiday dessert—simple, fun, and absolutely delicious. They come together with just four ingredients, require no baking, and look like you spent hours on them. The contrast between the crisp chocolate shell and the soft, marshmallowy center is pure magic.
I love that this recipe is forgiving enough for beginners but impressive enough for experienced bakers. You can customize it endlessly, make it ahead of time, and serve it to kids and adults alike. Every time I bring these to a party, someone asks for the recipe. That’s the sign of a keeper.
I hope you give these pops a try. Don’t be afraid to get creative with your decorations—orange and black sprinkles, candy eyes, or a simple drizzle of white chocolate all work beautifully. And if you come up with a fun variation, I’d love to hear about it. Drop a comment below or tag me in your photos. Happy Halloween, and happy snacking!
Frequently Asked Questions
Can I use regular chocolate chips instead of candy melts?
You can, but they won’t coat as smoothly. Chocolate chips contain stabilizers that make them thick and prone to clumping. If you want to use real chocolate, chop a chocolate bar or use melting chocolate wafers. Add a teaspoon of coconut oil to thin the mixture for easier dipping.
Why did my Rice Krispie treats turn out hard?
This usually happens when you press the mixture too firmly into the pan. You want to press gently—just enough to create an even layer. Over-pressing compacts the cereal and makes the treats dense and hard. Also, make sure you’re not overcooking the marshmallows, which can also lead to a tough texture.
Can I make these pops ahead of time?
Absolutely! The undipped treats can be made up to 3 days in advance and stored in an airtight container. Once dipped, they’ll keep for up to 5 days. I actually think they taste better the next day—the flavors mellow and the texture becomes perfectly chewy.
How do I prevent the pops from falling off the stick?
Make sure you insert the popsicle stick at least halfway into the treat while it’s still warm but not hot. If the treat is too cool, the stick won’t go in smoothly. Also, don’t make the treats too thin—aim for at least 1 inch thick so the stick has enough surface area to hold onto.
Can I freeze these pops?
Yes! Freeze them in a single layer on a baking sheet until solid, then transfer to a freezer-safe bag. They’ll keep for up to 2 months. Thaw at room temperature for about 30 minutes before serving. The coating might lose a little shine, but the flavor and texture will still be wonderful.
Pin This Recipe!
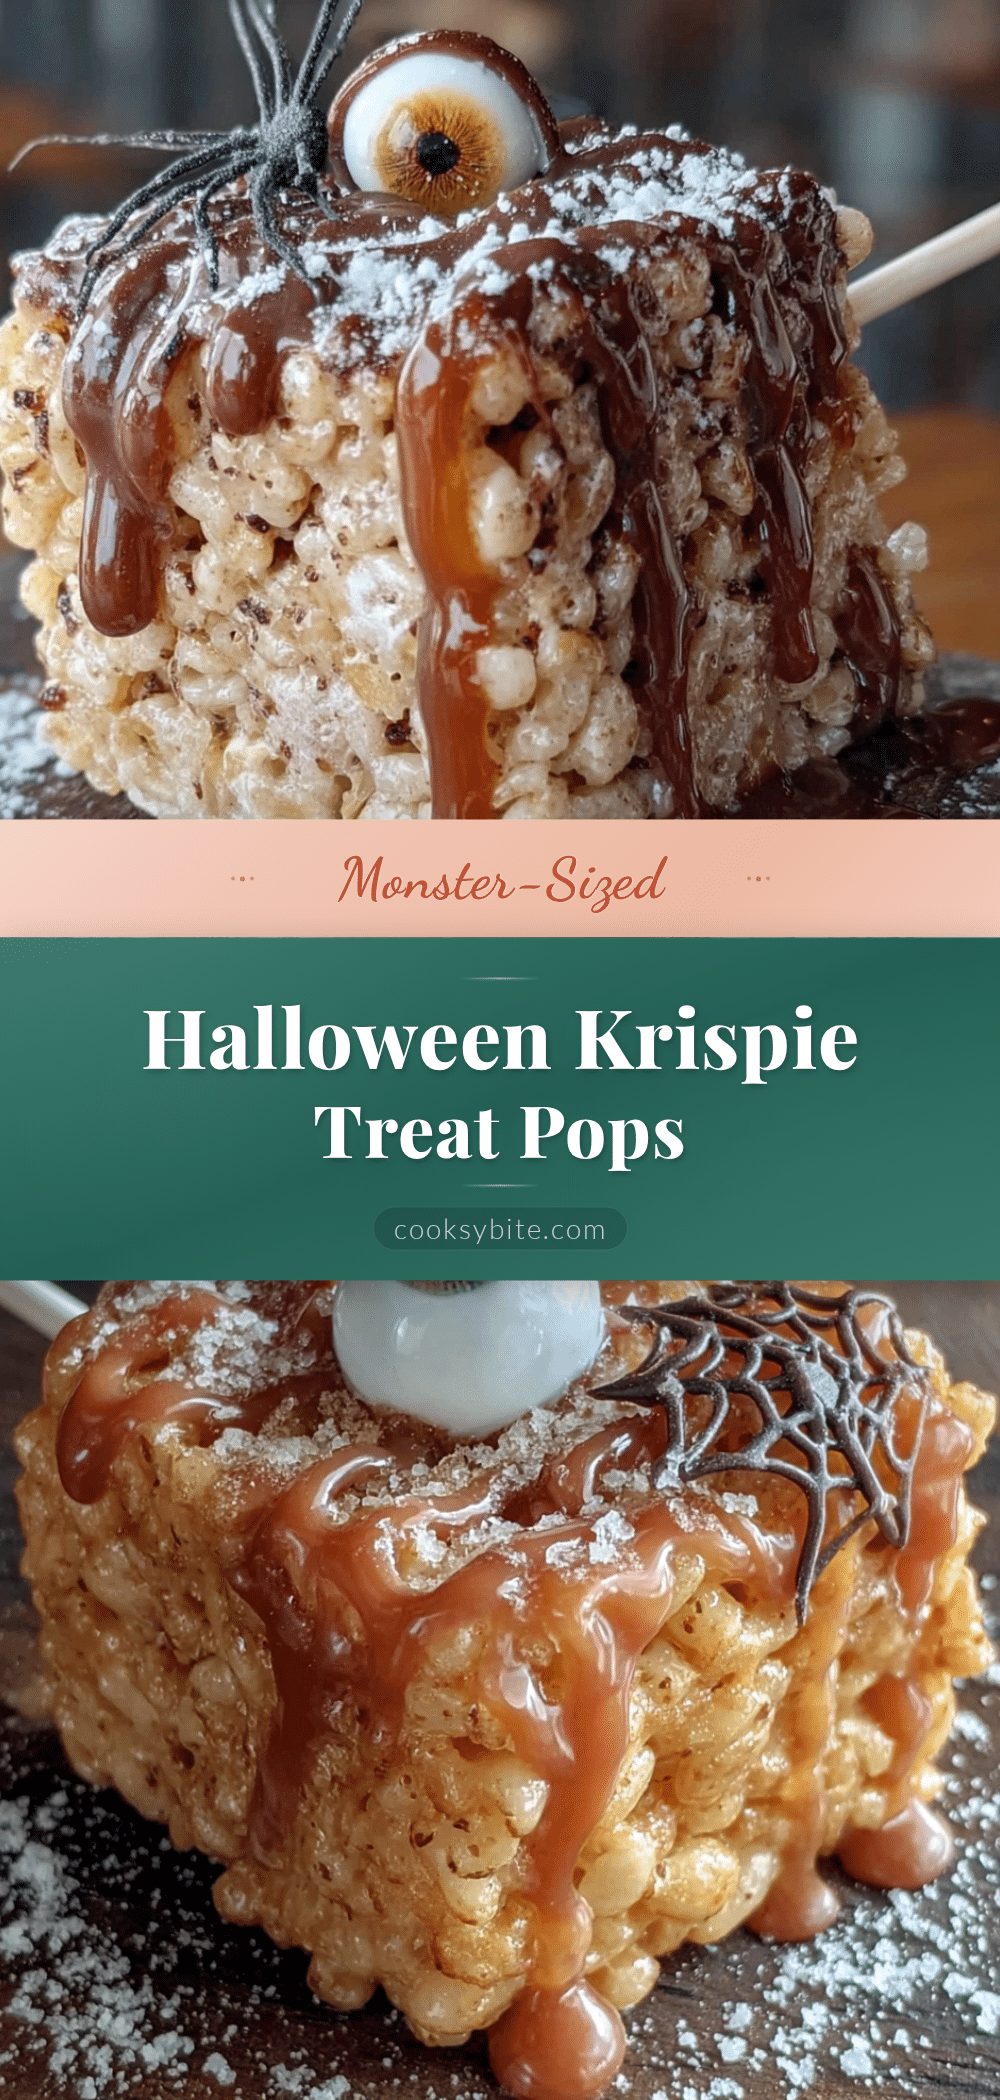
Easy Halloween Rice Krispie Treat Pops: 4-Ingredient Best Pops
These Easy Halloween Rice Krispie Treat Pops are a simple, no-bake treat made with just four ingredients. They feature a crisp chocolate coating over a soft, marshmallowy cereal center, perfect for Halloween parties and kid-friendly fun.
- Prep Time: 15 minutes
- Cook Time: 10 minutes
- Total Time: 55 minutes
- Yield: 12 servings 1x
- Category: Dessert
- Cuisine: American
Ingredients
- 3 tablespoons unsalted butter
- 1 package (10 ounces) marshmallows
- 6 cups crispy rice cereal
- 12 ounces candy melts or melting wafers (orange, black, white, or purple)
- Popsicle sticks or lollipop sticks (6-inch)
- Optional: Halloween sprinkles, edible glitter, candy eyes, or contrasting chocolate for decoration
Instructions
- Line a 9×13-inch baking dish with parchment paper, leaving overhang on the sides. Lightly grease the parchment with butter or nonstick spray.
- In a large saucepan over medium-low heat, melt 3 tablespoons of butter. Do not let it brown.
- Add the entire 10-ounce bag of marshmallows to the melted butter. Stir constantly until completely melted and smooth, about 3-4 minutes. Keep heat low to avoid scorching.
- Remove the pot from heat immediately. Pour in 6 cups of crispy rice cereal and fold gently until every piece is coated. Do not overmix.
- Scrape the mixture into the prepared pan. Lightly grease your hands or use greased parchment paper to press the mixture evenly into the pan, about 1 inch thick. Do not press too hard.
- While the mixture is still warm (but not hot), gently push a popsicle stick into the center of each square, inserting it about halfway. Space evenly to get about 12 pops.
- Let the treats cool completely at room temperature for at least 30 minutes, or refrigerate for 15 minutes if in a hurry.
- Use the parchment overhang to lift the entire block out of the pan. Place on a cutting board and cut between the sticks using a sharp knife or pizza cutter.
- Place candy melts in a microwave-safe bowl. Microwave in 30-second intervals, stirring well after each, until completely smooth. If too thick, add 1 teaspoon of coconut oil or shortening.
- Hold a pop by the stick and submerge it into the melted coating. Tilt the bowl to get full coverage. Lift out and let excess drip back into the bowl. Tap the stick gently to remove extra coating.
- While the coating is still wet, add decorations such as sprinkles or candy eyes. Work quickly as the coating sets fast.
- Place the dipped pops on a parchment-lined baking sheet or cooling rack. Let set at room temperature until firm, about 15-20 minutes, or refrigerate for 5-10 minutes.
Notes
Use fresh marshmallows for best melting. Do not overheat marshmallows or press the mixture too firmly. For dairy-free, use vegan butter and dairy-free marshmallows. For gluten-free, use certified gluten-free crispy rice cereal. The treats taste better the next day. Store undipped treats in an airtight container for up to 3 days; dipped treats keep for up to 5 days. Freeze for up to 2 months.
Nutrition
- Serving Size: 1 pop
- Calories: 235
- Sugar: 24
- Sodium: 165
- Fat: 9
- Saturated Fat: 5.5
- Carbohydrates: 37
- Protein: 2.5
Keywords: Halloween Rice Krispie treats, easy Halloween dessert, no-bake treats, Rice Krispie pops, 4-ingredient recipe, kid-friendly Halloween


