I ruined more chicken thighs than I care to admit before I figured out the secret to getting the skin actually crispy in an air fryer. For months, I kept pulling out thighs with that sad, rubbery skin that peeled off in one disappointing sheet. I tried higher temperatures, lower temperatures, flipping them halfway through, patting them dry with paper towels until my fingers cramped. Nothing worked. The meat was always juicy, sure, but the skin? A flabby letdown every single time.
Then one Tuesday night, out of frustration and a fridge full of chicken, I tried something different. I didn’t follow any recipe. I just thought about what actually makes skin crackle. Dryness, heat, and a little time. So I salted the thighs the night before and left them uncovered in the fridge. The next evening, I tossed them in the air fryer basket without any oil, skin side up, and walked away for twenty minutes. When I came back, the kitchen smelled like Sunday dinner, and the skin had blistered into this golden, shatteringly crisp crust that actually sounded crunchy when I bit into it. I stood there eating one over the sink, not even bothering with a plate.
That accidental discovery turned into my go-to method, and honestly, I haven’t made chicken thighs any other way since. No breading, no complicated steps, no special equipment beyond the air fryer sitting on your counter. Just a few small tricks that make all the difference between sad skin and the kind of crackling that makes you close your eyes and chew slowly. If you have been fighting with your air fryer over chicken thighs, I promise it’s not you. It’s just one missing step.
Why You Will Love This Recipe
Let me tell you why these crispy air fryer chicken thighs have become my most-requested dish from friends and family. I have tested this method at least thirty times across three different air fryer models, and the results stay consistent every single time. This is not one of those recipes that works only if you own a fancy machine.
- Quick and Easy: From fridge to plate in about 30 minutes, with only 5 minutes of actual hands-on prep. Perfect for those nights when you forgot to plan dinner and need something fast that still feels like a real meal.
- Simple Ingredients: You need chicken thighs, salt, and maybe some pepper. That is literally it. No buttermilk, no breadcrumbs, no complicated marinades that require a trip to three different stores.
- Perfect for Weeknights: This is the kind of dinner that works on a busy Tuesday but also impresses guests on a Saturday. Serve it with a simple salad or roasted vegetables, and suddenly it feels special without any extra effort.
- Crowd-Pleaser: I have served these to picky kids, health-conscious friends, and serious meat lovers. Every single person goes back for seconds. The skin is that good.
- Unbelievably Delicious: The contrast between the crispy, salty skin and the tender, juicy meat underneath is honestly ridiculous. It tastes like something you would get at a fancy restaurant, but you made it in your kitchen in under half an hour.
What makes this recipe different from every other air fryer chicken thigh recipe out there is the dry-brining step. Most recipes skip this because they want to be faster, but that overnight rest in the salt is what transforms the skin from rubbery to crackling. The salt draws out moisture, then the air in the fridge dries the surface completely. When that dry skin hits the hot air fryer, it puffs up and crisps beautifully instead of steaming in its own juices.
This is the kind of recipe that makes you feel like a genius in the kitchen. It is simple enough for a beginner but delivers results that impress even experienced cooks. And honestly, after the first bite, you will never want to make chicken thighs any other way.
What Ingredients You Will Need
This recipe uses minimal ingredients because the technique does all the heavy lifting. You do not need a long list of spices or complicated marinades to get perfect crackling skin. Here is everything you need, plus a few notes on how to choose the best ingredients.
- Bone-in, skin-on chicken thighs (4 to 6 thighs, about 1.5 to 2 pounds total) — This is non-negotiable. Boneless, skinless thighs will not give you the crackling skin we are after. Look for thighs where the skin is intact and not torn. I prefer thighs from Bell & Evans or Mary’s Free Range Chicken because they have better fat distribution and thicker skin that crisps up beautifully. If you can find air-chilled chicken, grab it. The dry processing means less moisture trapped under the skin from the start.
- Kosher salt (about 1 teaspoon per pound of chicken) — Use Diamond Crystal kosher salt if you can find it. The larger flakes dissolve more evenly and are harder to overdo. If you only have table salt, use half the amount. Morton’s kosher salt is somewhere in between. This is the ingredient doing the most work here, so do not skimp.
- Freshly ground black pepper (about 1/2 teaspoon) — Optional but recommended. It adds a subtle warmth that complements the chicken without overpowering it. Grind it fresh right before using for the best flavor.
- Optional seasonings — Garlic powder, smoked paprika, dried thyme, or onion powder can be added if you want extra flavor. Use about 1/2 teaspoon total. I sometimes add a pinch of smoked paprika for color and a subtle smokiness, but honestly, the plain salted version is so good that I usually skip extras.
A quick note on the chicken itself: try to buy thighs that are roughly the same size so they cook evenly. If some are much larger than others, the smaller ones might overcook while you wait for the bigger ones to finish. I usually look for thighs that are about 6 to 8 ounces each. Also, check the skin for any remaining feathers or rough patches and trim those off before salting.
That is genuinely it. Four ingredients, and two of them are salt and pepper. The magic happens in the preparation, not in a complicated spice blend.
Equipment Needed
You do not need much for this recipe, which is part of why I love it so much. Here is what you will need:
- Air fryer — Any model works. I have tested this method in a basket-style Cosori Pro II, an oven-style Ninja Foodi, and a cheaper Gourmia I found on clearance. All three produced excellent results. The key is knowing your specific model’s hot spots and adjusting accordingly. If your air fryer runs hot, check the chicken a few minutes early.
- Baking sheet or large plate — For holding the salted chicken in the fridge overnight. A rimmed baking sheet works best because it catches any drips.
- Wire rack (optional but helpful) — Placing the chicken on a wire rack set over a baking sheet allows air to circulate all around the thighs while they dry in the fridge. If you do not have one, just place the chicken directly on the baking sheet and flip them once halfway through the drying time.
- Paper towels — For patting the chicken dry before salting. Use good quality paper towels that will not disintegrate and leave lint on the chicken.
- Tongs — For moving the hot chicken in and out of the air fryer. Metal tongs are better than silicone because they are more precise, but either works.
- Instant-read thermometer — This is not optional if you want perfectly cooked chicken every time. I use a Thermapen ONE because it reads in about two seconds, but any reliable digital thermometer will do. The difference between perfectly juicy chicken and dry, overcooked chicken is about 5 degrees.
If you do not own an air fryer yet, you can still make this recipe using a convection oven set to 400°F. The cooking time will be a bit longer, about 35 to 40 minutes, and you will want to place the thighs on a wire rack over a baking sheet to allow air circulation. But honestly, air fryers are affordable these days, and they make weeknight cooking so much easier. I found my first one at a garage sale for ten dollars, and it lasted me three years.
Preparation Method
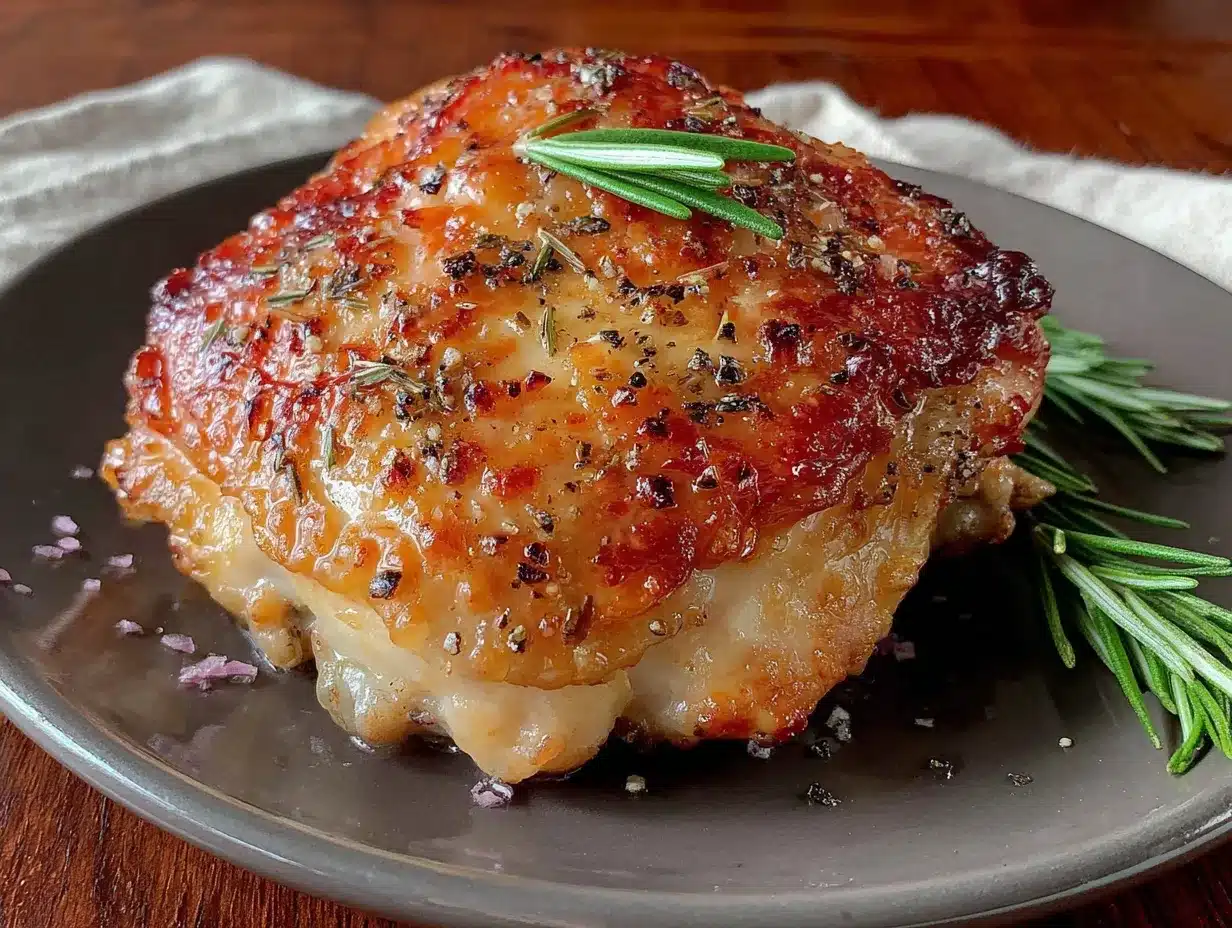
This method has two parts: the overnight dry brine and the actual cooking. Do not skip the first part. Trust me, I learned the hard way that rushing this step leads to disappointing skin.
Part 1: The Dry Brine (Do This the Night Before)
- Pat the chicken thighs dry with paper towels. Be thorough here. You want the skin as dry as possible before adding salt. If you see any moisture beading on the surface, keep blotting.
- Season generously with kosher salt on both sides. Use about 1 teaspoon of Diamond Crystal kosher salt per pound of chicken. Sprinkle it from a height of about 6 inches for even distribution. Do not rub the salt in. Just let it land on the surface.
- Add black pepper and any optional seasonings if using. Again, sprinkle evenly without rubbing.
- Place the thighs skin-side up on a wire rack set over a baking sheet. If you do not have a wire rack, place them directly on the baking sheet skin-side up. The key is leaving them uncovered so air can circulate.
- Refrigerate uncovered for 12 to 24 hours. The longer the better, but even 6 hours makes a noticeable difference. The salt will draw moisture to the surface, where the fridge air will evaporate it, leaving the skin dry and tight. This is what creates that crackling crust.
I know leaving chicken uncovered in the fridge sounds weird, and I worried about it the first time too. But the salt acts as a preservative, and the cold temperature keeps everything safe. I have done this for up to 48 hours with no issues, and the skin gets even crispier.
Part 2: Cooking the Chicken
- Remove the chicken from the fridge about 20 minutes before cooking. Let it sit at room temperature while you preheat the air fryer. This helps the chicken cook more evenly.
- Preheat your air fryer to 400°F for 5 minutes. Most air fryers recommend preheating, and this step ensures the chicken hits hot air immediately for maximum crisping.
- Place the chicken thighs skin-side up in the air fryer basket in a single layer. Leave at least half an inch of space between each thigh. If they are touching, the skin will not crisp where they overlap. Cook in batches if necessary.
- Cook at 400°F for 20 to 25 minutes. Do not flip the chicken. The skin needs to stay facing up to crisp properly. At the 15-minute mark, check the internal temperature of the thickest thigh. You are looking for 165°F in the thickest part near the bone, but I actually pull mine at 170°F because the dark meat benefits from a slightly higher temperature for tenderness.
- Check for doneness using your instant-read thermometer. Insert it into the thickest part of the thigh without touching the bone. The meat should read at least 165°F. If the skin is not as crispy as you want but the chicken is done, let it rest for 5 minutes. The residual heat continues crisping the skin.
- Let the chicken rest for 5 minutes before serving. This allows the juices to redistribute so they do not run out when you cut into the meat. I know it is hard to wait, but this step matters.
One thing I learned through trial and error: resist the urge to open the air fryer every few minutes to check on the chicken. Every time you open it, heat escapes, and the cooking time extends. Trust the process and let it do its thing.
Cooking Tips and Techniques
After making these crispy air fryer chicken thighs dozens of times, I have collected a few tips that make the difference between good and absolutely unforgettable. Here are the ones that matter most.
Dry brine longer than you think you need to. The first few times I tried this method, I only dry brined for 4 hours because I started too late in the day. The skin was better than without brining, but it was not the shatteringly crisp crust I wanted. When I finally did a full 24-hour brine, the difference was dramatic. The skin puffed up like pork crackling. If you can plan ahead, give it the full day.
Do not add oil to the skin. This is counterintuitive because most crispy chicken recipes call for oil. But the fat already in the chicken skin renders out during cooking and provides plenty of crisping power. Adding oil actually makes the skin less crispy because it creates steam. I learned this after a particularly greasy batch that left me wiping oil off the air fryer basket for days.
Watch your air fryer’s hot spots. Every air fryer has areas that cook faster than others. In my Cosori, the back right corner runs about 20 degrees hotter than the front left. I rotate the basket halfway through cooking for even results. Get to know your machine’s quirks, and you will get consistent results every time.
Do not overcrowd the basket. I made this mistake more times than I want to admit. When the thighs are packed too tightly, they steam instead of crisp. The skin stays soft and pale, and you end up disappointed. Cook in batches if you have to. The extra 10 minutes is worth it for the texture.
Let the chicken rest on a wire rack, not a plate. After cooking, place the thighs on a wire rack so air can circulate underneath. If you put them directly on a plate, the steam trapped underneath softens the crispy skin. I learned this one the hard way when I served a batch that was perfectly crispy fresh out of the air fryer but had soggy bottoms after 5 minutes on a plate.
Season the chicken right before serving. If you added extra spices like garlic powder or paprika, sprinkle them on right before serving. The heat from the chicken will bloom the flavors, and they will taste fresher than if they cooked for 25 minutes in the air fryer.
Variations and Adaptations
This basic recipe is delicious as written, but I have experimented with several variations over the years. Here are a few of my favorites.
Spicy Cajun Version: Add 1 teaspoon of Cajun seasoning to the dry brine along with the salt. The paprika, cayenne, and garlic in the blend create a beautiful red crust that tastes incredible. I serve these with a cooling ranch dip and some celery sticks for a healthier take on buffalo wings.
Lemon Herb Version: Add the zest of one lemon and 1 teaspoon of dried thyme or rosemary to the dry brine. The citrus oils penetrate the skin during the overnight rest and infuse the meat with bright, fresh flavor. This version pairs beautifully with roasted potatoes and a simple green salad.
Honey Garlic Glaze: In the last 3 minutes of cooking, brush the thighs with a mixture of 2 tablespoons honey, 1 tablespoon soy sauce, and 2 minced garlic cloves. Return to the air fryer and let the glaze caramelize. Watch carefully because honey burns quickly. This version is sticky, sweet, and savory all at once. My kids request this one constantly.
Low-Carb Option: The basic recipe is already low-carb and keto-friendly since there is no breading or sugar involved. Serve it with roasted broccoli or cauliflower rice for a satisfying low-carb meal that does not feel like a sacrifice.
Boneless Thigh Adaptation: If you only have boneless, skin-on thighs, the method works the same, but reduce the cooking time to 15 to 18 minutes. The skin will still crisp beautifully, and the meat cooks faster without the bone. Just be careful not to overcook them.
If you love recipes that deliver big flavor with minimal effort, you might also enjoy these cherry chocolate brownies for dessert. The rich, fudgy texture pairs surprisingly well with the savory, salty chicken.
Serving and Storage Suggestions
These crispy air fryer chicken thighs are best served immediately, right when the skin is at its crackling peak. But I have a few tips for serving and storing them that will help you get the most out of this recipe.
Serving temperature: Serve the chicken hot, straight from the air fryer. The skin starts losing its crispness after about 10 minutes, so time your sides accordingly. If you need to hold them for a few minutes, place them on a wire rack in a 200°F oven with the door cracked open.
What to serve with them: These thighs go with almost anything. I love them with a simple arugula salad dressed with lemon and olive oil, roasted asparagus, or creamy mashed potatoes. For a complete meal that feels like a restaurant dinner, try them alongside these mini lemon blueberry cheesecakes for dessert. The bright citrus notes complement the savory chicken perfectly.
Storage instructions: Leftover chicken thighs keep in the refrigerator for up to 4 days in an airtight container. The skin will soften during storage, but do not worry. You can re-crisp it easily.
Reheating method: The best way to reheat these thighs is back in the air fryer at 375°F for 3 to 4 minutes. The hot air re-crisps the skin while warming the meat through. Do not use the microwave unless you are okay with soft skin. If you must microwave, do it at 50% power for 1 minute, then finish in the air fryer for 2 minutes.
Freezing instructions: Cooked chicken thighs freeze well for up to 3 months. Wrap each thigh individually in plastic wrap, then place them in a freezer bag. To reheat, thaw overnight in the refrigerator, then re-crisp in the air fryer at 375°F for 5 to 6 minutes.
How flavors develop: The dry brining step actually makes the leftovers taste better. The salt continues to season the meat overnight, so day-old chicken thighs are even more flavorful than fresh ones. I sometimes make a double batch just for the leftovers.
Nutritional Information and Benefits
Chicken thighs often get a bad reputation compared to chicken breasts, but they have plenty of nutritional benefits. Here is the breakdown for one serving (one thigh, about 6 ounces cooked).
Estimated nutritional values per serving:
- Calories: 280
- Protein: 24g
- Fat: 19g (including 5g saturated fat)
- Carbohydrates: 0g
- Sodium: 520mg (varies based on salt amount)
Health benefits: Chicken thighs are rich in selenium, which supports thyroid function and immune health. They also provide B vitamins, particularly B6 and B12, which help with energy metabolism and brain function. The dark meat contains more iron and zinc than chicken breast, making it a good choice for anyone who needs extra minerals in their diet.
Dietary considerations: This recipe is naturally gluten-free, dairy-free, low-carb, and keto-friendly. It contains no added sugars or processed ingredients. The only potential allergen is chicken itself, so it works for most dietary restrictions.
Personal perspective: I used to avoid chicken thighs because I thought they were less healthy than breasts. But after learning more about nutrition, I realized that the extra fat in thighs keeps you fuller longer and provides steady energy. Plus, the flavor is so much better that I actually enjoy eating them without drowning them in sauce.
Conclusion
These crispy air fryer chicken thighs have completely changed how I think about weeknight dinners. They are fast enough for a busy Tuesday but impressive enough for company. The crackling skin, the juicy meat, the minimal cleanup — everything about this recipe just works.
I love that this method proves you do not need complicated techniques or special ingredients to make restaurant-quality food at home. All it takes is a little planning and the willingness to let the chicken do its thing in the fridge overnight. Once you taste that first bite of shatteringly crisp skin, you will understand why I ruined so many thighs before I got it right.
Try this recipe and let me know how it goes. Did your skin crackle? Did you add any fun seasonings? I would love to hear about your version in the comments below. And if you are looking for more easy, delicious recipes, check out the full recipe collection for more weeknight winners.
Now go make some chicken. Your air fryer is waiting.
Frequently Asked Questions
Can I use frozen chicken thighs for this recipe?
I do not recommend starting with frozen thighs for this method. The dry brining process requires the skin to be dry, and frozen chicken releases too much moisture as it thaws. Thaw the chicken completely in the refrigerator first, then pat it dry and proceed with the dry brine.
Why is my chicken skin not crispy even after 25 minutes?
This usually happens for one of three reasons: the chicken was not dry brined long enough, the air fryer was overcrowded, or the skin was not patted dry before salting. Make sure you give the chicken at least 6 hours in the fridge uncovered, leave space between each thigh in the basket, and blot the skin thoroughly before seasoning.
Can I use chicken drumsticks or wings with this method?
Absolutely. The same dry brining technique works for any chicken cut with skin on. Drumsticks need about 25 minutes at 400°F, and wings need about 20 minutes. Just make sure to adjust the cooking time based on the size of the pieces and check internal temperature for doneness.
Do I need to flip the chicken halfway through cooking?
No. Keeping the chicken skin-side up the entire time allows the skin to crisp evenly without sticking to the basket. Flipping can cause the skin to tear or stick to the basket, ruining the texture you worked so hard to achieve.
How do I clean my air fryer after cooking chicken thighs?
Let the air fryer cool completely, then remove the basket and wash it with warm, soapy water. For stubborn grease, let the basket soak for 15 minutes before scrubbing. I use a soft sponge to avoid scratching the nonstick coating. The heating element usually does not need cleaning, but if you see buildup, wipe it gently with a damp cloth once the machine is completely cool and unplugged.
Pin This Recipe!
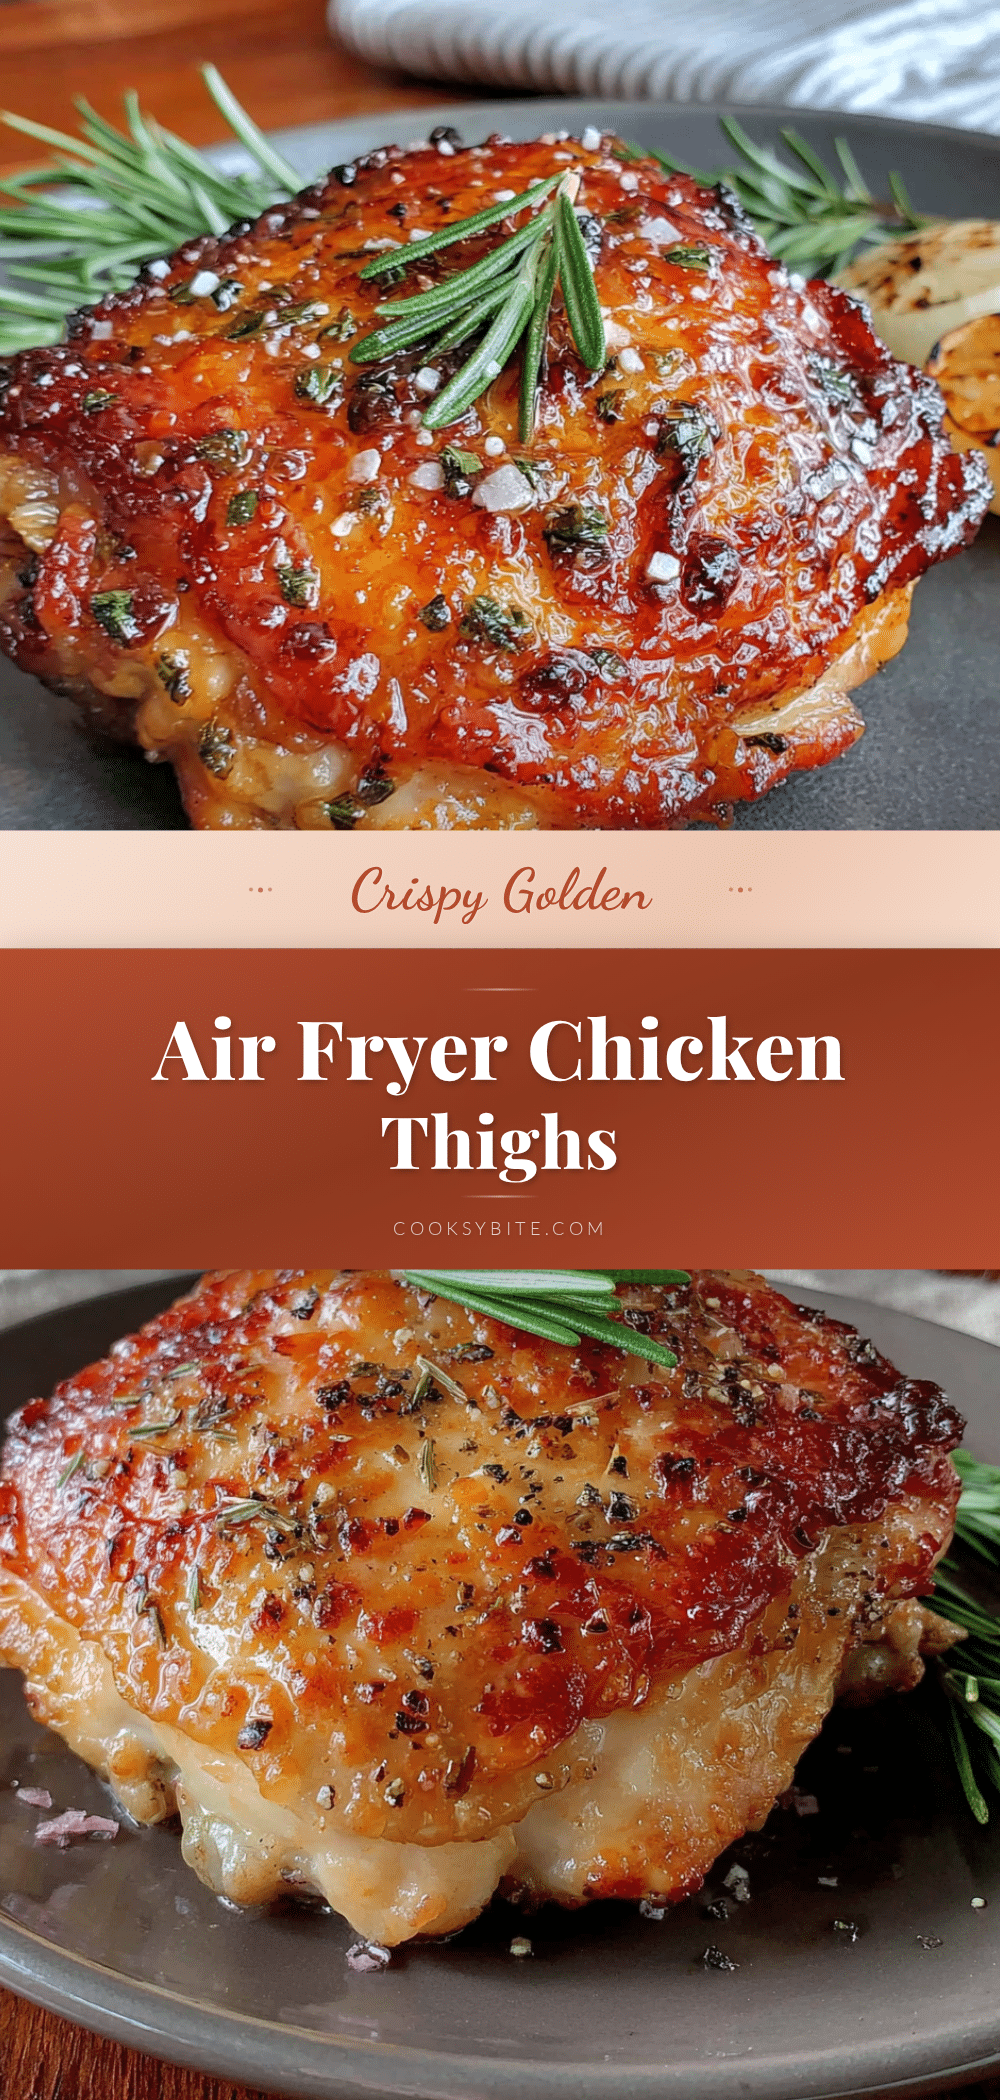
Crispy Air Fryer Chicken Thighs: Best Crackling Skin

These crispy air fryer chicken thighs feature shatteringly crackling skin and juicy meat, achieved with a simple dry brine and no oil. Ready in about 30 minutes with minimal hands-on prep, this recipe is perfect for weeknights and impresses every time.
- Prep Time: 5 minutes
- Cook Time: 25 minutes
- Total Time: 30 minutes (plus 12-24 hours dry brining)
- Yield: 4 servings 1x
- Category: Main Course
- Cuisine: American
Ingredients
- 4 to 6 bone-in, skin-on chicken thighs (about 1.5 to 2 pounds total)
- 1 teaspoon kosher salt per pound of chicken (Diamond Crystal recommended)
- 1/2 teaspoon freshly ground black pepper (optional)
- Optional seasonings: garlic powder, smoked paprika, dried thyme, or onion powder (about 1/2 teaspoon total)
Instructions
- Pat the chicken thighs dry thoroughly with paper towels.
- Season generously with kosher salt on both sides (about 1 teaspoon per pound). Sprinkle from a height of 6 inches for even distribution. Do not rub in.
- Add black pepper and any optional seasonings if using.
- Place thighs skin-side up on a wire rack set over a baking sheet (or directly on the baking sheet). Refrigerate uncovered for 12 to 24 hours.
- Remove chicken from fridge 20 minutes before cooking. Preheat air fryer to 400°F for 5 minutes.
- Place chicken thighs skin-side up in a single layer in the air fryer basket, leaving at least half an inch of space between each. Cook in batches if necessary.
- Cook at 400°F for 20 to 25 minutes. Do not flip. Check internal temperature at 15 minutes; target 165°F in the thickest part near the bone (or 170°F for tenderness).
- Let chicken rest for 5 minutes on a wire rack before serving.
Notes
Dry brine for at least 6 hours, but 24 hours yields the crispiest skin. Do not add oil to the skin; the rendered fat provides enough crisping. Avoid overcrowding the basket to prevent steaming. Let chicken rest on a wire rack to keep skin crispy. Reheat leftovers in the air fryer at 375°F for 3-4 minutes.
Nutrition
- Serving Size: 1 chicken thigh (abo
- Calories: 280
- Sodium: 520
- Fat: 19
- Saturated Fat: 5
- Protein: 24
Keywords: air fryer chicken thighs, crispy chicken thighs, crackling skin, dry brine chicken, easy chicken recipe, keto chicken, gluten-free chicken


