We were both broke, both pretending we knew how to cook, and both desperately trying to impress a few people from work who were coming over for what we called “Fancy Fall Dinner.” Fancy, in this case, meant we’d pooled our money for a single acorn squash and a block of Parmesan that was probably older than our friendship. Margot had this idea — she’d seen someone top squash with cheese and breadcrumbs on a cooking show her mom watched. We had no real recipe, just a hunch and a prayer. I remember her slicing that squash, her knuckles white around the knife, muttering that it looked like a spaceship. The smell that filled her apartment wasn’t complicated. It was just butter, garlic, and that sharp, nutty Parmesan melting into something sweet from the squash. It was the smell of trying really hard. When we pulled that pan out of the oven, the top was a landscape of bubbly, browned cheese — not just melted, but actually crispy. Crunchy. The kind of crust that makes a sound. Everyone at that dinner ate two servings, and Margot, who never bragged, just looked at me and grinned. That night, we didn’t just make a side dish. We made the kind of food that makes people close their eyes without meaning to. And honestly, I’ve been chasing that exact texture ever since.
Why You’ll Love This Crispy Parmesan Roasted Acorn Squash
This isn’t your standard roasted squash. It’s better. It’s the version you actually want to eat.
- Quick & Easy : Ready in about 40 minutes, with only 10 minutes of active prep. Perfect for busy weeknights when you still want something that feels special.
- Simple Ingredients : You need an acorn squash, Parmesan, butter, and a few pantry staples. No fancy shopping list required.
- Perfect for Fall Gatherings : This side dish disappears at Thanksgiving, Friendsgiving, or any cozy dinner party. It looks impressive with almost zero effort.
- Crowd-Pleaser : Even people who “don’t like squash” change their minds after one bite of that crispy, cheesy crust.
- Unbelievably Delicious : The contrast between the tender, sweet squash and the salty, crunchy Parmesan topping is honestly addictive. It’s comfort food that feels a little bit fancy.
What makes this recipe different? It’s all in the technique. Instead of just sprinkling cheese on top, we create a proper crust — a mixture of Parmesan, panko breadcrumbs, and butter that bakes into a golden, crackly shell. It’s the same principle that makes a good decadent red wine chocolate cake so satisfying: layers of texture and flavor working together. This isn’t just another roasted squash recipe. It’s the one you’ll come back to every autumn.
What Ingredients You Will Need
This recipe uses simple, wholesome ingredients that work together to create a side dish that’s both elegant and incredibly easy. Most of these are pantry staples, especially during the fall season.
- Acorn squash (1 medium, about 1.5 to 2 pounds) : Look for one that feels heavy for its size with a deep green color and a splotch of orange. That orange spot means it’s ripe and sweet. I prefer organic when I can find it, but conventional works just fine.
- Unsalted butter (2 tablespoons, melted) : Butter adds richness and helps the topping brown beautifully. I use unsalted so I can control the salt level. If you only have salted butter, just reduce the added salt in the recipe.
- Extra-virgin olive oil (1 tablespoon) : A little oil helps the squash roast evenly and get tender. It also raises the smoke point so the butter doesn’t burn.
- Freshly grated Parmesan cheese (1/2 cup, packed) : This is the star. Please, please grate it yourself from a block. Pre-shredded cheese has anti-caking agents that prevent it from melting and crisping properly. I like a good Parmigiano-Reggiano for the best nutty flavor.
- Panko breadcrumbs (1/4 cup) : Panko gives the topping that light, airy crunch. Regular breadcrumbs are too fine and will turn dense. If you’re gluten-free, use gluten-free panko — it works perfectly.
- Garlic powder (1/2 teaspoon) : Don’t use fresh garlic here; it will burn before the squash is done. Garlic powder gives that savory depth without the risk of bitterness.
- Dried thyme (1/2 teaspoon) : Thyme and squash are a classic pair. You can substitute dried rosemary or sage, but thyme is my go-to. It feels warm and earthy.
- Salt (1/2 teaspoon, plus more for seasoning) : I use fine sea salt. It dissolves evenly and seasons the squash without being too aggressive.
- Black pepper (1/4 teaspoon, freshly ground) : A little pepper adds a subtle warmth that balances the sweetness of the squash.
- Optional garnish: Fresh parsley, chopped : A sprinkle of green at the end makes the dish look restaurant-ready. It’s not necessary, but it’s a nice touch.
Equipment Needed
You don’t need a lot of fancy tools for this recipe, which is part of its charm. Here’s what you’ll need:
- Sharp chef’s knife : Acorn squash is tough. A dull knife is dangerous. I’ve learned this the hard way — trust me, a sharp knife makes the job safe and easy.
- Cutting board : A sturdy one that won’t slip. Place a damp paper towel underneath to keep it steady.
- Large baking sheet : A rimmed baking sheet is ideal. It catches any juices and prevents spillover. I use a half-sheet pan for this recipe.
- Parchment paper or aluminum foil : For easy cleanup. The caramelized squash can stick, and parchment makes life so much easier.
- Small bowl : For mixing the Parmesan topping.
- Pastry brush : For brushing the butter and oil mixture onto the squash. A silicone brush works great and doesn’t shed bristles.
- Measuring spoons and cups : Precision matters for the topping.
- Box grater or microplane : For grating the Parmesan. A microplane gives you super fine shreds that melt beautifully.
If you don’t have a pastry brush, you can use a spoon to drizzle the butter mixture over the squash. It’s not as neat, but it works. And if you’re short on time, a food processor with a grating disc can shred the Parmesan in seconds.
Preparation Method
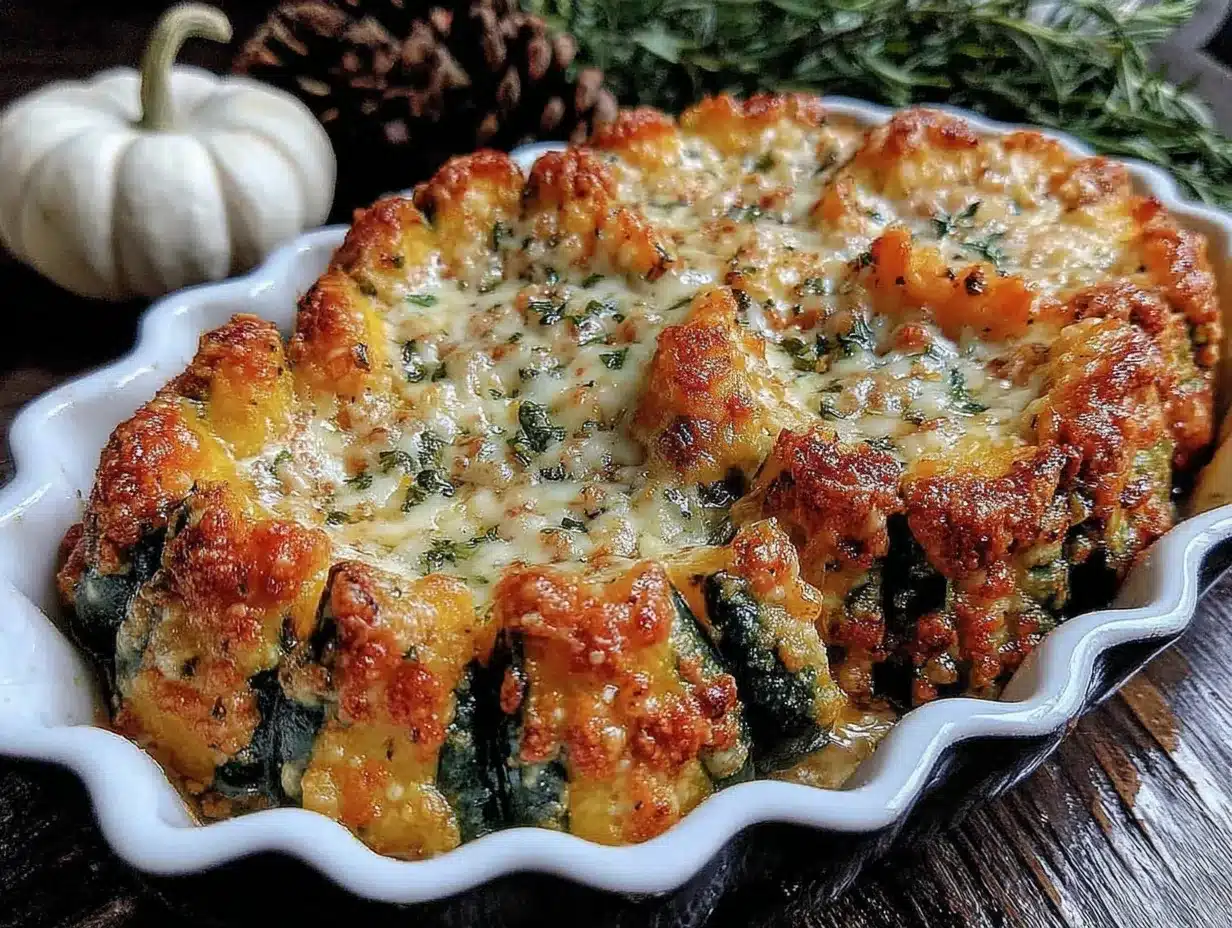
Let’s get cooking. This method is straightforward, but I’ll share the little tricks I’ve picked up over the years to make it foolproof.
- Preheat your oven to 400°F (200°C) . Line a large baking sheet with parchment paper. Getting the oven hot is crucial — it ensures the squash roasts evenly and the topping crisps up, not just melts.
- Prepare the acorn squash : Using your sharp chef’s knife, carefully cut the squash in half from the stem end down through the tip. This can take some muscle. If it’s too hard, microwave the whole squash for 2 minutes to soften it slightly. Scoop out the seeds and stringy pulp with a spoon. I save the seeds to roast later — they make a great snack.
- Slice the squash : Cut each half into 1-inch thick crescents or wedges. Aim for uniform thickness so they cook at the same rate. Don’t make them too thin, or they’ll get mushy before the topping browns. You should get about 12-16 wedges from one medium squash.
- Mix the butter and oil : In a small bowl, combine the melted unsalted butter and olive oil. Brush this mixture generously over both sides of each squash wedge. Make sure every piece is coated — this is what helps the topping stick and the squash get tender.
- Season the squash : Sprinkle the salt and black pepper evenly over the squash wedges. Don’t skip this step; it brings out the natural sweetness of the squash.
- Make the Parmesan topping : In the same small bowl (or a new one if you prefer), combine the freshly grated Parmesan, panko breadcrumbs, garlic powder, and dried thyme. Stir until everything is evenly mixed. The mixture should look like coarse, golden sand.
- Top the squash : Press the Parmesan mixture firmly onto the top of each squash wedge. Don’t just sprinkle it — really press it in. This is the secret to a crust that stays put and gets properly crispy. Use about a tablespoon per wedge.
- Roast the squash : Arrange the squash wedges in a single layer on the prepared baking sheet, leaving a little space between each piece. Roast for 25-30 minutes, or until the squash is tender when pierced with a fork and the topping is golden brown and crispy. If the topping isn’t brown enough after 25 minutes, switch the oven to broil for the last 1-2 minutes. Watch it carefully — it can burn fast.
- Rest and serve : Let the squash cool on the baking sheet for 2-3 minutes. This allows the topping to set and become even crispier. Transfer to a serving platter, garnish with fresh parsley if desired, and serve warm.
One thing I learned the hard way: don’t overcrowd the pan. If the wedges are touching, they’ll steam instead of roast, and you’ll lose that crispy edge. Use two baking sheets if you need to.
Cooking Tips & Techniques
I’ve made this recipe more times than I can count, and I’ve definitely had my share of failures. Here’s what I’ve learned so you don’t have to repeat my mistakes.
The biggest mistake? Not drying the squash enough. After you wash it, pat it completely dry with a clean kitchen towel. Any excess moisture will steam the squash and make the topping soggy before it can crisp.
Another common issue is the topping falling off. This happens when you don’t press it firmly enough, or when the squash is cut too thin. Aim for wedges that are about 1 inch thick at the widest part. And really use your fingers to press that cheesy mixture into the squash — it should feel like you’re making a crust.
Timing is everything. I like to prep the squash and mix the topping while the oven preheats. That way, everything goes in hot and fresh. If you’re making this for a holiday dinner, you can slice the squash and mix the topping up to a day ahead. Just store them separately in the fridge, and assemble right before roasting.
For extra crispy results , try this: after brushing the squash with butter and oil, let it sit for 5 minutes before adding the topping. This allows the butter to soak in a little, which helps the topping adhere better. Then, when you roast, the butter that seeps out will help the panko brown beautifully.
If you’re short on time , you can skip the panko and just use extra Parmesan. The crust will be a little denser and more like a cheese crisp, but it’s still delicious.
Variations & Adaptations
One of the best things about this recipe is how flexible it is. I’ve tried several variations, and they all have their own charm.
Dietary Adaptations:
- Gluten-Free : Use gluten-free panko breadcrumbs. They work exactly the same way. I’ve tested this with several brands, and they all crisp up nicely.
- Dairy-Free : Substitute the butter with a high-quality vegan butter (I like Miyoko’s) and use a dairy-free Parmesan alternative. The texture won’t be quite as crispy, but it’s still very good.
- Low-Carb/Keto : Skip the panko entirely and double the Parmesan. You’ll get a cheesy, crispy crust with minimal carbs.
Flavor Twists:
- Spicy Version : Add 1/4 teaspoon of cayenne pepper or red pepper flakes to the Parmesan mixture. The heat pairs beautifully with the sweet squash.
- Herb Garden : Swap the dried thyme for fresh rosemary or sage. Finely chop 1 tablespoon of fresh herbs and mix them into the topping. The flavor is brighter and more aromatic.
- Maple Glaze : For a sweeter version, add 1 tablespoon of maple syrup to the melted butter and oil mixture. Brush it on the squash before adding the topping. The maple caramelizes and creates a sticky-sweet crust.
Different Squash Options: If you can’t find acorn squash, this recipe works beautifully with butternut squash (cut into 1-inch cubes) or delicata squash (sliced into rings). Adjust cooking time as needed — butternut may need an extra 5-10 minutes.
I once made a version with smoked paprika and a pinch of brown sugar for a Friendsgiving potluck. It was the first dish to disappear. That smoky-sweet combination is now my go-to for fall parties.
Serving & Storage Suggestions
This crispy Parmesan roasted acorn squash is best served warm, straight from the oven. The contrast between the hot, tender squash and the crispy, salty topping is at its peak within the first 15 minutes. I like to arrange the wedges on a warm platter, sprinkle with a little fresh parsley, and serve them as a side dish alongside roasted chicken, pork chops, or a hearty Thanksgiving turkey.
What to serve with it:
- It’s a natural partner for a simple roasted chicken or a pork tenderloin from your recipe collection.
- For a vegetarian meal, pair it with a warm grain salad or a bowl of lentil soup.
- It also works surprisingly well as a topping for a fall salad — just chop the wedges into bite-sized pieces and toss them with arugula, dried cranberries, and a balsamic vinaigrette.
Storage: Leftovers can be stored in an airtight container in the refrigerator for up to 3 days. The topping will soften as it sits, but the flavor is still wonderful. To reheat, place the squash on a baking sheet and warm it in a 375°F (190°C) oven for about 10 minutes. This will help restore some of the crispiness. Avoid the microwave — it will turn the topping rubbery.
Freezing: I don’t recommend freezing this dish. The texture of the squash changes significantly upon thawing, and the crispy topping will become soggy. It’s best enjoyed fresh.
One thing I love about this recipe is that the flavors actually deepen a little overnight. The garlic and thyme meld together, and the squash becomes even sweeter. If you have leftovers, chop them up and toss them into a frittata or a breakfast hash the next morning. It’s a game-changer.
Nutritional Information & Benefits
This dish is a wonderful balance of indulgence and nutrition. Here’s an approximate nutritional breakdown per serving (based on 4 servings):
| Nutrient | Amount per Serving |
|---|---|
| Calories | 210 |
| Total Fat | 12g |
| Saturated Fat | 6g |
| Cholesterol | 25mg |
| Sodium | 420mg |
| Total Carbohydrates | 22g |
| Dietary Fiber | 3g |
| Sugars | 4g |
| Protein | 8g |
Acorn squash is a powerhouse of nutrition. It’s rich in vitamin A (great for eye health), vitamin C (for immune support), and potassium (for heart health). The fiber content helps keep you full and supports healthy digestion. The Parmesan adds calcium and protein, making this side dish more satisfying than a plain vegetable.
Dietary Considerations: This recipe is naturally vegetarian. For a gluten-free version, simply use gluten-free panko. For a lower-calorie option, you can reduce the butter to 1 tablespoon, but the topping won’t be as crispy.
I love that this dish feels indulgent — like a treat — but it’s actually packed with good-for-you ingredients. It’s the kind of food that makes you feel nourished without feeling deprived.
Conclusion
This crispy Parmesan roasted acorn squash is more than just a side dish. It’s the kind of recipe that turns a simple meal into something memorable. The combination of tender, sweet squash and a salty, crunchy Parmesan crust is honestly hard to beat. It’s easy enough for a Tuesday night, but impressive enough for a holiday table.
I encourage you to make this recipe your own. Try it with different herbs, add a pinch of heat, or swap in your favorite squash. The beauty of this dish is that it’s forgiving and flexible. And if you love it half as much as I do, you’ll be making it all autumn long.
I’d love to hear how it turns out for you. Did you try a variation? Did it become a new family favorite? Drop a comment below and share your experience. And if you’re looking for more easy, delicious side dishes, don’t forget to browse our full recipe collection for more inspiration. Happy cooking!
Frequently Asked Questions
Can I use a different type of squash for this recipe?
Absolutely! Butternut squash, delicata squash, or even sweet potatoes work wonderfully. Just adjust the cooking time as needed — butternut may need a few extra minutes, while delicata cooks faster. The key is to cut them into uniform pieces so they roast evenly.
How do I keep the Parmesan topping from falling off?
Press the topping firmly onto the squash wedges before roasting. Also, make sure the squash is well-coated with the butter and oil mixture — it acts as glue. Cutting the squash into 1-inch thick wedges also helps, as thinner slices can’t hold the topping as well.
Can I make this recipe ahead of time?
You can prep the squash and mix the topping up to a day in advance. Store them separately in the refrigerator, then assemble and roast just before serving. The squash is best enjoyed fresh from the oven when the topping is at its crispiest.
Is this recipe suitable for a gluten-free diet?
Yes, with a simple swap. Just use gluten-free panko breadcrumbs in place of regular panko. The texture and flavor are virtually identical. Be sure to check that your Parmesan is also gluten-free, though most are.
How do I reheat leftovers without losing the crispy topping?
The best method is to reheat the squash in the oven. Place the wedges on a baking sheet and warm them at 375°F (190°C) for about 10 minutes. This helps restore some of the crunch. Avoid the microwave, as it will make the topping soft and soggy.
Pin This Recipe!
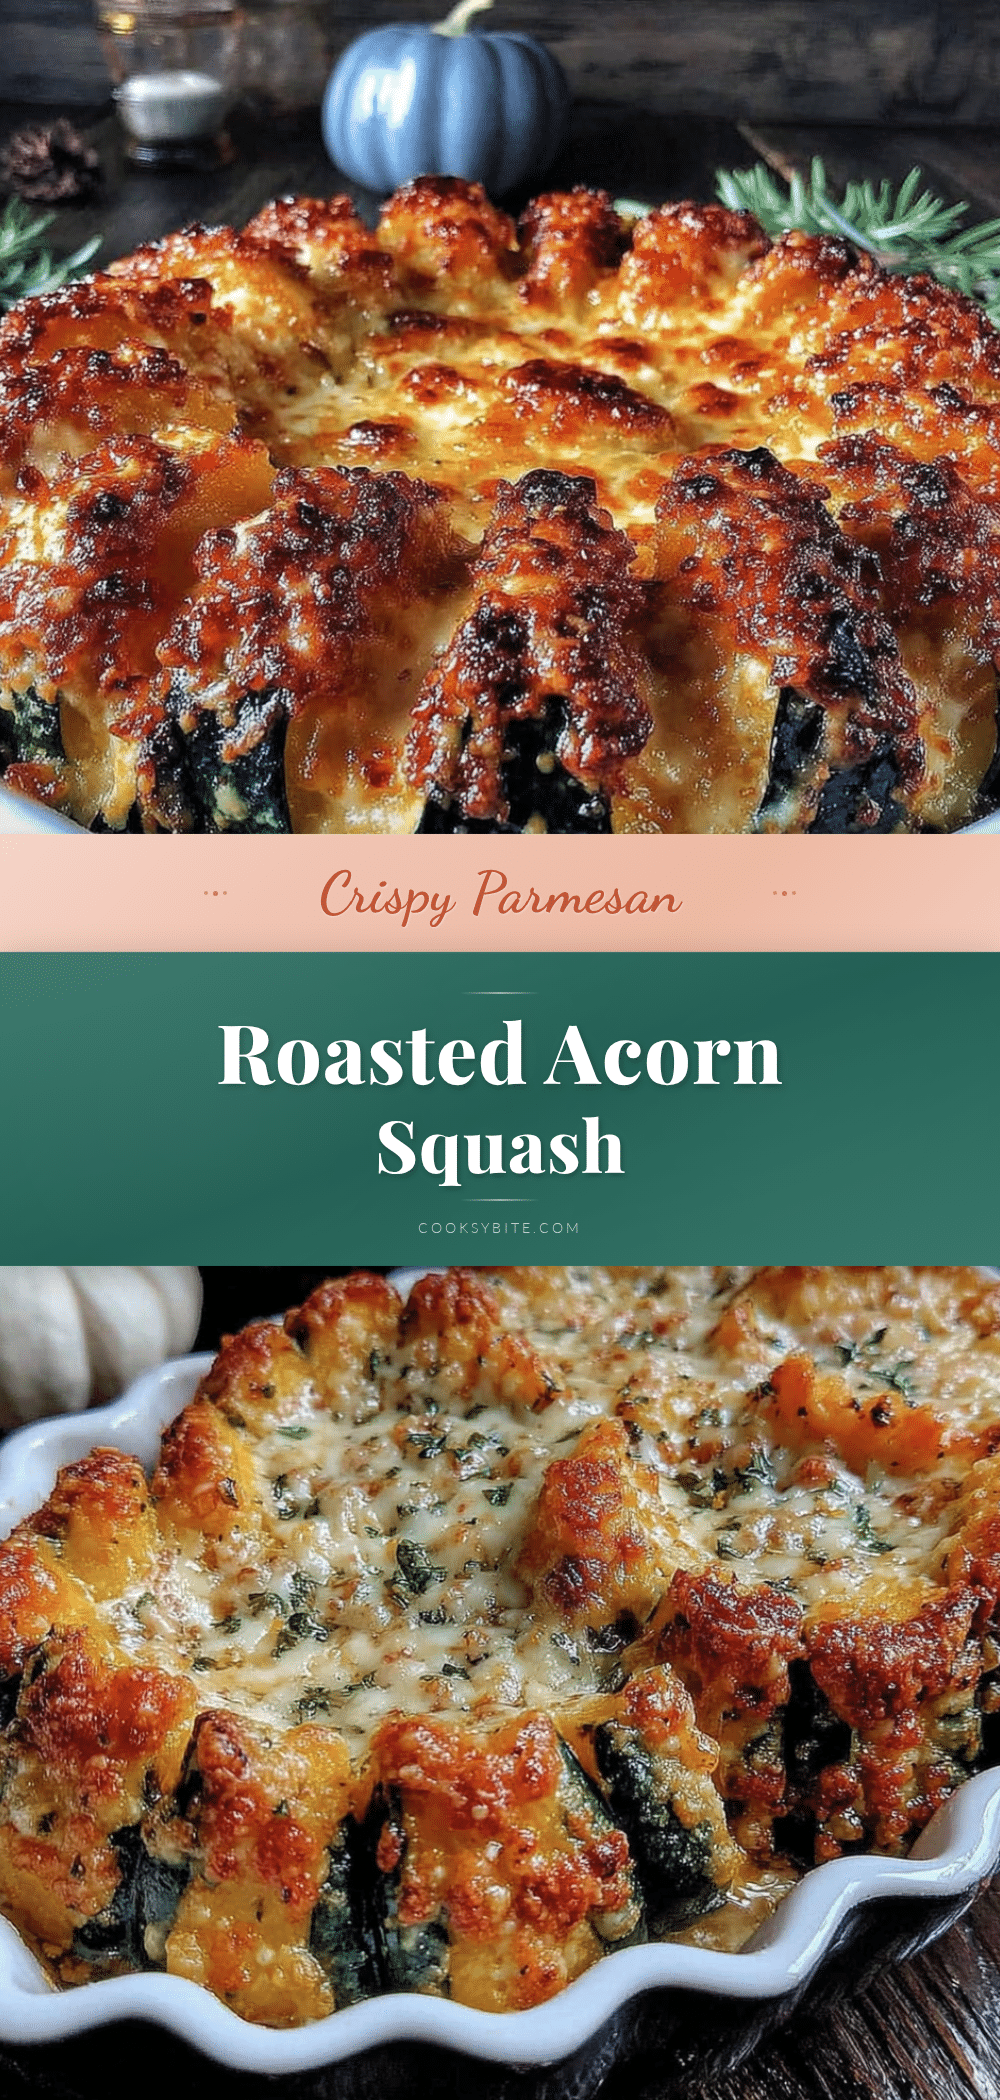
Crispy Parmesan Roasted Acorn Squash – Best Easy Side Dish
This isn’t your standard roasted squash. It’s better. The contrast between the tender, sweet squash and the salty, crunchy Parmesan topping is honestly addictive. It’s comfort food that feels a little bit fancy.
- Prep Time: 10 minutes
- Cook Time: 30 minutes
- Total Time: 40 minutes
- Yield: 4 servings 1x
- Category: Side Dish
- Cuisine: American
Ingredients
- 1 medium acorn squash (about 1.5 to 2 pounds)
- 2 tablespoons unsalted butter, melted
- 1 tablespoon extra-virgin olive oil
- 1/2 cup freshly grated Parmesan cheese, packed
- 1/4 cup panko breadcrumbs
- 1/2 teaspoon garlic powder
- 1/2 teaspoon dried thyme
- 1/2 teaspoon fine sea salt, plus more for seasoning
- 1/4 teaspoon freshly ground black pepper
- Optional: fresh parsley, chopped for garnish
Instructions
- Preheat your oven to 400°F (200°C). Line a large baking sheet with parchment paper.
- Using a sharp chef’s knife, carefully cut the squash in half from the stem end down through the tip. Scoop out the seeds and stringy pulp with a spoon.
- Cut each half into 1-inch thick crescents or wedges. Aim for uniform thickness so they cook at the same rate.
- In a small bowl, combine the melted unsalted butter and olive oil. Brush this mixture generously over both sides of each squash wedge.
- Sprinkle the salt and black pepper evenly over the squash wedges.
- In the same small bowl, combine the freshly grated Parmesan, panko breadcrumbs, garlic powder, and dried thyme. Stir until evenly mixed.
- Press the Parmesan mixture firmly onto the top of each squash wedge. Use about a tablespoon per wedge.
- Arrange the squash wedges in a single layer on the prepared baking sheet, leaving a little space between each piece.
- Roast for 25-30 minutes, or until the squash is tender when pierced with a fork and the topping is golden brown and crispy. If the topping isn’t brown enough after 25 minutes, switch the oven to broil for the last 1-2 minutes.
- Let the squash cool on the baking sheet for 2-3 minutes. Transfer to a serving platter, garnish with fresh parsley if desired, and serve warm.
Notes
Press the topping firmly onto the squash wedges to ensure it stays put. For extra crispy results, let the butter and oil brushed squash sit for 5 minutes before adding the topping. Avoid overcrowding the pan to prevent steaming.
Nutrition
- Serving Size: 4 servings
- Calories: 210
- Sugar: 4
- Sodium: 420
- Fat: 12
- Saturated Fat: 6
- Carbohydrates: 22
- Fiber: 3
- Protein: 8
Keywords: acorn squash, roasted squash, Parmesan, crispy, side dish, fall, Thanksgiving, easy, vegetarian


