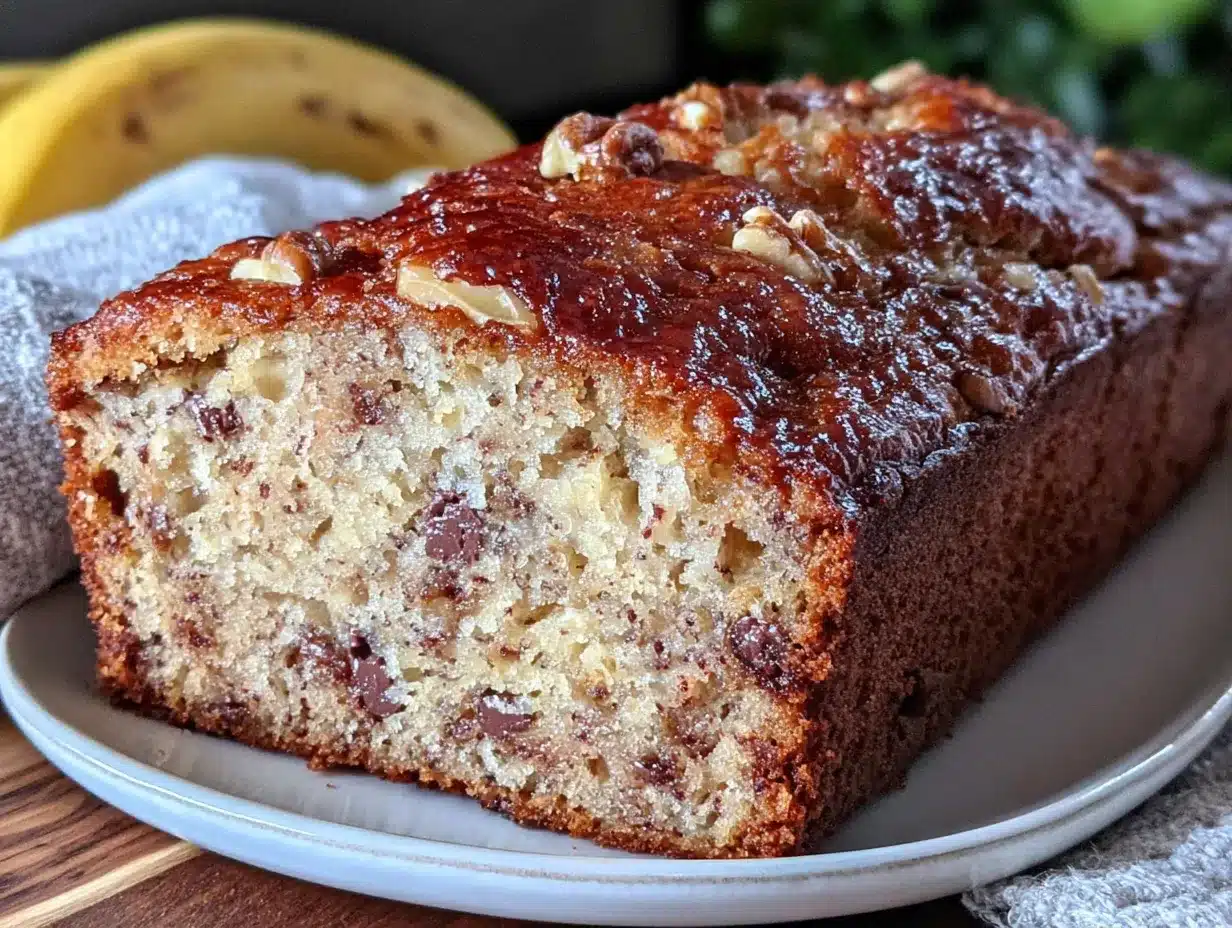
My husband took one bite of this banana bread, stopped mid-chew, and said, “Wait, you didn’t use the mixer for this?” and that’s when I knew I had something worth keeping. He’s not one to comment on texture unless something’s off, but the fact that he noticed—that the crumb was tender, not tough, and the top had that perfect crackly dome—told me everything I needed to know. I’d been testing small-batch banana bread recipes for weeks, trying to get one that didn’t require dragging out the stand mixer or heating up the whole kitchen, and this version finally worked.
The funny thing is, I almost didn’t try this combination. I’d convinced myself that you needed a mixer to get the right structure, that hand-mixing would leave you with a dense, sad loaf. But honestly? This one-loaf banana bread is lighter than any mixer version I’ve made, and it comes together in one bowl with a wooden spoon. No weird gadgets, no overthinking it.
This isn’t a recipe that pretends to be fancy. It uses the bananas sitting on your counter, the butter that’s been out long enough to soften, and a single loaf pan. If you’ve ever wanted banana bread without the cleanup of a full production, this is it. And yes, it’s the kind of recipe you’ll make twice in one week—not because you have to, but because someone in your house will ask for it again.
Why You’ll Love This Recipe
This isn’t just another banana bread recipe floating around the internet. It’s the one I’ve tested six times to get the proportions exactly right for a single loaf, because let’s face it—most recipes make two loaves and you’re either freezing one or eating way too much. Here’s why this one works:
- One Bowl, No Mixer : You don’t need a stand mixer, hand mixer, or even a whisk if you don’t want one. A fork and a spatula are all you need, which means less cleanup and more time enjoying the bread.
- Perfect Portion Size : This makes exactly one 8×4-inch loaf. No leftovers lingering for a week, no half-eaten second loaf going stale. It’s the ideal amount for two to four people.
- Uses Up Ripe Bananas : We’ve all got those spotty bananas on the counter. This recipe turns them into something better than they ever were on their own.
- Foolproof Texture : The crumb is moist but not gummy, with a tender interior and a slightly crisp, golden top. Every single time, as long as you follow the steps.
- Simple Pantry Ingredients : Butter, sugar, eggs, flour, baking soda, salt, and bananas. That’s it. No sour cream, no yogurt, no weird add-ins required.
This recipe is different because I figured out the exact fat-to-flour ratio that gives you a tender crumb without needing a mixer to aerate the batter. It’s the kind of banana bread that makes you close your eyes after the first bite—simple, honest, and exactly what you want with a cup of coffee.
What Ingredients You Will Need
This recipe uses simple, everyday ingredients to deliver that classic banana bread flavor and texture. Nothing fancy here—just the good stuff you probably already have on hand.
- Unsalted butter, melted and slightly cooled (1/3 cup / 75g) – I use salted butter in a pinch and just reduce the added salt, but unsalted gives you more control. Let it cool for a couple minutes after melting so it doesn’t cook the eggs.
- Granulated sugar (1/2 cup / 100g) – Regular white sugar works perfectly here. You can reduce it to 1/3 cup if your bananas are very sweet, but I wouldn’t go lower than that.
- Large egg (1, room temperature) – Room temperature matters! A cold egg will seize up the melted butter and give you a denser loaf. Just set it out 30 minutes before you start, or place it in a bowl of warm water for 5 minutes.
- Vanilla extract (1 teaspoon) – Pure vanilla extract is worth it here. The imitation stuff has a chemical aftertaste that shows up in a simple recipe like this.
- Ripe bananas, mashed (2 medium, about 1 cup / 240g mashed) – The riper the better. You want bananas with lots of brown spots—almost black is even better. They mash easier and add more natural sweetness and moisture.
- All-purpose flour (1 cup / 125g) – Spoon and level your flour. Scooping directly from the bag packs it down and gives you too much flour, which makes dry bread. Trust me on this one.
- Baking soda (1/2 teaspoon) – Make sure it’s fresh. Baking soda loses potency after about 6 months, and your bread won’t rise properly if it’s old.
- Salt (1/4 teaspoon) – Fine sea salt or table salt. Don’t skip it—salt balances the sweetness and brings out the banana flavor.
Optional add-ins : 1/2 cup chopped walnuts, pecans, or chocolate chips. If you’re adding nuts, toast them first in a dry pan for 3-4 minutes—it makes a huge difference in flavor. I love adding mini chocolate chips because they distribute more evenly than regular-sized ones.
I’ve tested this recipe with both bleached and unbleached all-purpose flour, and both work fine. For a slightly nuttier flavor, you can substitute 1/4 cup of the all-purpose flour with whole wheat flour, but don’t go over that or the bread gets heavy.
Equipment Needed
The beauty of this recipe is that you probably already own everything you need. Here’s what you’ll use:
- 8×4-inch loaf pan – This is the standard size for a single loaf. A 9×5-inch pan will work, but your bread will be shorter and bake faster, so start checking at 40 minutes.
- Mixing bowls – One medium bowl for the wet ingredients and one small bowl for the dry. Or just use one bowl if you’re comfortable layering ingredients.
- Fork or potato masher – For mashing the bananas. A fork works perfectly fine; a potato masher is faster.
- Wooden spoon or rubber spatula – For mixing the batter. Don’t use a whisk—it incorporates too much air and can make the bread tough.
- Parchment paper – Not strictly necessary, but it makes lifting the bread out of the pan so much easier. Cut a strip to fit the length of the pan with overhang on both sides.
- Cooling rack – For cooling the bread evenly. If you don’t have one, you can use the grates from your oven (just make sure they’re clean).
I’ve made this in a glass loaf pan, a metal one, and even a ceramic dish that was roughly the right size. Metal pans give you the best browning, but glass works if you reduce the oven temperature by 25°F. Just don’t use a dark nonstick pan without checking it early—it can burn the bottom before the middle is done.
Preparation Method
Preheat your oven to 350°F (175°C) and position the rack in the center. Line your 8×4-inch loaf pan with parchment paper, leaving overhang on the long sides, or grease it well with butter and a dusting of flour.
-
Melt the butter : In a medium microwave-safe bowl, melt 1/3 cup unsalted butter in 20-second bursts, stirring between each, until just melted. Set it aside to cool for 2-3 minutes. You want it warm, not hot—if you dip your finger in, it should feel like warm bath water, not hot coffee.
-
Mix the wet ingredients : To the cooled melted butter, add 1/2 cup granulated sugar and stir with a wooden spoon until combined. It’ll look a bit grainy—that’s fine. Add 1 large room-temperature egg and 1 teaspoon vanilla extract, and stir until smooth and slightly lighter in color, about 30 seconds. The mixture should look emulsified, not separated.
-
Mash and add the bananas : In a separate small bowl (or right on your cutting board), mash 2 ripe bananas with a fork until mostly smooth with a few small lumps—don’t puree them, you want some texture. Add the mashed bananas to the wet mixture and stir until combined. The batter will look a little curdled at this point, and that’s totally normal. Don’t panic.
-
Combine the dry ingredients : In a small bowl, whisk together 1 cup all-purpose flour, 1/2 teaspoon baking soda, and 1/4 teaspoon salt. Make sure the baking soda is evenly distributed—I’ve had batches where I didn’t mix it well enough and got a bitter spot in one slice.
-
Fold the dry into the wet : Add the flour mixture to the banana mixture. Use a rubber spatula to fold gently—cut down through the center, scrape along the bottom, and bring up the sides. Stop folding as soon as you no longer see streaks of flour. Overmixing is the #1 mistake here; it develops gluten and makes the bread tough. A few small lumps are perfectly fine.
-
Fold in add-ins (optional) : If you’re using nuts or chocolate chips, gently fold them in at this point with just 2-3 turns of the spatula.
-
Pour and smooth : Scrape the batter into your prepared loaf pan and spread it into an even layer. It won’t fill the pan all the way—that’s normal. Use the spatula to create a slight depression down the center of the batter; this helps the bread dome evenly instead of cracking in a weird spot.
-
Bake : Bake for 50-60 minutes, or until a toothpick inserted into the center comes out clean or with just a few moist crumbs. Start checking at 50 minutes. The top should be deep golden brown and spring back when you gently press it. If the top is browning too quickly (around 45 minutes), tent loosely with foil for the remaining time.
-
Cool : Let the bread cool in the pan on a wire rack for 15 minutes. Then lift it out using the parchment paper overhang and transfer to the rack to cool completely. I know it’s tempting to slice into it warm, but it needs at least 30 minutes to set properly. Warm banana bread is delicious, but it falls apart if you cut it too soon.
Pro tip : If you want that bakery-style crack down the middle, let the batter sit in the pan for 10 minutes before baking. It gives the baking soda time to start working and creates a more dramatic crack.
Cooking Tips & Techniques
I’ve made this recipe enough times to know exactly where things can go wrong. Here’s what I’ve learned the hard way:
Don’t overmix the batter. I cannot stress this enough. When I was testing this recipe, I made a batch where I kept stirring to get out every last lump, and the bread came out tough and almost rubbery. Mix just until the flour disappears. A few lumps are your friend.
Room temperature ingredients matter. I once used a cold egg straight from the fridge, and the melted butter seized up into tiny solid bits. The bread still baked, but it had a weird greasy spot in the middle. Let your egg sit out for 30 minutes, or if you forgot, place it in a bowl of warm water for 5 minutes before cracking it.
Check your baking soda freshness. Here’s a quick test: drop 1/4 teaspoon of baking soda into a small bowl of vinegar. If it fizzes vigorously, it’s good. If it barely bubbles, it’s dead, and your bread won’t rise properly. I learned this after a particularly sad, flat loaf.
Use the right banana ripeness. Green or yellow bananas without spots won’t give you enough sweetness or moisture. You want bananas that are heavily speckled with brown, or even completely black. If your bananas aren’t ripe enough, you can speed things up by baking them at 300°F for 15-20 minutes until they’re soft and darkened. Let them cool before using.
Weigh your flour if you can. Cup measurements vary wildly depending on how you scoop. One cup of flour can be anywhere from 120g to 150g depending on packing. For consistent results, I recommend using a kitchen scale. But if you’re measuring by cup, spoon the flour into the cup and level it off with a knife—don’t scoop directly from the bag.
Let it cool completely. I know, I know. The smell of warm banana bread is basically torture. But cutting into it too early will give you a gummy, collapsed texture. Give it at least 30 minutes on the cooling rack. The wait is worth it.
Variations & Adaptations
This base recipe is incredibly flexible. Here are some ways to change it up:
- Chocolate Chip Banana Bread : Fold in 1/2 cup semi-sweet or dark chocolate chips. Mini chips distribute more evenly and don’t all sink to the bottom. Toss them in a tablespoon of flour before adding to prevent sinking.
- Nutty Banana Bread : Add 1/2 cup toasted walnuts or pecans, roughly chopped. Toast them in a dry skillet over medium heat for 3-4 minutes until fragrant—this brings out their oils and makes them taste almost buttery.
- Whole Wheat Version : Substitute 1/4 cup of the all-purpose flour with whole wheat flour. The bread will be slightly denser and have a nuttier flavor. Don’t go over 1/4 cup or it gets too heavy.
- Gluten-Free Option : Use a 1:1 gluten-free all-purpose flour blend that contains xanthan gum. I’ve tested this with Bob’s Red Mill 1:1 Baking Flour and it works great. Add an extra tablespoon of milk or yogurt since gluten-free flours absorb more liquid.
- Vegan Version : Substitute the butter with 1/3 cup coconut oil (melted) or vegan butter, and replace the egg with a flax egg (1 tablespoon ground flaxseed mixed with 3 tablespoons water, let sit for 5 minutes). The texture will be slightly denser but still delicious.
- Spiced Banana Bread : Add 1/2 teaspoon cinnamon, 1/4 teaspoon nutmeg, and a pinch of cloves to the dry ingredients. This is my go-to fall variation, and it pairs beautifully with a cup of chai tea.
I’ve tried all of these variations at least once, and the chocolate chip version is the one that disappears fastest in my house. My personal favorite is the toasted walnut version with a pinch of cinnamon—it feels a little more grown-up and pairs perfectly with coffee.
Serving & Storage Suggestions
This banana bread is best served slightly warm or at room temperature. If you want to warm it up, pop a slice in the toaster or microwave for 10-15 seconds. It’s absolutely delicious with a pat of butter melting into the warm crumb.
What to serve with it:
- A hot cup of coffee or black tea is the classic pairing. The slight bitterness balances the sweetness beautifully.
- For a dessert twist, serve with a scoop of vanilla ice cream and a drizzle of caramel sauce. It’s simple but feels special.
- Spread with cream cheese frosting for an indulgent treat. This is how I use up the last few slices when they’re starting to get a little dry.
- For breakfast, pair with Greek yogurt and fresh fruit for a balanced meal. The protein from the yogurt offsets the carbs.
Storage:
- At room temperature : Wrap the cooled bread tightly in plastic wrap or aluminum foil and store at room temperature for up to 4 days. I prefer wrapping it in beeswax wrap for a more eco-friendly option.
- In the refrigerator : Banana bread stays moist longer in the fridge—up to a week. Wrap it well to prevent it from absorbing fridge odors. Let slices come to room temperature before eating for the best texture.
- In the freezer : This bread freezes beautifully. Wrap the cooled loaf tightly in plastic wrap, then in foil, and freeze for up to 3 months. You can also freeze individual slices for quick grab-and-go breakfasts. Thaw at room temperature or pop in the toaster straight from frozen.
Reheating: For a single slice, the microwave works in 10-15 seconds. For the whole loaf, wrap in foil and warm in a 300°F oven for 10-15 minutes. The flavors actually deepen after a day or two—if you can wait that long, you’ll be rewarded with an even better banana bread.
Nutritional Information & Benefits
Here’s the approximate nutritional breakdown per slice (based on 8 slices, without add-ins):
- Calories : 215
- Total Fat : 9g
- Saturated Fat : 5g
- Carbohydrates : 32g
- Fiber : 1g
- Sugar : 16g
- Protein : 3g
Bananas are a fantastic source of potassium, which supports heart health and muscle function. They also contain vitamin B6 and vitamin C, plus a good amount of fiber, especially if you use very ripe bananas (the resistant starch breaks down into more digestible carbohydrates as they ripen).
Dietary considerations:
- This recipe is vegetarian.
- For a gluten-free version, use a 1:1 gluten-free flour blend as noted in the variations section.
- For a dairy-free version, substitute the butter with coconut oil or a plant-based butter alternative.
- For a lower-sugar version, reduce the sugar to 1/3 cup and use very ripe bananas. You can also substitute up to half the sugar with coconut sugar for a lower glycemic option.
I personally love that this recipe uses real, whole ingredients without any weird additives. It’s the kind of treat that feels indulgent but isn’t loaded with preservatives or artificial flavors. When I want a sweet breakfast or an afternoon snack that doesn’t leave me crashing, this is my go-to.
FAQs
Can I use frozen bananas for this recipe?
Absolutely! Frozen bananas work great. Thaw them completely at room temperature or in the microwave, then drain off any excess liquid before mashing. The thawed bananas will be very soft and may have a slightly different texture, but the bread will still turn out delicious.
Why did my banana bread sink in the middle?
This usually happens for a few reasons: the batter was overmixed (which creates too much gluten and causes it to collapse), the baking soda was old (it needs to be fresh to provide proper lift), or the bread was underbaked. Make sure you’re checking with a toothpick and that it comes out clean from the center. Also, don’t open the oven door during the first 40 minutes of baking—the temperature drop can cause sinking.
Can I make this recipe into muffins?
Yes! This batter makes about 8 standard muffins. Line a muffin tin with paper liners and fill each cup about 2/3 full. Bake at 350°F for 16-20 minutes, or until a toothpick inserted into the center comes out clean. Muffins will be slightly more domed and have a crisper top than the loaf version.
How do I know when the banana bread is done baking?
Use three tests: First, a toothpick inserted into the center should come out clean or with just a few moist crumbs (not wet batter). Second, the top should be deep golden brown and spring back when gently pressed. Third, the edges should pull away slightly from the sides of the pan. If the top is browning too quickly but the center isn’t done, tent with foil for the remaining time.
Can I add sour cream or yogurt to make it more moist?
You can, but you’ll need to adjust the recipe slightly. If you want to add 1/4 cup of sour cream or Greek yogurt, reduce the butter to 1/4 cup and add an extra tablespoon of flour. The bread will be slightly more tender and have a more complex flavor. I’ve tested this version and it’s lovely, but the original recipe is plenty moist on its own if you use ripe bananas.
Conclusion
This small-batch banana bread has become my go-to for so many reasons. It’s the recipe I make when I need to use up spotty bananas, the one I turn to when I want something homemade without a huge production, and the one that always gets asked for by name. The fact that it comes together in one bowl with no mixer and makes exactly one perfect loaf? That’s just the cherry on top.
I love that this recipe is forgiving enough for beginners but good enough to impress anyone who tries it. Whether you’re making it for a quiet morning with coffee, a thoughtful homemade gift for a neighbor, or just because you have bananas that need using up, this bread delivers every single time.
If you try this recipe, I’d love to hear how it turns out. Did you add chocolate chips or nuts? Did you make it for a special occasion or just a regular Tuesday? Drop a comment below and let me know—your feedback helps other readers know what works. And if you’re looking for other easy homemade treats, you might enjoy my cherry chocolate brownies or these mini lemon blueberry cheesecakes for when you want something a little more dressed up.
Happy baking, and remember—the best banana bread is the one you actually make. So grab those spotty bananas and get started!
Pin This Recipe!
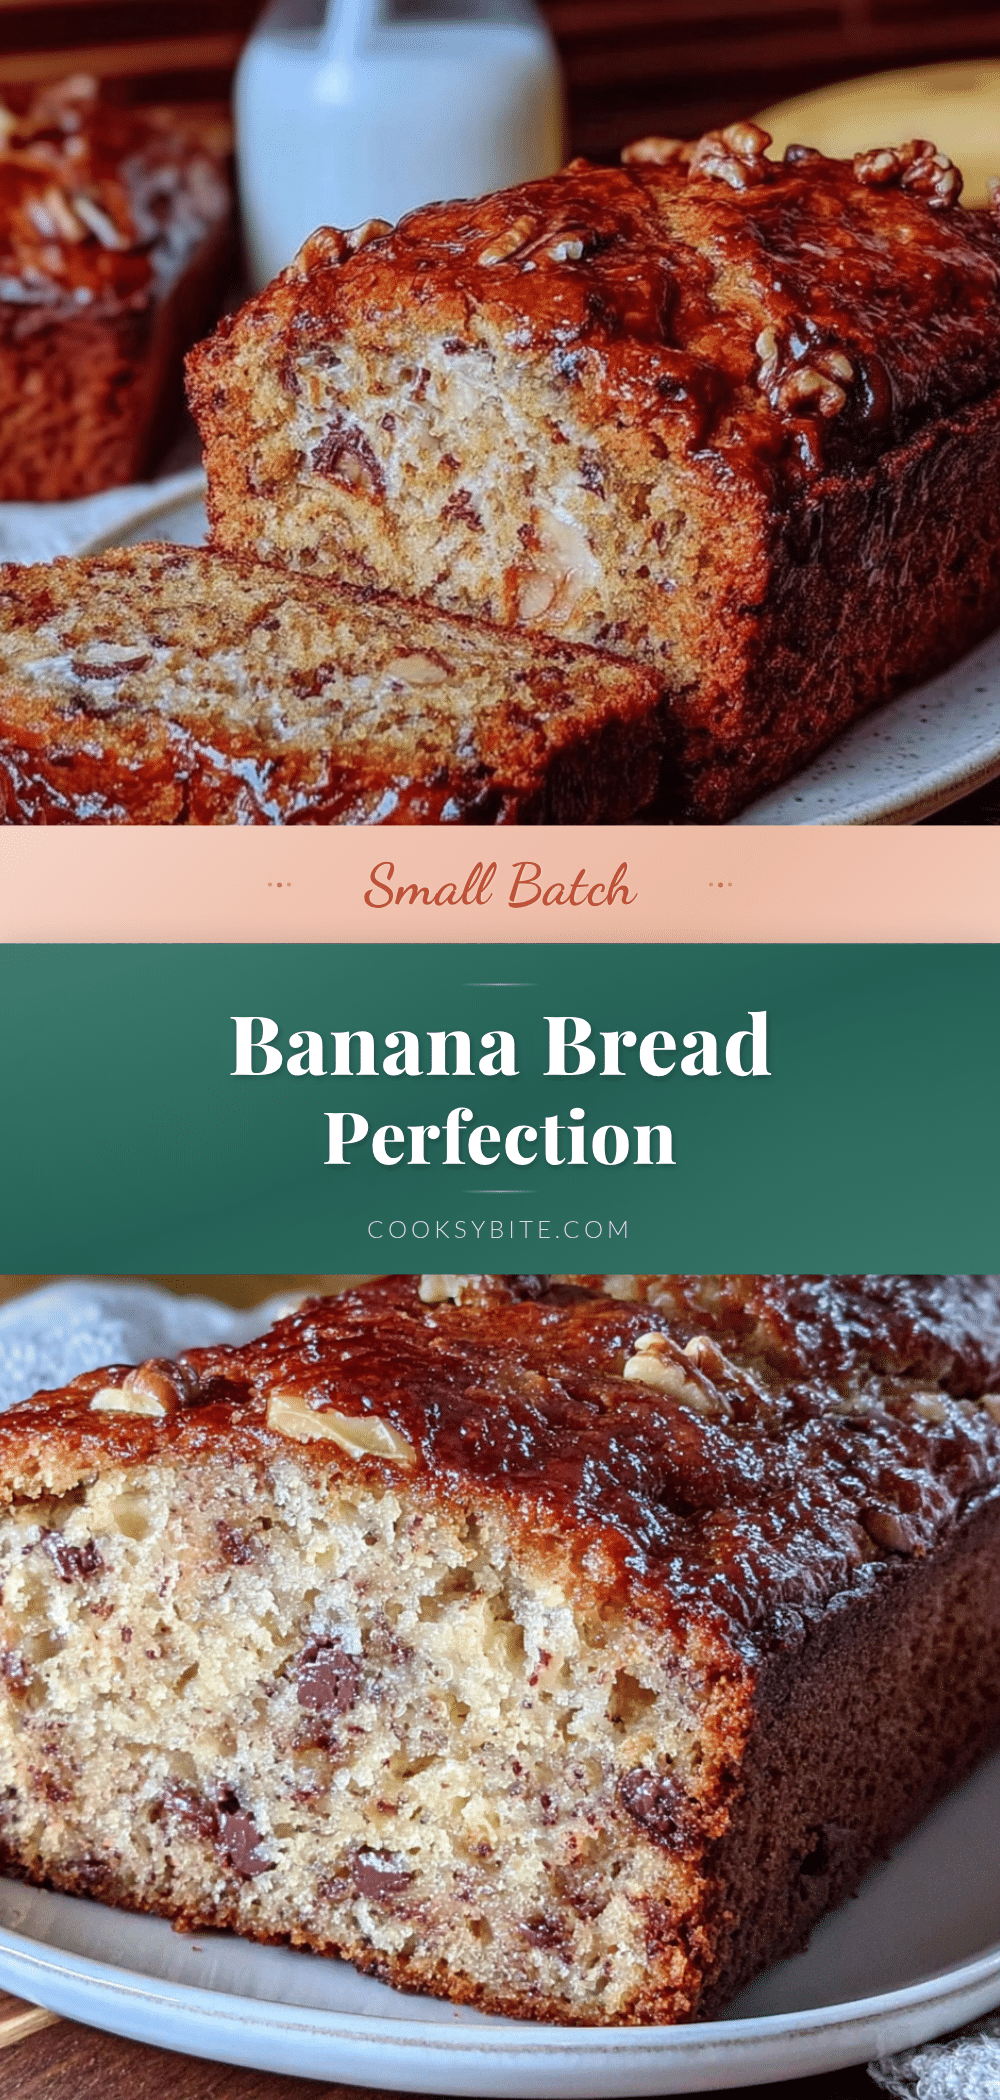
Perfect Small-Batch Banana Bread: Best One-Loaf Recipe
This one-bowl, no-mixer banana bread recipe makes exactly one perfect loaf with a tender crumb and crackly dome. It’s the ideal way to use up ripe bananas without a big production.
- Prep Time: 15 minutes
- Cook Time: 55 minutes
- Total Time: 1 hour 10 minutes
- Yield: 8 servings 1x
- Category: Dessert
- Cuisine: American
Ingredients
- 1/3 cup (75g) unsalted butter, melted and slightly cooled
- 1/2 cup (100g) granulated sugar
- 1 large egg, room temperature
- 1 teaspoon vanilla extract
- 2 medium ripe bananas, mashed (about 1 cup / 240g)
- 1 cup (125g) all-purpose flour, spooned and leveled
- 1/2 teaspoon baking soda
- 1/4 teaspoon salt
- Optional: 1/2 cup chopped walnuts, pecans, or chocolate chips
Instructions
- Preheat oven to 350°F (175°C). Line an 8×4-inch loaf pan with parchment paper or grease and flour it.
- Melt 1/3 cup unsalted butter in a microwave-safe bowl in 20-second bursts. Let cool for 2-3 minutes until warm but not hot.
- Add 1/2 cup granulated sugar to the melted butter and stir with a wooden spoon until combined. Add 1 large room-temperature egg and 1 teaspoon vanilla extract; stir until smooth and slightly lighter in color, about 30 seconds.
- Mash 2 ripe bananas with a fork until mostly smooth with a few lumps. Add to the wet mixture and stir until combined (batter may look curdled).
- In a small bowl, whisk together 1 cup all-purpose flour, 1/2 teaspoon baking soda, and 1/4 teaspoon salt.
- Add the dry ingredients to the wet mixture. Fold gently with a rubber spatula until just combined—do not overmix. A few lumps are fine.
- If using, fold in 1/2 cup nuts or chocolate chips with 2-3 turns of the spatula.
- Pour batter into prepared loaf pan and spread evenly. Create a slight depression down the center to help the bread dome evenly.
- Bake for 50-60 minutes, or until a toothpick inserted in the center comes out clean or with a few moist crumbs. If browning too quickly, tent with foil at 45 minutes.
- Cool in the pan on a wire rack for 15 minutes, then lift out using parchment overhang and cool completely on the rack (at least 30 minutes before slicing).
Notes
For a bakery-style crack, let the batter sit in the pan for 10 minutes before baking. Room temperature ingredients are important—cold egg can seize the butter. Check baking soda freshness by dropping 1/4 teaspoon into vinegar; it should fizz vigorously. Weigh flour for best results (1 cup = 125g). Let bread cool completely before slicing to avoid gummy texture.
Nutrition
- Serving Size: 1 slice
- Calories: 215
- Sugar: 16
- Sodium: 160
- Fat: 9
- Saturated Fat: 5
- Carbohydrates: 32
- Fiber: 1
- Protein: 3
Keywords: banana bread, small-batch banana bread, one-loaf banana bread, easy banana bread, no-mixer banana bread, one-bowl banana bread


