Introduction
My sister claimed she hated themed food. For years. Like, a full decade of rolling her eyes at shaped cookies and holiday-shaped everything. She’d say “food doesn’t need to look like a cartoon to taste good” with this smug little smile. Then last October, I was testing this recipe on a random Tuesday night—just messing around with some store-bought dough and string cheese—and she walked into my kitchen mid-bite. I caught her red-handed, pulling off a piece of that cheesy pumpkin-shaped bread, and she just froze. “It’s for quality control,” she mumbled, mouth full. The jig was up.
Honestly, I didn’t set out to prove her wrong. I just wanted a fun, fast appetizer for a weeknight football game that didn’t require me to spend three hours in the kitchen. You know that feeling when you want something cute but you’re also exhausted? That was this recipe’s origin story. It came together in the time it takes to preheat the oven, and it looked way more impressive than the effort I put in. That’s my favorite kind of cooking, honestly—the kind that makes you look like you tried when you really didn’t.
So yeah, my sister now requests this for every fall gathering. And I keep making it because it’s the perfect blend of silly and satisfying. Maybe you’ve got a skeptic in your life too. Or maybe you’re just looking for something quick that feels special. Either way, this bread has a way of winning people over without even trying.
Why You’ll Love This Recipe
Let me break down exactly why this pumpkin-shaped cheese bread has become my go-to for busy weeknights and last-minute fall get-togethers. It checks all the boxes when you’re short on time but still want something that feels fun and festive.
- Quick & Easy: We’re talking 15 minutes of prep and about 20 minutes in the oven. That’s it. From fridge to table in under 40 minutes flat, which is honestly faster than ordering pizza around here.
- Simple Ingredients: You probably have most of this stuff already. Canned biscuit dough, string cheese, butter, and some pantry spices. No special trips to the fancy grocery store required.
- Perfect for Weeknights & Fall Gatherings: This works for a quick dinner side, a Thanksgiving appetizer while the turkey rests, or a fun snack for football Sundays. It’s versatile like that.
- Crowd-Pleaser: I’ve served this to kids, adults, picky eaters, and my sister who claims to hate themed food. It disappears every single time. The cheese pull alone gets people excited.
- Unbelievably Delicious: The outside gets golden and slightly crispy from the butter and garlic, while the inside stays soft and gooey with melted cheese. It’s comfort food in a fun package.
What makes this different from other cheese bread recipes? It’s the shape, honestly. The pumpkin look isn’t just for Instagram—it actually helps the bread bake evenly and makes it easy to pull apart. Plus, using pre-made dough means you skip all the fuss of homemade bread while still getting that fresh-baked taste. It’s the kind of recipe that makes you close your eyes after the first bite because it’s just that satisfying, but you didn’t have to work for it.
What Ingredients You Will Need
This recipe uses simple, everyday ingredients to create something that looks way more complicated than it actually is. Here’s what you’ll need to grab:
For the Bread Base
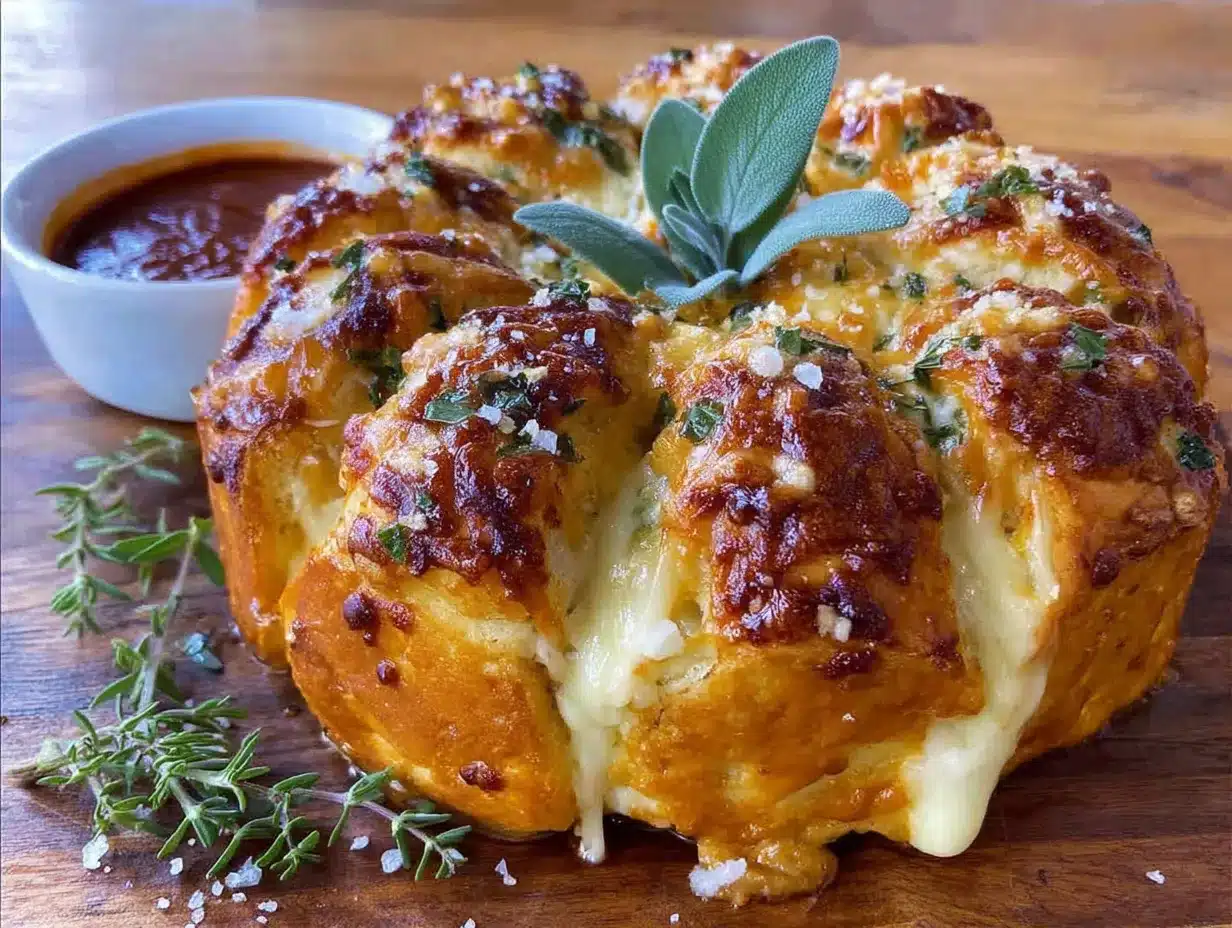
- 1 can (16.3 oz) refrigerated buttermilk biscuits (I prefer Pillsbury Grands for the fluffiest texture, but any brand works fine)
- 6-8 sticks string cheese (mozzarella works best for that perfect cheese pull, cut into thirds)
- 3 tablespoons unsalted butter, melted (adds richness and helps the seasoning stick)
- 1 clove garlic, minced (or ½ teaspoon garlic powder if you’re in a rush)
- 1 teaspoon dried parsley (for color and a hint of freshness)
- ½ teaspoon salt (balances the richness of the cheese)
- ¼ teaspoon black pepper
For the Pumpkin Shape & Finish
- 1 large sage leaf or small rosemary sprig (for the pumpkin stem—this is purely decorative but so worth it)
- Optional: 1 tablespoon grated Parmesan cheese (sprinkle on top before baking for extra flavor and a slightly crisper crust)
- Optional: Pinch of smoked paprika (gives a deeper color to the finished bread)
Ingredient Tips: Look for buttermilk biscuits that are the flaky layered kind, not the homestyle ones. The layers help create those nice pull-apart sections. For the string cheese, I’ve found that store brands work just as well as name brands here since it’s getting melted anyway. And if you’re dairy-free, there are some decent plant-based string cheese options out there now—just know the melt might be slightly different.
Substitution Guidance: No string cheese? Cut up mozzarella sticks or even cubed mozzarella works. You can also use cheddar string cheese for a sharper flavor. For the butter, salted butter is fine—just reduce the added salt to ¼ teaspoon. And if you don’t have fresh garlic, garlic powder is totally acceptable here. We’re going for quick, remember?
Equipment Needed
You don’t need much for this recipe, which is honestly my favorite part. Here’s what you’ll want to have on hand:
- Baking sheet (a standard half-sheet pan works great)
- Parchment paper (for easy cleanup—trust me on this one)
- Small microwave-safe bowl (for melting the butter)
- Pastry brush (or just use a spoon if you don’t have one)
- Sharp knife or kitchen shears (for cutting the string cheese and making the biscuit slits)
- Small skillet or pan (optional, for toasting the sage leaf if you want a crispier stem)
I’ve made this with just a baking sheet and a butter knife before—it works fine. The parchment paper is the one thing I wouldn’t skip because the cheese can get a little melty and sticky. My first time making this, I forgot the parchment and spent ten minutes scrubbing a baking sheet. Learn from my mistakes, friends.
Preparation Method
Alright, let’s get to the fun part. Here’s how to make this pumpkin-shaped cheese bread step by step:
-
Preheat your oven to 375°F (190°C). Line a baking sheet with parchment paper. This is non-negotiable for easy cleanup.
-
Prep the string cheese. Take each string cheese stick and cut it into thirds. You’ll end up with small cheese pieces that are about 1½ inches long. Set them aside.
-
Open the biscuit can. Pop that can open (you know the sound—that satisfying little pop). Separate all 8 biscuits. Take each biscuit and gently flatten it into a round about 3 inches across. Don’t use a rolling pin—just use your fingers. It’s faster and you won’t have to wash another tool.
-
Assemble the cheese pockets. Place one piece of string cheese in the center of each flattened biscuit. Pull the edges of the dough up and around the cheese, pinching the seams together to seal. You want to make sure the cheese is completely enclosed so it doesn’t leak out while baking. Roll each into a smooth ball.
-
Shape the pumpkin. Arrange the 8 cheese-filled dough balls on the prepared baking sheet in a circle, leaving a small gap in the center. They should be touching each other slightly. This is what creates the pumpkin shape—the balls will bake together into one cohesive bread.
-
Make the garlic butter. In a small microwave-safe bowl, combine the melted butter, minced garlic, dried parsley, salt, and pepper. Stir until everything is well mixed. If the butter solidifies from the garlic, just microwave it for 5 seconds.
-
Brush the dough. Using a pastry brush or a spoon, brush the garlic butter mixture over the tops and sides of all the dough balls. Don’t skip the sides—that’s where the golden crust develops. Reserve about a tablespoon of the butter mixture for after baking.
-
Add the stem. Place the sage leaf or rosemary sprig in the center of the dough ring to look like a pumpkin stem. Press it gently into the dough so it stays put.
-
Bake. Place the baking sheet in the preheated oven and bake for 18-22 minutes, or until the bread is golden brown and the cheese is bubbly. The internal temperature should reach about 190°F (88°C) if you want to check.
-
Finish and serve. Remove from the oven and let cool for 2-3 minutes. Brush with the reserved garlic butter. If using, sprinkle with grated Parmesan and a pinch of smoked paprika. The bread should pull apart easily into individual pieces, each with a gooey cheese center.
Sensory Cues: You’ll know it’s done when the tops are deep golden brown and you can see little bits of cheese peeking through the seams. The kitchen will smell like garlic butter and fresh bread—honestly one of the best smells in the world. When you pull a piece off, you should see a nice cheese stretch. If it doesn’t stretch, it probably needs another minute or two in the oven.
Cooking Tips & Techniques
I’ve made this recipe about a dozen times now, and I’ve learned a few things the hard way. Here are my best tips for success:
Don’t overwork the dough. Biscuit dough is delicate. The more you handle it, the tougher it gets. Just flatten it enough to wrap around the cheese and move on. Your bread will be fluffier for it.
Seal those seams well. I learned this lesson when I had a cheese explosion in my oven. Make sure the cheese is completely enclosed, especially at the bottom. Pinch the dough firmly and smooth out any cracks. If you see a thin spot, patch it with a tiny piece of dough from another biscuit.
Space matters. You want the dough balls to touch each other, but not be squished together. Leave about ¼ inch between each ball. They’ll expand and merge as they bake, creating that nice pull-apart texture. Too close and they’ll turn into one giant bread blob.
Brush twice for extra flavor. I know it’s an extra step, but brushing the dough before and after baking makes a huge difference. The first brush helps the bread brown and develop flavor. The second brush adds moisture and that final punch of garlic butter goodness.
Timing your multitasking. While the bread is baking, you can prep whatever you’re serving it with—maybe a simple marinara dipping sauce or a salad. The 20-minute bake time is perfect for getting the rest of your meal ready.
Variations & Adaptations
This recipe is super flexible. Here are some ways to change it up based on what you have or what you’re in the mood for:
Cheese Variations: Try cheddar string cheese for a sharper flavor, or pepper jack for a little heat. You can even mix and match—use mozzarella for half and cheddar for the other half. I once made a version with smoked gouda string cheese and it was incredible.
Herb & Spice Twists: Swap the dried parsley for dried oregano or Italian seasoning for a more Mediterranean vibe. Add a pinch of red pepper flakes to the butter for some heat. Everything bagel seasoning on top before baking is also fantastic.
Dipping Sauce Options: This bread is amazing with marinara, but try it with ranch dressing, garlic aioli, or even warm pizza sauce. My personal favorite is a quick balsamic glaze—just reduce some balsamic vinegar with a little honey until it’s syrupy.
Dairy-Free Adaptation: Use dairy-free string cheese and vegan butter. The texture will be slightly different, but it still works great. I’ve tested this with a couple of brands and Violife seems to melt the best.
Gluten-Free Option: Gluten-free biscuit dough exists, but it behaves differently. Look for a brand that specifically says “flaky” or “layered” for best results. You might need to add a minute or two to the baking time.
Serving & Storage Suggestions
Serving: Serve this bread warm, right off the baking sheet. The cheese pull is at its best within the first 10 minutes out of the oven. If you’re serving it at a party, you can keep it warm in a 200°F (93°C) oven for up to 30 minutes. Just cover it loosely with foil so it doesn’t dry out.
Presentation Tip: Place the baking sheet on a wooden board or trivet for a rustic look. Add a small bowl of dipping sauce in the center where the pumpkin stem is. The contrast of the golden bread against a dark board is really pretty for photos.
Storage: Leftover bread (if you have any) can be stored in an airtight container at room temperature for up to 2 days. The texture will soften a bit, but it’s still delicious. You can also refrigerate it for up to 4 days.
Reheating: The best way to reheat is in a 350°F (175°C) oven for 5-7 minutes. This brings back the crispy exterior and re-melts the cheese. The microwave works in a pinch but the bread will be soft. If you’re in a hurry, microwave for 20-30 seconds and then pop it under the broiler for a minute to crisp up the top.
Flavor Development: Honestly, this bread is best fresh out of the oven. The flavors don’t really improve with time, so plan to eat it the same day. That’s not usually a problem, though—it tends to disappear fast.
Nutritional Information & Benefits
Here’s the approximate nutritional breakdown per serving (one pull-apart piece):
- Calories: 220
- Total Fat: 12g
- Saturated Fat: 6g
- Cholesterol: 25mg
- Sodium: 580mg
- Total Carbohydrates: 22g
- Dietary Fiber: 1g
- Sugars: 3g
- Protein: 8g
Health Benefits: This bread provides a decent amount of protein from the cheese, which helps keep you fuller longer. The garlic in the butter has been linked to immune support—perfect for cold and flu season. And honestly, there’s something to be said for the mental health benefits of eating something fun and festive. Food should bring joy, right?
Dietary Considerations: This recipe is vegetarian-friendly. For gluten-free or dairy-free options, see the variations section above. It’s not suitable for vegan diets unless you use plant-based alternatives for both the dough and cheese.
Conclusion
This quick pumpkin-shaped pull-apart cheese bread is proof that you don’t need hours in the kitchen to make something that feels special. It’s fun, it’s fast, and it honestly tastes better than it has any right to for the amount of effort involved. Whether you’re serving it for a weeknight dinner, a fall party, or just because you want something cheesy and cute, this recipe delivers.
I love this bread because it makes people smile. There’s something about the pumpkin shape that brings out the kid in everyone. And when they pull off that first piece and see the cheese stretch? Pure magic. So go ahead—customize it with your favorite cheese or spices, make it your own, and don’t forget to save a piece for yourself before it disappears.
If you make this recipe, I’d love to hear how it turned out! Drop a comment below, share your photos, or tell me what dipping sauce you used. And hey—if you’ve got a skeptic in your life like my sister, this might just be the recipe that changes their mind too.
Frequently Asked Questions
Can I use homemade biscuit dough instead of canned?
Absolutely! If you have a favorite biscuit recipe, use that instead. Just make sure the dough is soft and slightly sticky so it wraps around the cheese easily. You’ll need about 1½ pounds of homemade dough to replace the canned biscuits.
Can I make this ahead of time?
You can assemble the bread up to 4 hours ahead and keep it in the refrigerator. Just cover it with plastic wrap and bake it when you’re ready. You might need to add 2-3 minutes to the baking time since the dough will be cold.
Why did my cheese leak out?
This usually happens when the seams aren’t sealed well or the dough is too thin in spots. Make sure to pinch the dough firmly closed and avoid any thin areas. If you see a crack, patch it with a tiny piece of dough before baking.
Can I freeze this bread?
Yes, but it’s best to freeze it before baking. Assemble the bread on the baking sheet, freeze until solid (about 2 hours), then transfer to a freezer bag. Bake from frozen at 375°F for 22-25 minutes. Already baked bread can be frozen for up to 1 month, but the texture will be softer after reheating.
What can I use instead of string cheese?
Any semi-soft cheese that melts well will work. Try cubed mozzarella, provolone, or even small cubes of cheddar. Just make sure the pieces are similar in size to the string cheese pieces so they melt at the same rate. Hard cheeses like Parmesan won’t melt as well, so stick with the softer options.
Pin This Recipe!
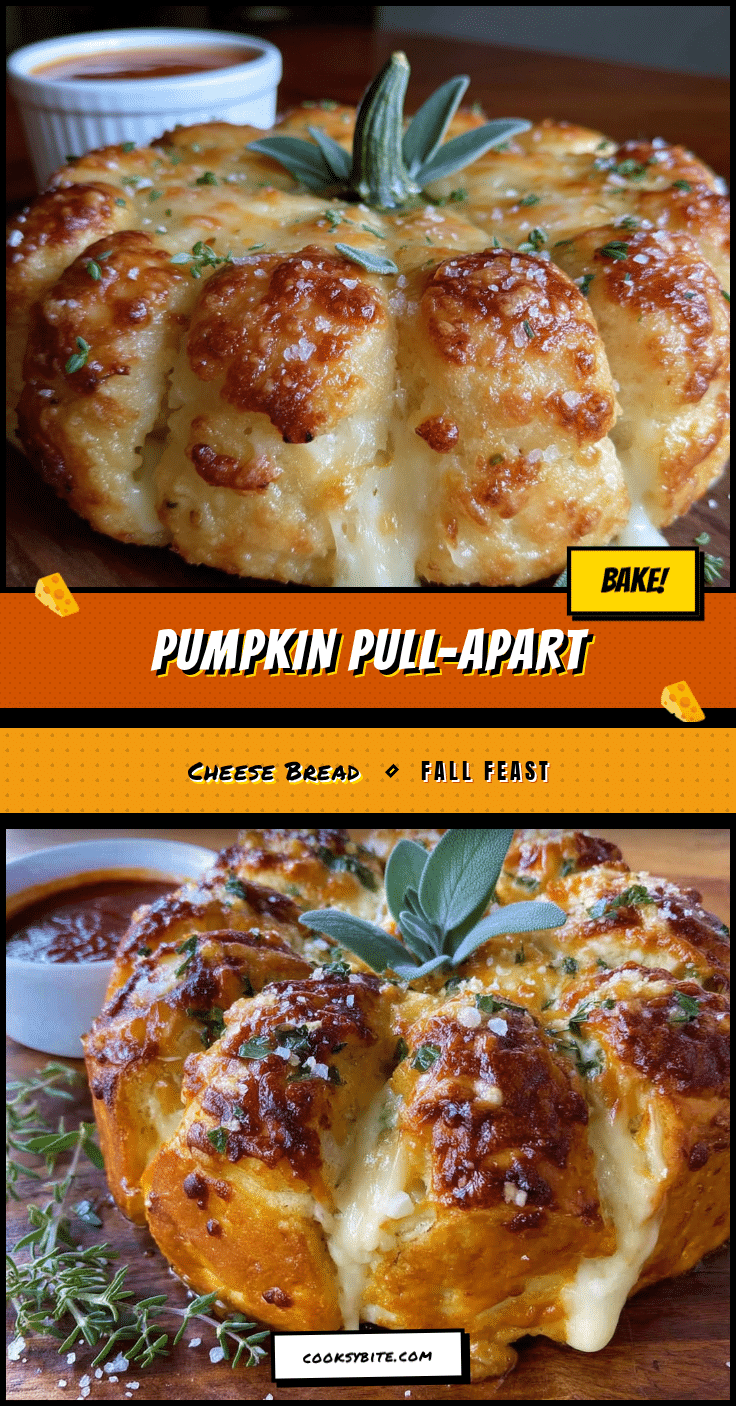
Quick Pumpkin Pull-Apart Cheese Bread: Easy Fall Appetizer

This quick pumpkin-shaped pull-apart cheese bread is proof that you don’t need hours in the kitchen to make something that feels special. It’s fun, fast, and perfect for weeknights or fall gatherings.
- Prep Time: 15 minutes
- Cook Time: 20 minutes
- Total Time: 35 minutes
- Yield: 8 servings 1x
- Category: Appetizer
- Cuisine: American
Ingredients
- 1 can (16.3 oz) refrigerated buttermilk biscuits (e.g., Pillsbury Grands)
- 6–8 sticks string cheese (mozzarella), cut into thirds
- 3 tablespoons unsalted butter, melted
- 1 clove garlic, minced (or ½ teaspoon garlic powder)
- 1 teaspoon dried parsley
- ½ teaspoon salt
- ¼ teaspoon black pepper
- 1 large sage leaf or small rosemary sprig (for stem)
- Optional: 1 tablespoon grated Parmesan cheese
- Optional: Pinch of smoked paprika
Instructions
- Preheat oven to 375°F (190°C). Line a baking sheet with parchment paper.
- Cut each string cheese stick into thirds (about 1½ inches long). Set aside.
- Open the biscuit can and separate all 8 biscuits. Gently flatten each into a 3-inch round using your fingers.
- Place one piece of string cheese in the center of each flattened biscuit. Pull edges up and around the cheese, pinching seams to seal completely. Roll into a smooth ball.
- Arrange the 8 cheese-filled dough balls on the prepared baking sheet in a circle, leaving a small gap in the center. They should touch slightly.
- In a small microwave-safe bowl, combine melted butter, minced garlic, dried parsley, salt, and pepper. Stir well.
- Brush the garlic butter mixture over the tops and sides of all dough balls. Reserve about 1 tablespoon for after baking.
- Place the sage leaf or rosemary sprig in the center of the dough ring to resemble a pumpkin stem. Press gently.
- Bake for 18-22 minutes, until golden brown and cheese is bubbly. Internal temperature should reach about 190°F (88°C).
- Remove from oven and let cool for 2-3 minutes. Brush with reserved garlic butter. If using, sprinkle with Parmesan and smoked paprika. Serve warm, pulling apart into individual pieces.
Notes
Don’t overwork the dough; handle gently for fluffier bread. Seal seams well to prevent cheese leakage. Space dough balls about ¼ inch apart so they merge without becoming a blob. Brush with garlic butter before and after baking for best flavor. Serve within 10 minutes for optimal cheese pull. Leftovers can be stored at room temperature for up to 2 days or refrigerated for up to 4 days. Reheat in a 350°F oven for 5-7 minutes.
Nutrition
- Serving Size: 1 pull-apart piece
- Calories: 220
- Sugar: 3
- Sodium: 580
- Fat: 12
- Saturated Fat: 6
- Carbohydrates: 22
- Fiber: 1
- Protein: 8
Keywords: pumpkin cheese bread, pull-apart bread, fall appetizer, easy cheese bread, quick appetizer, football snack, Thanksgiving appetizer


