It was 10:47 PM on a random Thursday in October, and a very specific, slightly ridiculous craving hit. I wanted something that tasted like a party but felt like a secret. I didn’t have the energy for a full meal, but I had a pound of ground beef thawing in the fridge and a can of refried beans staring at me from the pantry. The idea that arrived was weird: a taco dip shaped like a tiny cemetery. Honestly, I thought it was a joke at first. But the kids were asleep, the house was quiet, and something about the late hour made me think, why not? I mean, you know that feeling when a silly idea just won’t leave you alone? That was this dip. I grabbed a block of cream cheese, a packet of taco seasoning, and started layering. It felt a little unhinged, standing there in my pajamas, carefully pressing sour cream into little tombstone shapes. But when I pulled it out of the fridge the next day for the Halloween party, I knew I was onto something. The kids went absolutely nuts for it — not just because it looked cool, but because it actually tasted incredible. That late-night experiment turned into the one dish I now get asked for every single year. It’s messy, it’s playful, and honestly, it’s the best kind of comfort food.
Why You’ll Love This Recipe
Let’s be real: most Halloween snacks look better than they taste. Not this one. This graveyard taco dip is the rare dish that delivers both on presentation and on flavor. I’ve tested it on a crowd of picky eaters, and it disappeared faster than the candy bowl. Here’s why it works so well:
- Quick & Easy: You can throw this together in under 20 minutes. No oven required, just a little fridge time to set the layers.
- Simple Ingredients: Everything here is a pantry staple or a quick grocery run. No weird specialty items.
- Perfect for Halloween Parties: It’s a guaranteed conversation starter. Kids love the graveyard theme, and adults love the classic taco dip flavor.
- Crowd-Pleaser: I’ve served this at three different Halloween parties now, and it’s always the first empty dish on the table. Even the kids who “don’t like beans” go back for seconds.
- Unbelievably Delicious: The creamy layers, the seasoned beef, the crunchy chips — it’s everything you want in a dip, but with a spooky twist that makes it feel special.
What makes this different from every other taco dip out there is the texture. I use a blend of cream cheese and sour cream that creates this ultra-smooth, almost mousse-like base. It’s not too heavy, not too thin — it’s just right. And the sour cream tombstones? They’re not just for show. The tangy cream balances out the richness of the beef and cheese perfectly. This isn’t just another version of taco dip. It’s the best version.
What Ingredients You Will Need
This recipe uses simple, wholesome ingredients to deliver bold flavor and satisfying texture without the fuss. Most of these are things you probably already have in your kitchen, which makes it perfect for a last-minute Halloween gathering.
For the Dip Base
- 1 pound ground beef (80/20 works best for flavor — not too lean, not too greasy)
- 1 packet taco seasoning (I prefer Old El Paso or McCormick for consistent flavor)
- 16 ounces cream cheese, softened (full-fat gives the best creamy texture, but Neufchâtel works too)
- 1 cup sour cream (plus extra for the tombstones — see below)
- 1 can (16 ounces) refried beans (I like Rosarita for a smooth, spreadable consistency)
- 2 cups shredded Mexican blend cheese (or cheddar if that’s what you have)
- 1/2 cup salsa (use your favorite — medium heat is a safe bet for kids)
For the Graveyard Toppings
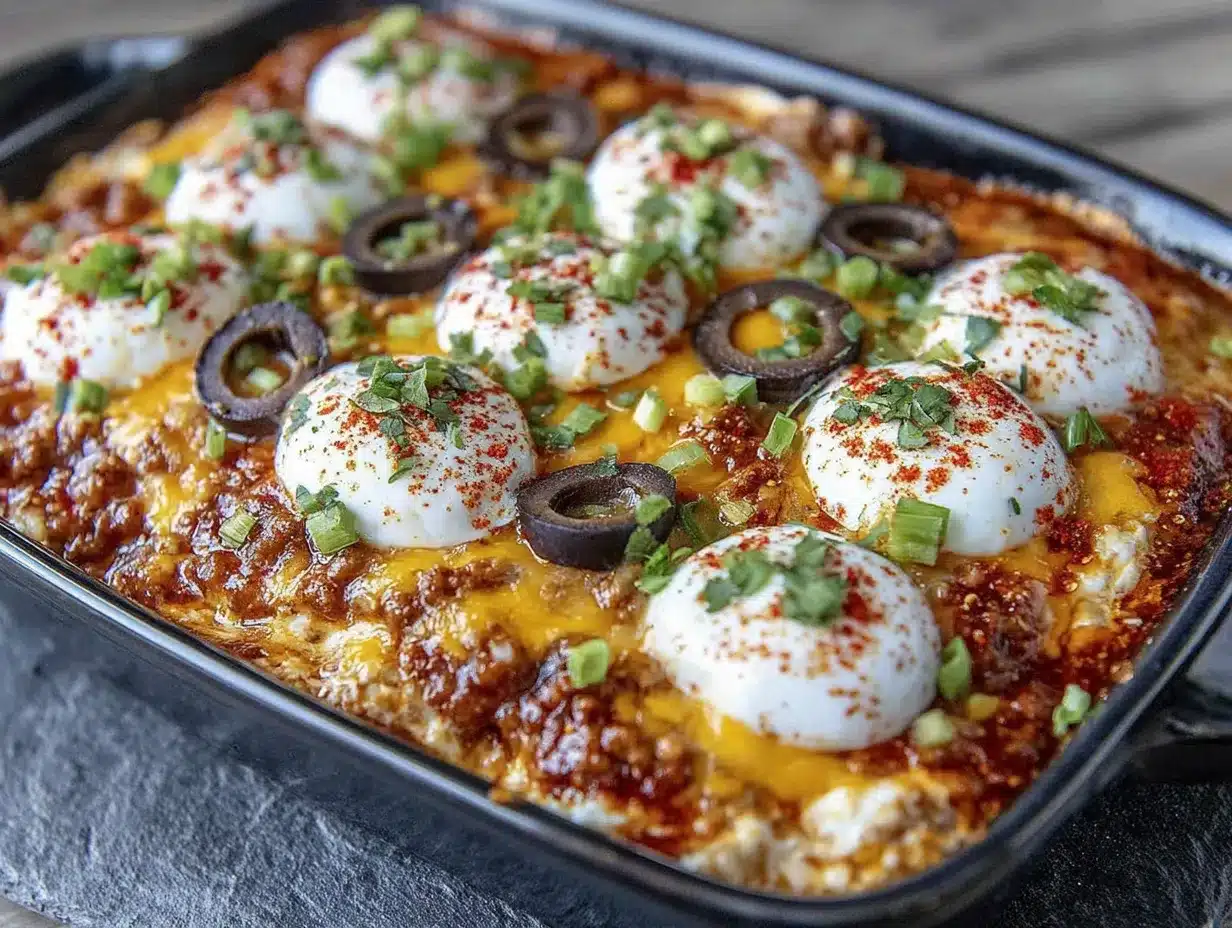
- 1 cup sour cream (for the tombstones — you want it thick, so avoid light sour cream)
- Black olives, sliced (for creepy “graveyard dirt” texture)
- Green onions, chopped (looks like little weeds growing in the cemetery)
- Cherry tomatoes, halved (optional — adds color and freshness)
- Round tortilla chips (for scooping — I use Tostitos Scoops)
- Small rectangular crackers (like Ritz or Club crackers — these become your tombstones)
Ingredient Notes & Substitutions
If you’re feeding a crowd that includes vegetarians, swap the ground beef for a plant-based crumble or extra black beans. Just cook it the same way with the taco seasoning. For a gluten-free version, check your taco seasoning label — most are gluten-free, but it’s worth verifying. And if you want to lighten it up, use reduced-fat cream cheese and Greek yogurt in place of sour cream. The texture will be slightly different, but it still works great.
Equipment Needed
You don’t need anything fancy for this recipe, which is part of the beauty. Here’s what you’ll need:
- Large skillet for browning the beef
- 9×13-inch baking dish or a large rimmed platter (glass or ceramic works best)
- Mixing bowls — one large, one small
- Spatula for spreading layers evenly
- Piping bag or small zip-top bag for the sour cream tombstones
- Sharp knife for cutting cracker tombstones
- Cutting board
Budget-friendly tip: If you don’t have a piping bag, just snip a tiny corner off a zip-top bag. Works like a charm. And if you don’t have a 9×13 dish, a large pie plate or even a sheet pan with edges will do the job.
Preparation Method
Let’s walk through this step by step. I’ve made this so many times now that I’ve got the process down to a science. Trust me, it’s easier than it looks.
- Cook the beef. Heat your large skillet over medium-high heat. Add the ground beef and cook until browned, about 6-8 minutes. Break it up with a spatula as it cooks. Drain off any excess fat, then stir in the taco seasoning and 1/4 cup of water. Let it simmer for 2-3 minutes until thickened. Set aside to cool slightly.
- Prepare the cream cheese layer. In a large mixing bowl, beat the softened cream cheese with a spatula until smooth. Add 1 cup of sour cream and mix until fully combined. This is your base layer — it should be creamy and spreadable, not lumpy. If it’s too thick, add a tablespoon of milk.
- Layer the dip. Spread the refried beans evenly across the bottom of your 9×13 dish. Next, spread the cream cheese mixture over the beans. Then add the cooked beef in an even layer. Sprinkle the shredded cheese over the top. Finally, dollop the salsa in small spoonfuls across the surface — don’t spread it, just let it sit in little pockets.
- Make the tombstones. While the dip is setting, prepare your sour cream tombstones. In a small bowl, mix the extra 1 cup of sour cream until it’s smooth and pipeable. Transfer it to your piping bag or zip-top bag. On a separate plate, arrange your rectangular crackers. Pipe a small mound of sour cream onto each cracker, shaping it into a rounded tombstone form. You can add a little cross or “RIP” with a toothpick if you’re feeling fancy. Place these in the fridge for at least 15 minutes to firm up.
- Assemble the graveyard. Once the dip is fully layered and slightly chilled (about 20 minutes in the fridge), it’s time to decorate. Arrange the sour cream tombstones on top of the dip in a random pattern. Sprinkle the black olives and green onions around them to look like dirt and weeds. Add the cherry tomatoes if you’re using them. Place the tortilla chips around the edges of the dish, sticking them into the dip at an angle so they look like little headstones or fence posts.
- Chill and serve. Cover the dip with plastic wrap and refrigerate for at least 30 minutes before serving. This helps the layers set and makes the tombstones hold their shape. When you’re ready, set it out with extra chips on the side and watch it disappear.
Sensory cue: You’ll know the dip is ready when the layers feel firm to the touch and the cheese has melded slightly with the salsa. The smell is incredible — like a taco night but with a spooky twist.
Cooking Tips & Techniques
I’ve learned a few things the hard way so you don’t have to. Here are my best tips for nailing this graveyard taco dip every single time.
Don’t skip the chilling step. I know it’s tempting to serve it right away, but the dip needs at least 30 minutes in the fridge to set. Otherwise, the layers will slide around and your tombstones will topple over. Trust me, I learned this the first time I made it — it was a delicious mess, but not a pretty one.
Use room temperature cream cheese. Cold cream cheese is impossible to spread smoothly. Let it sit on the counter for 30 minutes before you start. If you forget, microwave it in 10-second bursts until soft but not melted.
Make the tombstones ahead of time. You can pipe the sour cream onto the crackers up to 2 hours in advance and keep them in the fridge. This makes assembly day much less stressful.
Double the recipe for a crowd. This dip disappears fast. If you’re serving more than 8 people, make two batches in separate dishes. I’ve learned that one dish is never enough.
Keep the chips separate until serving. If you put all the chips in the dip ahead of time, they’ll get soggy. I like to arrange them around the edges for presentation, but keep a bag of extra chips on the side for refills.
Variations & Adaptations
One of the best things about this recipe is how easy it is to customize. Here are a few ways I’ve adapted it over the years.
Vegetarian Version
Swap the ground beef for a plant-based crumble or an extra can of black beans. Cook the crumble with taco seasoning the same way you would the beef. It’s just as flavorful and the texture holds up perfectly.
Spicy Version
If you’re cooking for adults who like heat, add a diced jalapeño to the beef while it cooks, and use a hot salsa instead of medium. You can also sprinkle crushed red pepper flakes over the top before serving.
Low-Carb / Keto-Friendly
Skip the refried beans and use a layer of seasoned ground beef directly on the cream cheese. Serve with pork rinds or cucumber slices instead of tortilla chips. It’s surprisingly good — I’ve made it this way for a friend on keto and she went back for thirds.
Dairy-Free Adaptation
Use dairy-free cream cheese and sour cream alternatives. Kite Hill makes a great cream cheese, and Tofutti sour cream works well. The texture will be slightly different, but the flavor is still spot-on.
Seasonal Twist
For a non-Halloween version, skip the tombstones and just serve it as a classic seven-layer taco dip. It’s just as delicious and works for game day, potlucks, or summer barbecues.
Serving & Storage Suggestions
This dip is best served cold or at room temperature. I like to set it out about 15 minutes before guests arrive so it’s not straight-from-the-fridge cold, but still firm enough to hold its shape.
For presentation: Arrange the tortilla chips around the edges of the dish in a circular pattern. Place a few extra tombstones on a small plate next to the dip so people can grab them. I’ve found that kids love picking their own tombstone — it’s a little ritual that makes the dish feel interactive.
What to serve with it: This dip is a meal on its own, but it pairs beautifully with a simple side of fresh veggies (carrot sticks, celery, bell pepper strips) for dipping. If you’re serving it as part of a Halloween spread, add some spooky mummy hot dogs and witch’s brew punch for a full themed menu.
Storage: Leftovers keep in the fridge for up to 3 days. Cover the dish tightly with plastic wrap or transfer the dip to an airtight container. The tombstones will soften, so don’t expect them to look perfect the next day — but the flavor is still fantastic.
Reheating: This dip is meant to be served cold, but if you want to reheat it, scoop out a portion and microwave it for 30 seconds. It won’t look as pretty, but it tastes just as good.
Flavor development: Honestly, this dip tastes even better the next day. The flavors meld together overnight and the layers become one cohesive, creamy, delicious whole. I’ve been known to make it a day ahead on purpose.
Nutritional Information & Benefits
Let’s be honest — this is a treat, not a health food. But here’s the breakdown if you’re curious. Per serving (based on 12 servings):
- Calories: 380
- Protein: 18g
- Fat: 26g
- Carbohydrates: 18g
- Fiber: 4g
- Sugar: 4g
Health highlights: The refried beans are a good source of fiber and plant-based protein. The beef provides iron and B vitamins. And the dairy gives you calcium and vitamin D. It’s not a salad, but it’s not junk food either. It’s a balanced indulgence — the kind of thing that feels special without being over-the-top.
Dietary considerations: This recipe is naturally gluten-free if you check your taco seasoning label. It’s not suitable for vegans or vegetarians in its original form, but the adaptations above work well. It does contain dairy, so if you’re lactose intolerant, use the dairy-free substitutions I mentioned earlier.
Conclusion
This graveyard taco dip is the kind of recipe that makes you look like a hero without any real effort. It’s fun, it’s delicious, and it’s the perfect centerpiece for any Halloween gathering. Whether you’re hosting a party, feeding a crowd of hungry kids, or just want a silly, satisfying snack for a movie night, this dip delivers.
I love this recipe because it reminds me that cooking doesn’t have to be serious. Sometimes the best dishes come from a late-night whim and a willingness to try something ridiculous. And when that ridiculous thing turns out to be the most popular dish on the table? That’s the best feeling in the world.
I’d love to hear how yours turns out! Did you add your own twist? Did the kids go crazy for it? Drop a comment below and let me know. And if you’re looking for more Halloween fun, don’t forget to check out my creepy crawly pizza and ghostly guacamole for a full spooky spread. Happy haunting, and happy eating!
Frequently Asked Questions
Can I make this graveyard taco dip ahead of time?
Absolutely! In fact, I recommend it. Assemble the dip up to 24 hours in advance, but wait to add the tombstones and chips until just before serving. The flavors get even better overnight.
How do I keep the sour cream tombstones from melting?
Keep them refrigerated until the last minute. If your dip is cold when you add them, they’ll hold their shape for at least an hour at room temperature. If it’s a hot day, set the dish on a bed of ice.
Can I use ground turkey instead of beef?
Yes, but turkey is leaner, so it can be a little dry. Add a tablespoon of olive oil when cooking and don’t skip the water when adding the taco seasoning. It’ll still taste great.
What if I don’t have a 9×13 dish?
No problem! Use a large pie plate, a rimmed baking sheet, or even a round cake pan. Just adjust the layering to fit the shape. The dip will taste the same no matter what dish you use.
Can I freeze leftover graveyard taco dip?
I don’t recommend freezing it. The dairy-based layers will separate and become watery when thawed. It’s best to make only what you’ll eat within 3 days. But trust me — leftovers are rarely a problem with this dip.
Pin This Recipe!
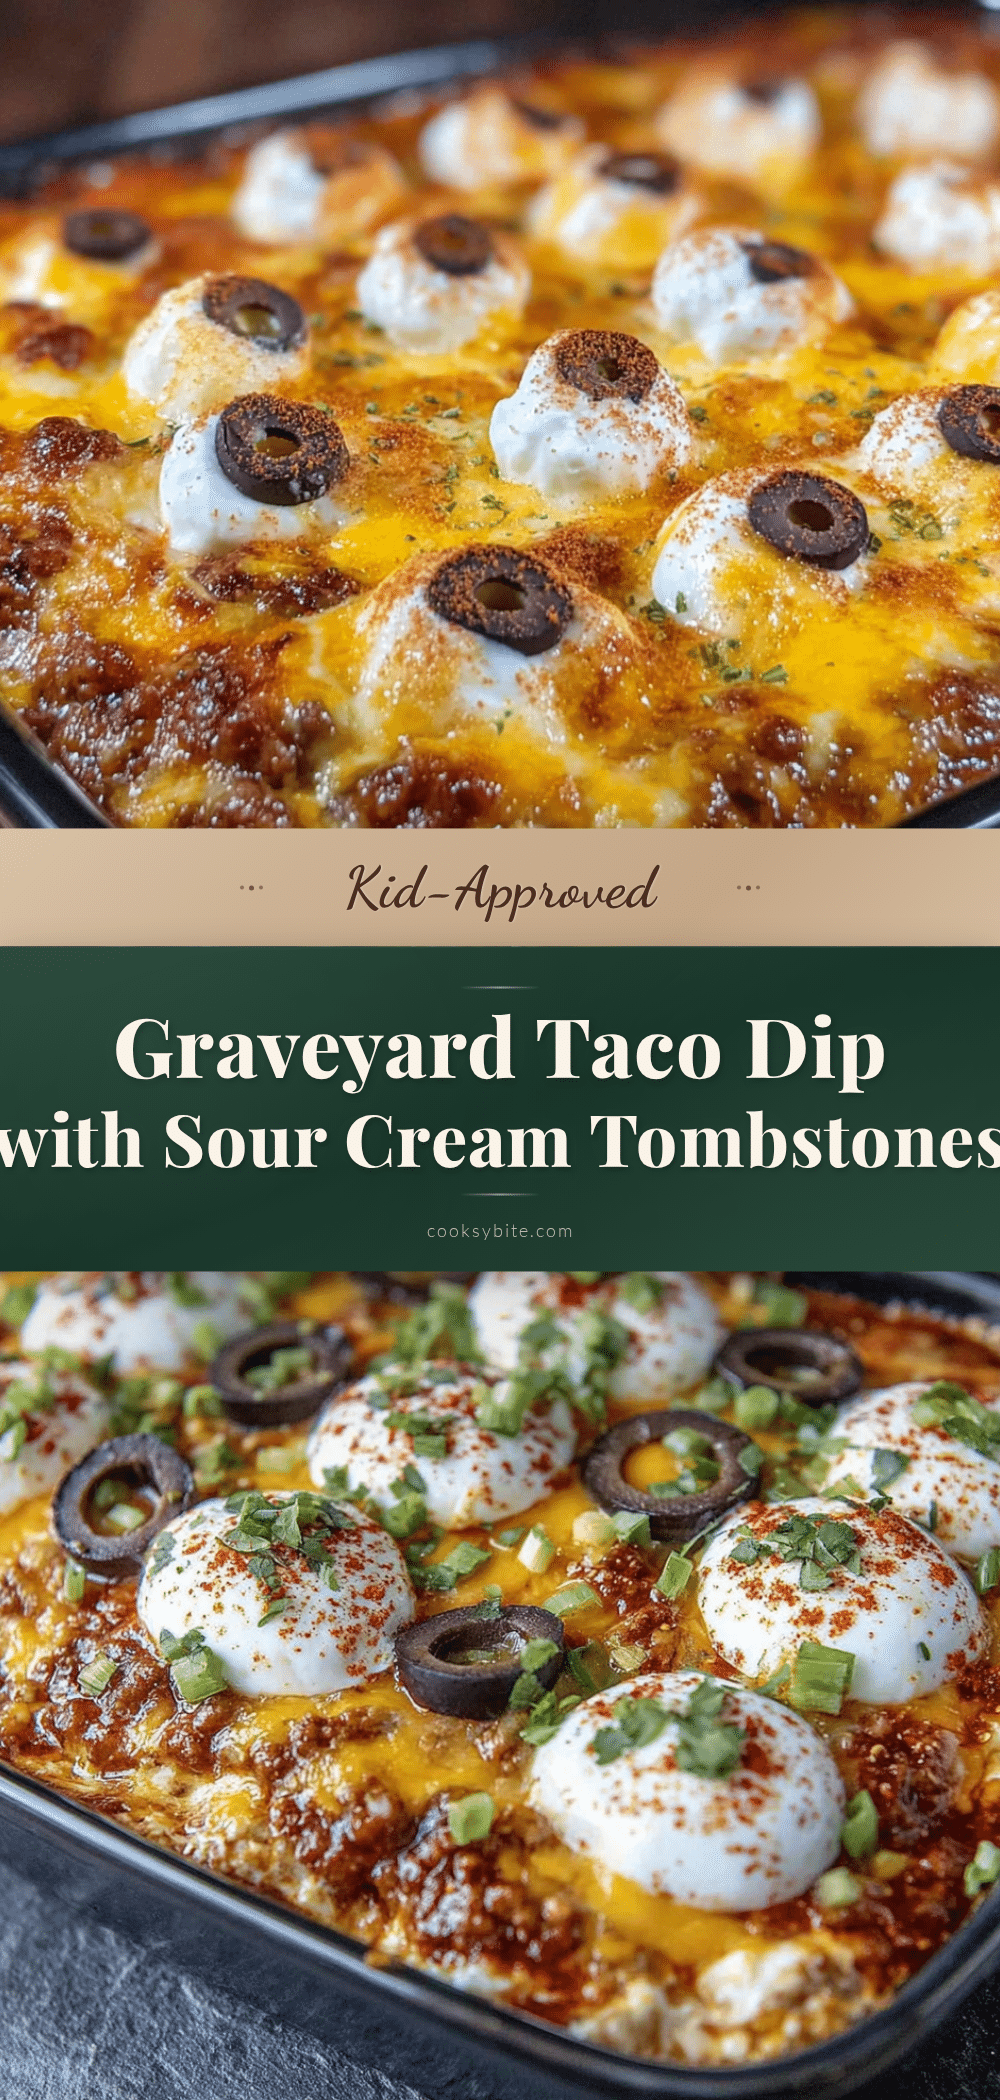
Best Graveyard Taco Dip Recipe with Sour Cream Tombstones

A fun and delicious Halloween-themed taco dip shaped like a tiny cemetery, featuring creamy layers, seasoned beef, and sour cream tombstones. Perfect for parties and guaranteed to be a crowd-pleaser.
- Prep Time: 20 minutes
- Cook Time: 10 minutes
- Total Time: 30 minutes
- Yield: 12 servings 1x
- Category: Appetizer
- Cuisine: Mexican-American
Ingredients
- 1 pound ground beef (80/20)
- 1 packet taco seasoning
- 16 ounces cream cheese, softened
- 1 cup sour cream
- 1 can (16 ounces) refried beans
- 2 cups shredded Mexican blend cheese
- 1/2 cup salsa
- 1 cup sour cream (for tombstones)
- Black olives, sliced
- Green onions, chopped
- Cherry tomatoes, halved (optional)
- Round tortilla chips
- Small rectangular crackers (like Ritz or Club)
Instructions
- Cook the beef: Heat a large skillet over medium-high heat. Add ground beef and cook until browned, about 6-8 minutes. Drain excess fat, then stir in taco seasoning and 1/4 cup water. Simmer 2-3 minutes until thickened. Set aside to cool slightly.
- Prepare the cream cheese layer: In a large mixing bowl, beat softened cream cheese with a spatula until smooth. Add 1 cup sour cream and mix until fully combined.
- Layer the dip: Spread refried beans evenly across the bottom of a 9×13-inch dish. Spread cream cheese mixture over beans. Add cooked beef in an even layer. Sprinkle shredded cheese on top. Dollop salsa in small spoonfuls across the surface.
- Make the tombstones: In a small bowl, mix 1 cup sour cream until smooth and pipeable. Transfer to a piping bag or zip-top bag. On a plate, arrange rectangular crackers. Pipe a small mound of sour cream onto each cracker, shaping into a rounded tombstone. Refrigerate for at least 15 minutes to firm up.
- Assemble the graveyard: Once dip is layered and slightly chilled (about 20 minutes), arrange sour cream tombstones on top. Sprinkle black olives and green onions around them. Add cherry tomatoes if using. Place tortilla chips around edges of dish, sticking into dip at an angle.
- Chill and serve: Cover dip with plastic wrap and refrigerate for at least 30 minutes before serving. Serve with extra chips on the side.
Notes
Don’t skip the chilling step—it helps layers set and tombstones hold shape. Use room temperature cream cheese for smooth spreading. Make tombstones up to 2 hours ahead. Keep chips separate until serving to avoid sogginess. Dip tastes even better the next day.
Nutrition
- Serving Size: 1 serving
- Calories: 380
- Sugar: 4
- Fat: 26
- Carbohydrates: 18
- Fiber: 4
- Protein: 18
Keywords: Halloween, taco dip, graveyard, party appetizer, spooky, sour cream tombstones


