My sister swore she hated pumpkin-flavored things for a solid decade. “It’s just spice soup,” she’d say every autumn, wrinkling her nose at my pumpkin bread. Then last October, I caught her standing over my kitchen counter, breaking off pieces of a still-warm scone and eating them in guilty silence. I didn’t say a word. I just watched her reach for a third piece, then a fourth. “These are different,” she finally mumbled, not quite meeting my eyes. “These actually taste like something real.”
Honestly, that moment summed up everything I love about this recipe. Pumpkin scones can go wrong in so many ways — dry, dense, so heavy with spice you feel like you’re eating a candle. But this version? It’s soft and tender on the inside, with a crumbly golden edge that shatters just a little when you bite in. And that maple glaze — let me tell you, it’s not just a drizzle. It’s a thick, buttery ribbon of sweetness that soaks right into those warm scones, making every bite taste like a cozy sweater feels.
I developed this recipe during a particularly rainy October when the power flickered three times in one afternoon. I was frustrated, honestly, and needed something comforting to bake. The kitchen smelled like cinnamon and nutmeg for hours, and by the time the sun finally broke through the clouds, I had a batch of scones that made everything feel right again. Maybe you’ve been there — that moment when the perfect recipe turns a bad day around.
These scones have become my go-to for everything from lazy Saturday mornings to holiday brunches where I need something that looks impressive but takes almost no effort. They freeze beautifully, they make your house smell incredible, and they have this way of making people close their eyes after that first bite. I keep making them because they work every single time, and honestly? Watching someone who “doesn’t like pumpkin” reach for seconds never gets old.
Why You’ll Love This Recipe
Let’s be real — there are a lot of pumpkin scone recipes out there. Some are dry as sawdust. Others are so greasy they leave an oil slick on your napkin. This one hits that sweet spot where everything just works, and I’ve tested it enough times to guarantee it.
- Quick & Easy : From start to finish, these scones come together in about 30 minutes. No chilling the dough, no complicated folding techniques. Just mix, shape, bake, and glaze.
- Simple Ingredients : You probably have everything in your pantry right now. Butter, flour, sugar, pumpkin puree, and basic spices. No trips to specialty stores or weird ingredients you’ll only use once.
- Perfect for Cozy Mornings : These are made for slow weekend breakfasts with a hot cup of coffee, or for wrapping up in a blanket and pretending the world doesn’t exist for a little while.
- Crowd-Pleaser : I’ve brought these to potlucks, brunches, and casual get-togethers. They disappear fast. Even people who think they don’t like pumpkin end up coming back for more.
- Unbelievably Delicious : The texture is what gets people. Flaky on the outside, soft and almost biscuit-like on the inside. That maple glaze soaks in just enough to add sweetness without making everything soggy.
What makes this recipe different from the rest is the technique. Most scone recipes overwork the dough, which makes them tough. I use a method where you grate frozen butter into the flour mixture — it creates these tiny pockets of butter that steam as they bake, giving you layers of flaky goodness without any effort. Plus, the maple glaze isn’t just a thin drizzle. It’s thick enough to hold its shape, but thin enough to seep into those cracks and crevices on top of the scone.
This is comfort food reimagined — faster, simpler, but with the same soul-soothing satisfaction as something you’d spend hours on. It’s the kind of recipe that makes you feel like a pro baker, even if you’ve never made scones before in your life.
What Ingredients You Will Need
This recipe uses simple, wholesome ingredients to deliver bold flavor and satisfying texture without the fuss. Most of these are pantry staples you likely already have on hand, which makes these scones perfect for spontaneous baking cravings.
For the Scones:
- 2 cups all-purpose flour (spooned and leveled — don’t scoop directly from the bag or you’ll end up with too much)
- 1/3 cup granulated sugar (just enough sweetness to balance the pumpkin and spices)
- 1 tablespoon baking powder (make sure it’s fresh — old baking powder won’t give you that lift)
- 1 teaspoon pumpkin pie spice (I prefer the McCormick brand for its balanced flavor, but any blend works)
- 1/2 teaspoon ground cinnamon (adds that warm, cozy note we all crave in fall)
- 1/2 teaspoon salt (don’t skip this — it balances the sweetness and enhances all the flavors)
- 1/2 cup cold unsalted butter (frozen is even better — grate it directly into the flour for perfect flakiness)
- 1/3 cup pumpkin puree (not pumpkin pie filling — make sure you grab the 100% pure pumpkin)
- 1/3 cup heavy cream (adds richness and tenderness; half-and-half works in a pinch)
- 1 large egg (binds everything together and adds structure)
- 1 teaspoon vanilla extract (enhances the warm flavors without overpowering them)
For the Maple Glaze:
- 1 cup powdered sugar (sifted if it’s lumpy — trust me on this one)
- 3 tablespoons pure maple syrup (real maple syrup makes a huge difference here — skip the pancake syrup)
- 1-2 tablespoons milk or heavy cream (to adjust the consistency; start with 1 tablespoon and add more as needed)
- Pinch of salt (cuts the sweetness just enough to keep it from being cloying)
When it comes to pumpkin puree, I always reach for Libby’s. It’s consistent, not too watery, and gives you that deep orange color that makes scones look so inviting. If you’re using a different brand, just make sure to blot the pumpkin puree with a paper towel to remove excess moisture — wet pumpkin can make your scones dense and gummy.
For the maple syrup, please use the real stuff. I know it’s more expensive, but the flavor is incomparable. The fake stuff has a chemical aftertaste that really stands out in a simple glaze like this. I like Maple Grove Farms for a good balance of quality and price.
If you don’t have pumpkin pie spice, you can make your own by mixing 1/2 teaspoon cinnamon, 1/4 teaspoon nutmeg, 1/4 teaspoon ginger, and a pinch of cloves. It works perfectly and lets you adjust the spice level to your taste.
Equipment Needed
You don’t need anything fancy to make these scones, which is part of why I love this recipe so much. Here’s what you’ll need:
- Large mixing bowl (for combining dry ingredients)
- Medium mixing bowl (for whisking wet ingredients)
- Pastry cutter or box grater (for cutting butter into flour — I prefer the grater method because it’s faster and more consistent)
- Baking sheet (lined with parchment paper for easy cleanup)
- Parchment paper (prevents sticking and makes transferring scones a breeze)
- Whisk (for mixing wet ingredients and glaze)
- Bench scraper or sharp knife (for cutting the dough into triangles)
- Cooling rack (allows air to circulate so the glaze sets properly)
- Pastry brush (optional) (for brushing cream on top before baking)
If you don’t have a pastry cutter, don’t worry. Two forks work just fine — just work quickly so the butter stays cold. And if you don’t have a bench scraper, a sharp chef’s knife will do the job. I’ve used both, and honestly, the knife gives cleaner cuts anyway.
One tip I learned the hard way: invest in good parchment paper. The cheap stuff can stick to your scones and tear when you try to peel it off. I use Reynolds kitchen parchment and have never had an issue.
Preparation Method
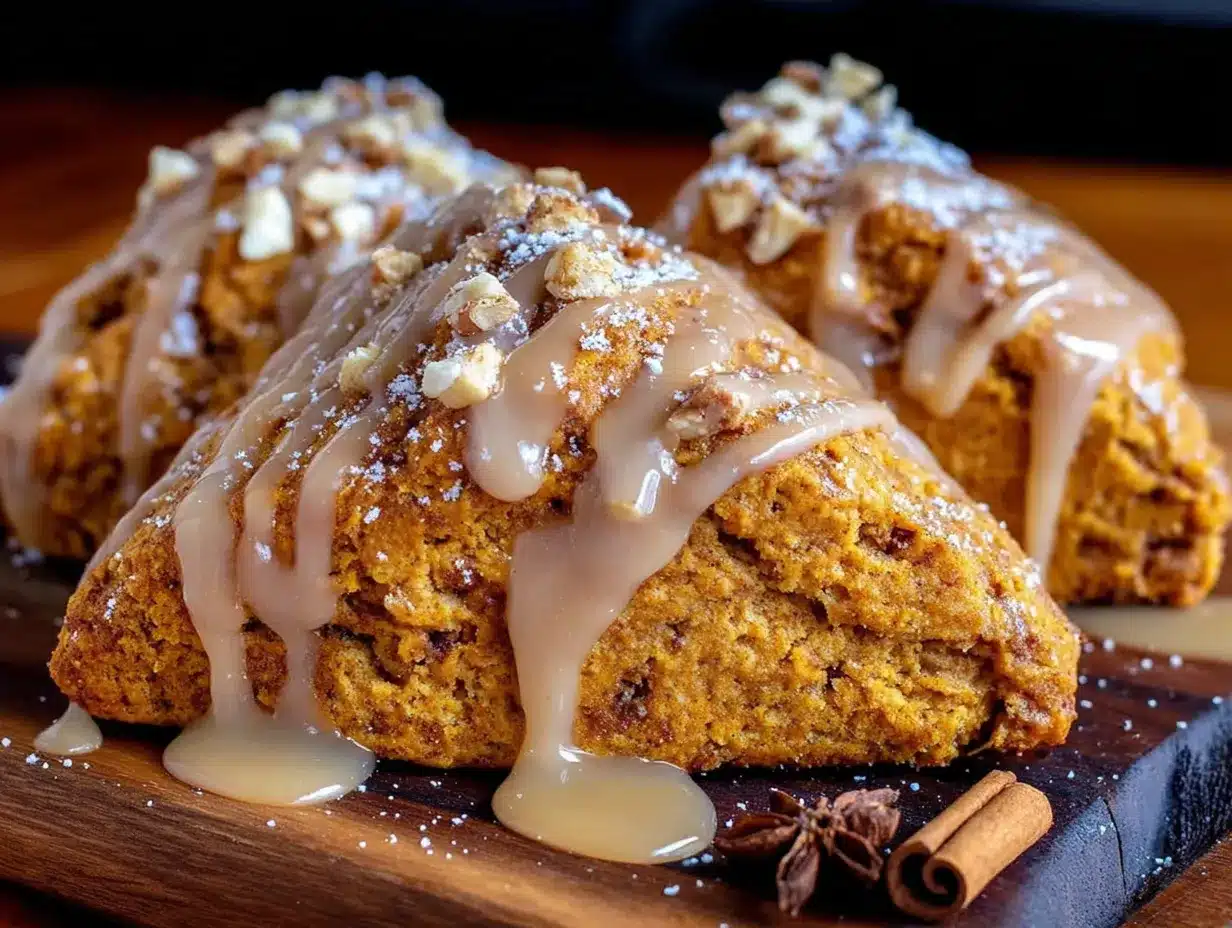
Let’s get baking. This recipe moves fast, so I like to have everything measured and ready before I start. Trust me — it makes the whole process so much smoother.
- Preheat your oven to 400°F (200°C). Line a baking sheet with parchment paper and set it aside. Getting the oven hot before you start ensures even baking from the moment the scones go in.
- Grate your frozen butter. This is the secret to perfect scones. Take your 1/2 cup cold butter (frozen is ideal) and grate it on the large holes of a box grater. Work quickly — you don’t want the butter to soften. Toss the grated butter with a tablespoon of the flour to keep the pieces separate, then pop it back in the freezer while you prepare the dry ingredients.
- Whisk together the dry ingredients. In a large bowl, combine 2 cups all-purpose flour, 1/3 cup granulated sugar, 1 tablespoon baking powder, 1 teaspoon pumpkin pie spice, 1/2 teaspoon cinnamon, and 1/2 teaspoon salt. Whisk until everything is evenly distributed — you don’t want pockets of baking powder in your scones.
- Cut in the butter. Add the grated frozen butter to the flour mixture. Use your fingers or a pastry cutter to work the butter into the flour until the mixture looks like coarse crumbs with some pea-sized butter pieces remaining. Those chunks are what create flaky layers, so don’t overdo it.
- Mix the wet ingredients. In a separate bowl, whisk together 1/3 cup pumpkin puree, 1/3 cup heavy cream, 1 large egg, and 1 teaspoon vanilla extract. Make sure the pumpkin is fully incorporated — sometimes it clumps, so give it a good whisk.
- Combine wet and dry ingredients. Pour the wet mixture into the flour-butter mixture. Stir with a spatula or wooden spoon just until the dough comes together. It will look shaggy and a little dry — that’s exactly what you want. Overmixing will make your scones tough.
- Bring the dough together. Turn the dough out onto a lightly floured surface. Gently knead it 3-4 times, just until it holds together. If it’s too sticky, sprinkle a little more flour on your hands and the surface. If it’s too dry, add a splash of cream.
- Shape the dough. Pat the dough into a circle about 3/4-inch thick. Don’t roll it with a rolling pin — just use your hands. The circle should be about 7-8 inches across. Use a bench scraper or sharp knife to cut the circle into 8 equal wedges, like you’re cutting a pizza.
- Transfer to baking sheet. Carefully place the scone wedges on the prepared baking sheet, spacing them about 2 inches apart. They’ll spread a little, but not much. At this point, you can brush the tops with a little extra cream for a golden, shiny crust.
- Bake for 15-18 minutes. The scones are done when they’re golden brown on the edges and a toothpick inserted in the center comes out clean. The tops should be firm to the touch but still soft underneath. Let them cool on the baking sheet for 5 minutes, then transfer to a cooling rack.
- Make the maple glaze. While the scones are cooling, whisk together 1 cup powdered sugar, 3 tablespoons pure maple syrup, and 1 tablespoon milk or cream in a small bowl. Add more milk if needed to reach a thick but pourable consistency. Stir in a pinch of salt to balance the sweetness.
- Glaze the scones. Drizzle the glaze over the warm scones — not piping hot, but still warm enough that the glaze sinks in a little. Use the back of a spoon to spread it if needed. Let the glaze set for about 10 minutes before serving.
A quick note: if you want extra glaze coverage, double the glaze recipe. Some people like a thin drizzle, but I prefer a generous coating that pools in the cracks and creates little pockets of maple goodness in every bite.
Cooking Tips & Techniques
I’ve made this recipe more times than I can count, and I’ve definitely learned a few things along the way. Here are the tips that make the biggest difference.
Keep everything cold. This is the number one rule of scone-making. Cold butter creates steam pockets as it bakes, which gives you those flaky layers. Warm butter melts into the flour and makes dense, flat scones. If your kitchen is warm, pop the shaped scones in the freezer for 10 minutes before baking.
Don’t overwork the dough. I know it’s tempting to keep kneading until it’s perfectly smooth, but stop as soon as it comes together. Overworking develops gluten, which makes scones tough and chewy instead of tender and flaky. Shaggy dough is good dough.
Blot your pumpkin puree. This was a game-changer for me. Pumpkin has a lot of moisture, which can make scones dense and gummy. Spread the pumpkin puree on a paper towel-lined plate, cover with another paper towel, and press gently to absorb excess liquid. You’ll be amazed at how much fluffier your scones turn out.
Check your baking powder. I learned this one the hard way after a batch of hockey pucks. Baking powder loses its potency over time. To test it, drop a teaspoon into a cup of hot water — if it fizzes vigorously, it’s good. If not, buy a new can.
Glaze while warm, but not hot. If you glaze piping hot scones, the glaze will melt right off and pool on the cooling rack. If you wait until they’re completely cool, the glaze sits on top and doesn’t soak in. The sweet spot is about 10 minutes after they come out of the oven — warm enough to absorb some glaze, cool enough that it stays put.
One mistake I made early on was using a rolling pin to flatten the dough. Don’t do it. It compresses everything and ruins the texture. Use your hands to gently pat the dough into shape. It’s faster, and you get a better result.
Variations & Adaptations
This recipe is wonderfully adaptable, and I’ve tried quite a few variations over the years. Here are some of my favorites.
Gluten-Free Version: Substitute the all-purpose flour with a 1:1 gluten-free baking flour blend that contains xanthan gum. I’ve had great results with King Arthur Measure for Measure. The texture is slightly more delicate, but the flavor is spot-on. Add an extra tablespoon of cream since gluten-free flours tend to absorb more moisture.
Vegan Version: Use cold vegan butter (I like Miyoko’s) and replace the heavy cream with full-fat coconut cream. For the egg, use a flax egg (1 tablespoon ground flaxseed mixed with 3 tablespoons water, let sit for 5 minutes). The scones will be a bit denser but still delicious. Use maple syrup as the sweetener in the glaze and plant-based milk to thin it.
Spiced Cranberry Pumpkin Scones: Fold in 1/2 cup dried cranberries along with the wet ingredients. The tartness of the cranberries balances the sweetness of the maple glaze beautifully. This is my go-to for Thanksgiving brunch.
Chocolate Chip Pumpkin Scones: Add 1/2 cup mini chocolate chips to the dough. The combination of pumpkin, maple, and chocolate sounds unusual, but trust me — it works. Use dark chocolate chips for a less sweet option.
Savory Pumpkin Scones: Skip the sugar and pumpkin pie spice. Add 1 teaspoon garlic powder, 1/2 teaspoon black pepper, 1/2 cup shredded cheddar cheese, and 2 tablespoons chopped fresh sage. Omit the maple glaze and brush with melted butter instead. These are incredible with soup or chili.
I once tried a version with candied ginger folded into the dough, and it was amazing — the spicy-sweet chunks added little bursts of flavor throughout. If you like ginger, give it a try.
Serving & Storage Suggestions
These scones are at their absolute best when served warm, about 10-15 minutes after glazing. The glaze is still slightly soft, the inside is tender, and the edges have that perfect golden crunch. Pair them with a hot cup of coffee, a chai latte, or a mug of spiced apple cider for the ultimate cozy experience.
For a more indulgent presentation, serve the scones split in half with a pat of butter melting into the warm interior. A dollop of clotted cream or mascarpone on the side takes things to another level. If you’re serving these for brunch, arrange them on a wooden board with fresh apple slices, a few cinnamon sticks, and a small pitcher of extra glaze for drizzling.
Storage: Store leftover scones in an airtight container at room temperature for up to 3 days. The glaze will soften slightly, but they’ll still be delicious. If you stack them, place a piece of parchment paper between layers to prevent the glaze from sticking.
Freezing: These scones freeze beautifully. Freeze them unglazed for best results. Place the baked, cooled scones on a baking sheet and freeze until solid (about 2 hours), then transfer to a freezer-safe bag or container. They’ll keep for up to 3 months. To serve, thaw at room temperature, then warm in a 300°F oven for 5-7 minutes. Glaze after warming.
Reheating: The microwave works in a pinch (15-20 seconds), but the oven gives you that fresh-baked texture back. Pop them in a 350°F oven for 5 minutes, and they’ll taste like they just came out of the oven. The glaze will melt a little, but honestly, that just makes everything better.
One thing I love about these scones is that the flavors actually develop over time. Day-old scones have a deeper pumpkin spice flavor, and the maple glaze has had time to fully soak in. They’re different from fresh, but just as good in their own way.
Nutritional Information & Benefits
Here’s the estimated nutritional breakdown for one scone with glaze (based on 8 servings):
| Nutrient | Amount per Serving |
|---|---|
| Calories | 320 |
| Total Fat | 14g |
| Saturated Fat | 9g |
| Cholesterol | 55mg |
| Sodium | 310mg |
| Total Carbohydrates | 46g |
| Dietary Fiber | 1g |
| Sugars | 24g |
| Protein | 4g |
While these scones are definitely a treat, they do offer some nutritional benefits. Pumpkin is packed with vitamin A (in the form of beta-carotene), which supports eye health and immune function. It’s also a good source of fiber and potassium. The cinnamon in the spice blend has anti-inflammatory properties and can help regulate blood sugar levels.
For those with dietary restrictions: this recipe contains gluten, dairy, and eggs. For gluten-free and vegan options, see the variations section above. The scones are nut-free as written, making them a safe option for school functions or gatherings where nut allergies are a concern.
I believe in balance — these scones are meant to be enjoyed without guilt. They’re a special occasion treat, a weekend indulgence, or a way to make an ordinary morning feel extraordinary. Food is about pleasure and connection, and these scones deliver both in spades.
Conclusion
These pumpkin scones with maple glaze are the kind of recipe that makes you look forward to autumn all year long. They’re simple enough for a beginner baker, but impressive enough to serve at a holiday brunch. The texture is perfect — flaky, tender, and just sturdy enough to hold up to that generous maple glaze.
What I love most about this recipe is how adaptable it is. Make it your own. Add chocolate chips, swap in different spices, double the glaze (I won’t judge). The base recipe is solid, but the variations are endless. That’s the beauty of a good scone — it’s a blank canvas for whatever you’re craving.
I’d love to hear how these turn out for you. Did you try a variation? Did you double the glaze? Did someone in your house claim to hate pumpkin before sneaking a third scone? Drop a comment below and let me know. And if you share them on social media, tag me — I want to see your beautiful scones in all their glazed glory.
Now go preheat that oven. Your cozy morning awaits.
Frequently Asked Questions
Can I use canned pumpkin pie filling instead of pumpkin puree?
No, please don’t. Pumpkin pie filling is pre-sweetened and spiced, which will throw off the balance of this recipe. It also has a different consistency that can make your scones too wet. Stick with 100% pure pumpkin puree for the best results.
Why are my scones dry?
Dry scones usually come from one of two things: overmixing the dough or overbaking. Mix just until the dough comes together, and start checking your scones at the 15-minute mark. Every oven runs a little differently, so keep an eye on them. Also, make sure you’re measuring your flour correctly — spoon it into the measuring cup and level it off, don’t scoop directly from the bag.
Can I make the dough ahead of time?
Absolutely. You can shape the scones, place them on a parchment-lined baking sheet, cover with plastic wrap, and refrigerate for up to 24 hours. You can even freeze the unbaked scones on the baking sheet, then transfer to a freezer bag. Bake from frozen, adding 2-3 minutes to the baking time.
How do I get a thicker glaze?
If your glaze is too thin, add more powdered sugar, one tablespoon at a time, until it reaches the consistency you want. If it’s too thick, add a splash of milk or cream. The perfect glaze should be thick enough to coat the back of a spoon but thin enough to drizzle smoothly.
Can I use butter instead of cream in the scones?
The recipe already includes butter. The heavy cream adds tenderness and richness that you can’t get from butter alone. If you don’t have heavy cream, you can substitute whole milk or half-and-half, but the scones won’t be quite as tender. For a dairy-free option, use full-fat coconut cream.
Pin This Recipe!
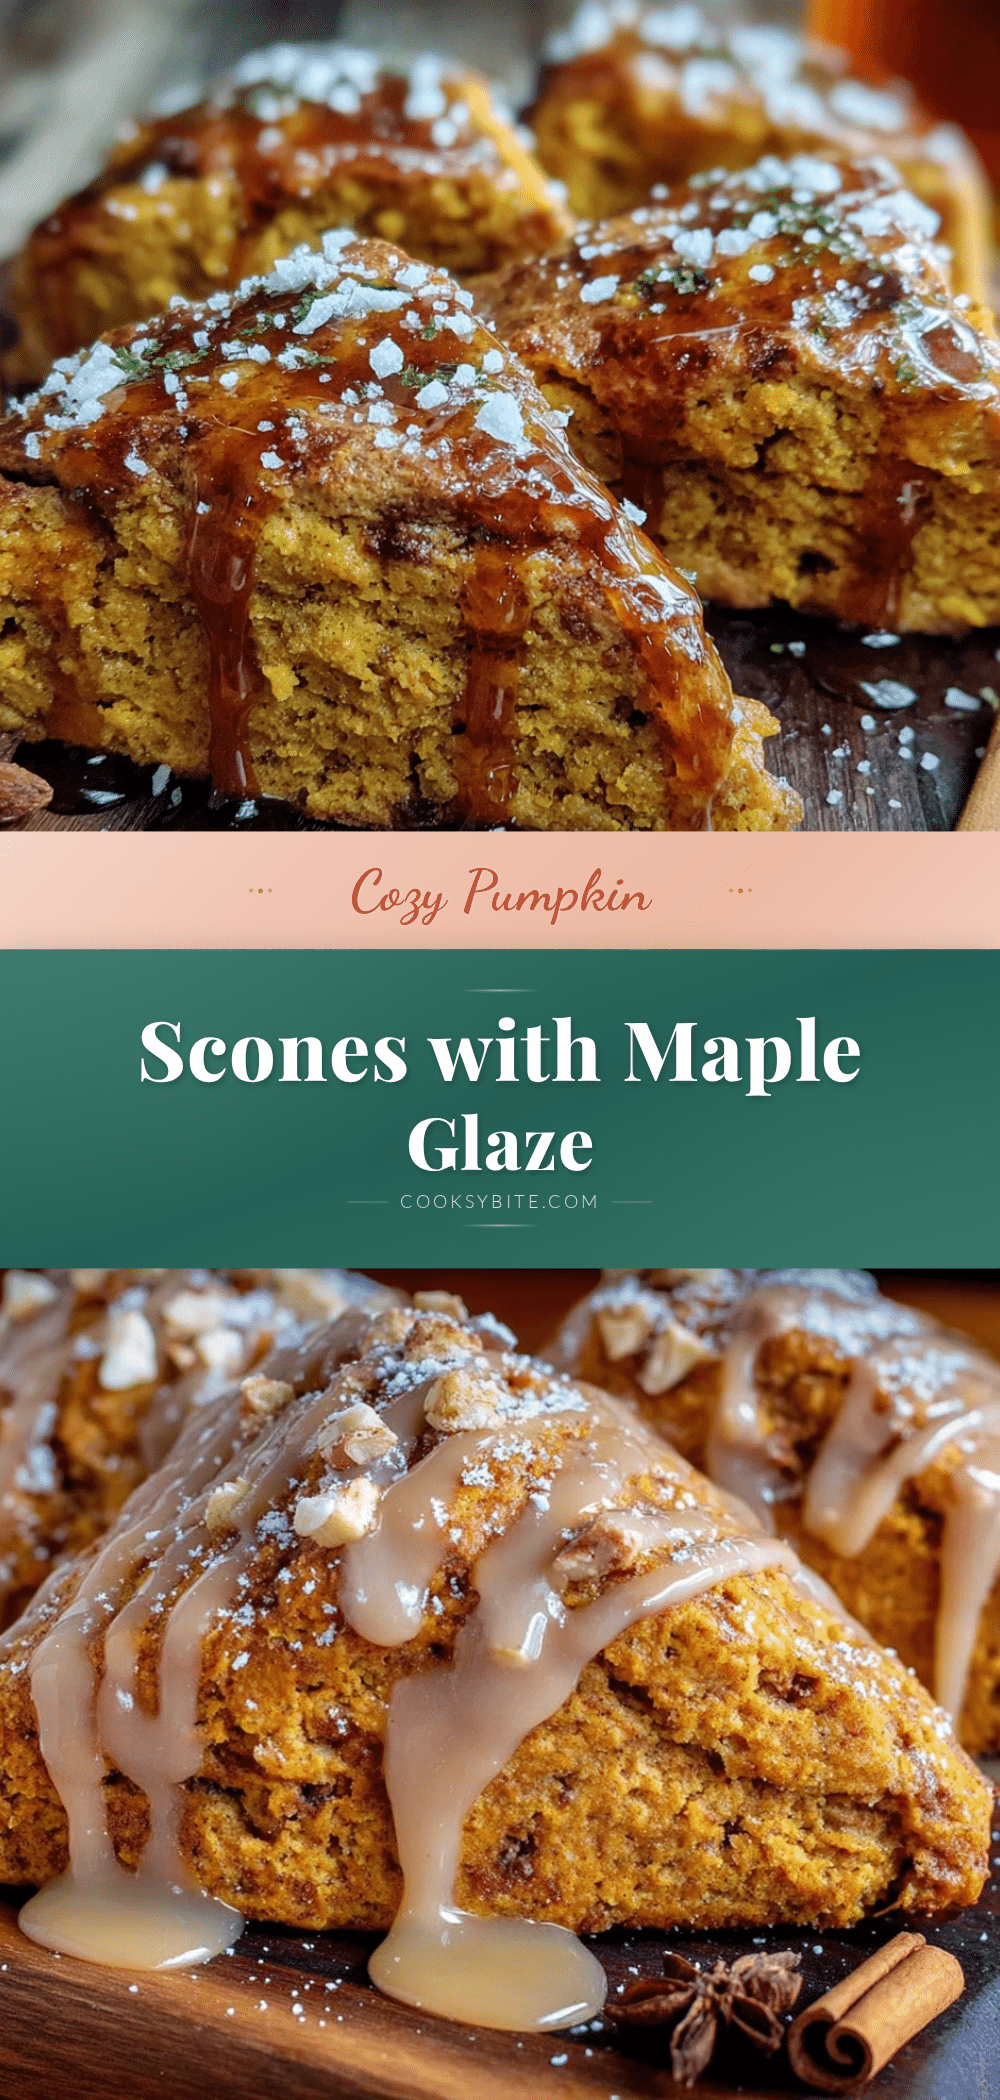
Best Easy Pumpkin Scones with Maple Glaze Recipe
These pumpkin scones are soft and tender on the inside with a crumbly golden edge, topped with a thick, buttery maple glaze. They come together in about 30 minutes with simple ingredients and are perfect for cozy mornings or holiday brunches.
- Prep Time: 15 minutes
- Cook Time: 18 minutes
- Total Time: 33 minutes
- Yield: 8 servings 1x
- Category: Breakfast, Brunch, Dessert
- Cuisine: American
Ingredients
- 2 cups all-purpose flour (spooned and leveled)
- 1/3 cup granulated sugar
- 1 tablespoon baking powder
- 1 teaspoon pumpkin pie spice
- 1/2 teaspoon ground cinnamon
- 1/2 teaspoon salt
- 1/2 cup cold unsalted butter (frozen is even better)
- 1/3 cup pumpkin puree (not pumpkin pie filling)
- 1/3 cup heavy cream
- 1 large egg
- 1 teaspoon vanilla extract
- 1 cup powdered sugar (sifted if lumpy)
- 3 tablespoons pure maple syrup
- 1–2 tablespoons milk or heavy cream
- Pinch of salt
Instructions
- Preheat your oven to 400°F (200°C). Line a baking sheet with parchment paper and set it aside.
- Grate your frozen butter on the large holes of a box grater. Toss the grated butter with a tablespoon of the flour to keep the pieces separate, then pop it back in the freezer while you prepare the dry ingredients.
- In a large bowl, whisk together 2 cups all-purpose flour, 1/3 cup granulated sugar, 1 tablespoon baking powder, 1 teaspoon pumpkin pie spice, 1/2 teaspoon cinnamon, and 1/2 teaspoon salt until evenly distributed.
- Add the grated frozen butter to the flour mixture. Use your fingers or a pastry cutter to work the butter into the flour until the mixture looks like coarse crumbs with some pea-sized butter pieces remaining.
- In a separate bowl, whisk together 1/3 cup pumpkin puree, 1/3 cup heavy cream, 1 large egg, and 1 teaspoon vanilla extract until fully incorporated.
- Pour the wet mixture into the flour-butter mixture. Stir with a spatula or wooden spoon just until the dough comes together. It will look shaggy and a little dry.
- Turn the dough out onto a lightly floured surface. Gently knead it 3-4 times, just until it holds together. If too sticky, sprinkle a little more flour; if too dry, add a splash of cream.
- Pat the dough into a circle about 3/4-inch thick and 7-8 inches across. Use a bench scraper or sharp knife to cut the circle into 8 equal wedges.
- Place the scone wedges on the prepared baking sheet, spacing them about 2 inches apart. Optionally, brush the tops with a little extra cream for a golden crust.
- Bake for 15-18 minutes, until golden brown on the edges and a toothpick inserted in the center comes out clean. Let cool on the baking sheet for 5 minutes, then transfer to a cooling rack.
- While the scones are cooling, whisk together 1 cup powdered sugar, 3 tablespoons pure maple syrup, and 1 tablespoon milk or cream in a small bowl. Add more milk if needed to reach a thick but pourable consistency. Stir in a pinch of salt.
- Drizzle the glaze over the warm scones (not piping hot, but still warm). Let the glaze set for about 10 minutes before serving.
Notes
Keep everything cold for flaky layers. Don’t overwork the dough. Blot pumpkin puree to remove excess moisture. Check baking powder freshness. Glaze while warm but not hot. For extra glaze coverage, double the glaze recipe.
Nutrition
- Serving Size: 1 scone with glaze
- Calories: 320
- Sugar: 24
- Sodium: 310
- Fat: 14
- Saturated Fat: 9
- Carbohydrates: 46
- Fiber: 1
- Protein: 4
Keywords: pumpkin scones, maple glaze, fall baking, easy scone recipe, pumpkin recipes, breakfast, brunch


