My husband had claimed to hate squash for the better part of a decade. Hard no on butternut. Polite decline on acorn. He’d push it around his plate like a kid being forced to eat broccoli at a dinner party. I’d stopped trying long ago. Then, last November, I brought home a single honeynut squash from the farmers’ market. Not to convert him, honestly. I just thought it was cute. It was smaller than my hand, with this deep orange skin that looked almost too pretty to cut.
I roasted it with a little oil and salt, planning to eat it all myself as an afternoon snack. The power went out halfway through roasting. Classic. I finished it in the toaster oven, got distracted, and left it on the counter. When I came back, my husband was standing at the kitchen island, fork in hand, staring at the empty baking sheet. “What was that?” he asked, trying to look casual. I mean, he had a smear of brown butter on his chin. He didn’t even know what he’d eaten. That was the moment I knew I had something special.
This cozy honeynut squash with brown butter and sage is that recipe. It is the one that changes minds without even trying. Maybe you have a picky eater at your table, too. Or maybe you just want a side dish that feels fancy but takes almost no effort. Either way, this one stays. It is sweet, nutty, and a little bit salty, with that brown butter and sage situation that makes everything better. I keep making it because it works. Every single time.
Why You’ll Love This Recipe
This honeynut squash recipe is the side dish that steals the show without any drama. I have tested it a dozen times, and it never fails. The combination of sweet, tender squash with nutty brown butter and crispy sage is pure comfort food magic.
- Quick & Easy: Ready in about 30 minutes. Minimal prep, maximum payoff. Perfect for busy weeknights.
- Simple Ingredients: You need honeynut squash, butter, fresh sage, salt, and pepper. That is it. No fancy grocery trips required.
- Perfect for Family Meals: It is affordable, reheats beautifully, and even picky eaters tend to love it. My kids ask for seconds.
- Fancy Enough for Company: It looks gorgeous on a holiday table, but it is simple enough for a Tuesday dinner.
- Unbelievably Delicious: The brown butter adds a deep, nutty richness that makes the squash taste almost like candy. The sage brings an earthy note that balances everything.
What makes this recipe different is the technique. I roast the squash first, then finish it with the brown butter and sage. This keeps the squash perfectly tender and the butter from burning. It is a small step that makes a big difference.
Honestly, this is the kind of recipe that makes you close your eyes after the first bite. It is comfort food at its best. It is easy. It is affordable. And it might just convert the squash skeptics at your table, too.
What Ingredients You Will Need
This recipe uses simple, wholesome ingredients to deliver big flavor. Most are pantry staples, so you likely already have everything you need.
- Honeynut squash (about 2 pounds total, halved lengthwise and seeded) – These are smaller and sweeter than butternut squash. The skin is thin and edible, which saves you peeling time. Look for squash that feels heavy for its size with deep orange color.
- Unsalted butter (4 tablespoons, cut into pieces) – I prefer unsalted so I can control the salt level. Kerrygold is my go-to for its rich flavor, but any good butter works.
- Fresh sage leaves (about 12-15 leaves) – Fresh is non-negotiable here. Dried sage just won’t give you that same aromatic, crispy texture. Look for leaves that are bright green and not wilted.
- Kosher salt (1 teaspoon, plus more to taste) – Diamond Crystal is my preference. It is less salty by volume, so you get better control.
- Black pepper (½ teaspoon, freshly ground) – Freshly ground makes a difference. Pre-ground pepper can taste flat.
- Olive oil (1 tablespoon) – Just a little to coat the squash before roasting. Use a neutral-tasting one.
- Maple syrup (1 tablespoon, optional) – This adds a hint of sweetness that pairs beautifully with the brown butter. I use it about half the time, depending on my mood and the squash’s natural sweetness.
Ingredient selection tip: Honeynut squash are seasonal, usually available from late summer through winter. They are smaller than butternut, so you might need two or three for this recipe depending on their size. If you cannot find honeynut, you can substitute butternut squash cut into chunks, but the cooking time will increase slightly.
Substitution note: For a dairy-free version, use vegan butter or coconut oil. The flavor will change a bit, but it will still be delicious.
Equipment Needed
You do not need much for this recipe. That is part of its charm.
- Baking sheet (rimmed, half-sheet size) – A rimmed sheet keeps the squash from sliding off. I use a Nordic Ware brand sheet. It is sturdy and heats evenly.
- Parchment paper or silicone baking mat – Optional but helpful for easy cleanup.
- Chef’s knife – A sharp one is important for cutting the squash in half. Dull knives are dangerous here.
- Large spoon – For scooping out the seeds.
- Small skillet – For browning the butter and crisping the sage. A light-colored pan helps you see the butter change color.
- Spatula or wooden spoon – For stirring the butter.
- Serving platter – Something nice to show off the finished dish.
Budget-friendly tip: You do not need a fancy skillet for the brown butter. A basic non-stick pan works fine. Just keep an eye on the color.
Preparation Method
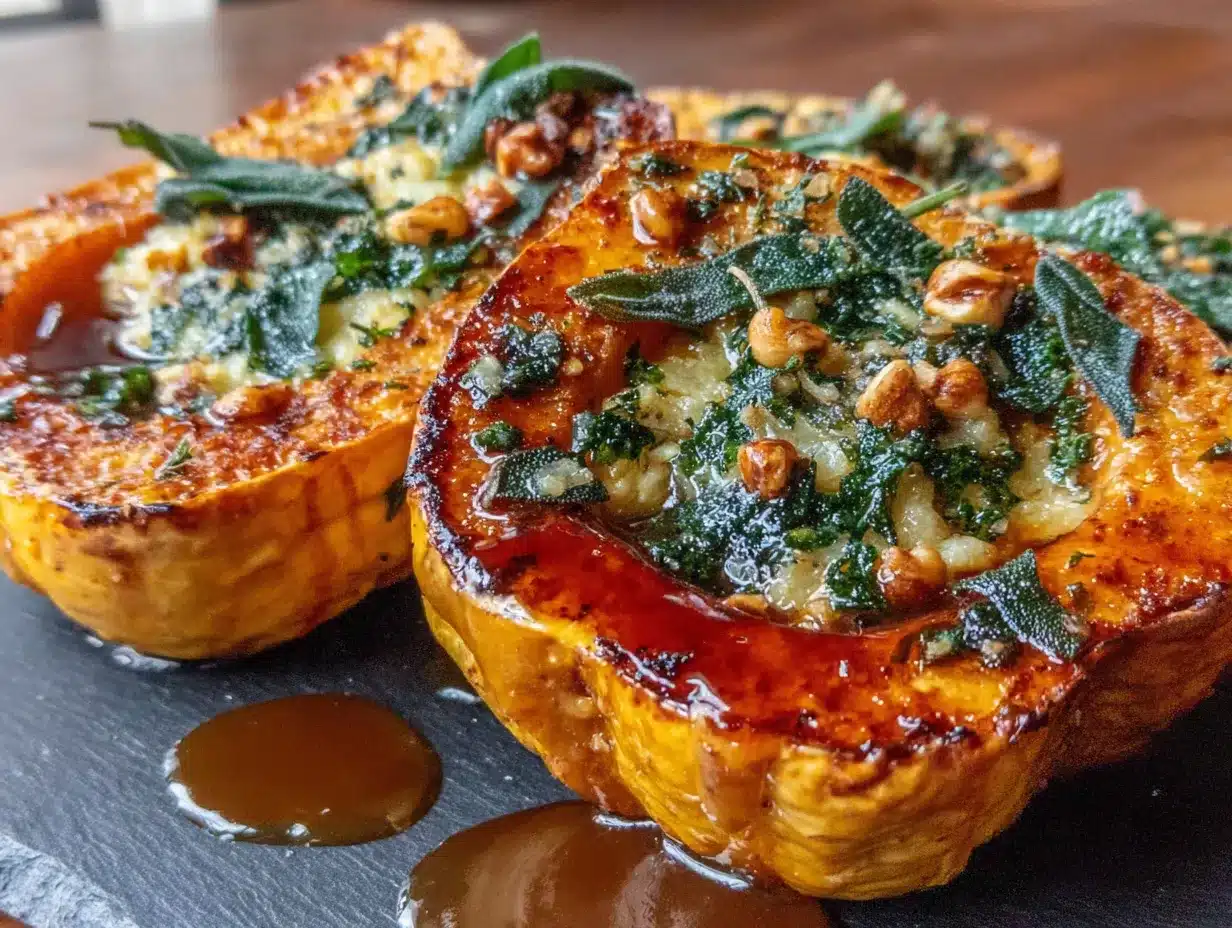
- Preheat your oven to 400°F (200°C). Line a baking sheet with parchment paper if you want easy cleanup. Place the oven rack in the middle position.
- Prepare the squash. Using a sharp chef’s knife, carefully cut each honeynut squash in half lengthwise from stem to tip. The skin is thin, so this should be easier than cutting a butternut. Scoop out the seeds and stringy pulp with a large spoon. Discard the seeds or save them for roasting later.
- Season the squash. Drizzle the cut sides of the squash with the olive oil. Sprinkle with ½ teaspoon of the kosher salt and ¼ teaspoon of the black pepper. Rub the oil and seasoning into the flesh. Place the squash halves cut-side down on the prepared baking sheet. This helps them steam and caramelize at the same time.
- Roast the squash. Roast for 20-25 minutes, until the flesh is tender and easily pierced with a fork. The edges should be lightly browned and caramelized. The exact time depends on the size of your squash. Smaller ones might be done in 18 minutes. Larger ones might need 30. Keep an eye on them.
- Make the brown butter. While the squash roasts, place the butter pieces in a small skillet over medium heat. Let the butter melt completely, then continue cooking. Swirl the pan occasionally. The butter will foam up, then subside. Watch for the milk solids at the bottom to turn a golden brown color. This usually takes about 3-4 minutes. It will smell nutty and amazing. Do not walk away. Burnt butter happens fast.
- Add the sage. Once the butter is golden brown, immediately add the fresh sage leaves. They will sizzle and crisp up in about 15-20 seconds. Remove the pan from the heat. If you are using the maple syrup, stir it in now. The residual heat will warm it through.
- Finish the dish. Carefully flip the roasted squash halves over so the cut sides face up. Drizzle the brown butter and sage mixture evenly over the squash. Make sure each half gets some crispy sage leaves. Sprinkle with the remaining ½ teaspoon of salt and ¼ teaspoon of pepper.
- Serve immediately. Transfer the squash to a serving platter. Spoon any extra brown butter from the pan over the top. Serve hot or warm.
Troubleshooting note: If your squash is not tender after 25 minutes, just keep roasting. Check every 5 minutes. Ovens vary. If the brown butter starts to look too dark, remove it from the heat immediately. It will continue to cook from the residual heat in the pan.
Sensory cue: The squash should look deep orange and glossy. The edges should be slightly caramelized. The sage leaves should be crisp enough to crumble slightly when touched. The smell should be nutty, sweet, and earthy all at once.
Cooking Tips & Techniques
I have made this recipe more times than I can count. Here is what I have learned the hard way so you do not have to.
Do not overcrowd the pan. If the squash halves are too close together, they will steam instead of caramelize. Give them some breathing room. Use two baking sheets if you need to.
Watch the butter like a hawk. Brown butter goes from perfect to burnt in about 15 seconds. The first time I made this, I got distracted by a phone call. The butter was black. The kitchen smelled like a campfire. Start over. It is worth it.
Pat the sage leaves dry. Wet sage leaves will sputter and pop in the hot butter. They also will not crisp up as nicely. Just a quick pat with a paper towel makes a difference.
Use a light-colored pan. A dark non-stick pan makes it hard to see the butter change color. I use a stainless steel skillet for this step. It is much easier to spot that golden brown moment.
Let the squash rest for a minute. After roasting, let the squash sit for a minute or two before adding the brown butter. If the squash is too hot, the butter can separate. A short rest helps everything meld together nicely.
Double the sage if you love it. I always add a few extra leaves because they shrink as they crisp. Plus, they are the best part. My daughter picks them off and eats them first.
Variations & Adaptations
This recipe is flexible. Here are some ways to change it up.
Maple-Pecan Version: After drizzling the brown butter, sprinkle ¼ cup of chopped pecans over the squash. Drizzle with an extra tablespoon of maple syrup. Roast for 5 more minutes. The nuts toast and the syrup caramelizes. It is like dessert for dinner.
Spicy-Sweet Twist: Add a pinch of red pepper flakes to the brown butter along with the sage. The heat cuts through the sweetness beautifully. I tried this on a whim one night and it was a hit with my brother-in-law who likes everything spicy.
Herb Garden Variation: Swap the sage for fresh thyme or rosemary. Both work wonderfully. Thyme gives a more delicate flavor. Rosemary is bolder. Use about 1 tablespoon of fresh leaves.
Dairy-Free Adaptation: Use 4 tablespoons of vegan butter or coconut oil instead of regular butter. The flavor is different but still delicious. Coconut oil adds a subtle tropical note that pairs well with the squash.
Air Fryer Method: Cook the squash halves in an air fryer at 375°F (190°C) for 12-15 minutes, flipping halfway through. Make the brown butter on the stovetop as usual. This is a great option for summer when you do not want to heat up the kitchen.
Serving & Storage Suggestions
Serve this honeynut squash hot or warm. It is best right after you make it, when the sage is still crispy and the butter is glossy. Transfer the squash to a nice platter and spoon any extra brown butter from the pan over the top. A final sprinkle of flaky sea salt, like Maldon, adds a nice finishing touch.
This side dish pairs beautifully with roasted chicken, pork chops, or a simple seared steak. It also works alongside a grain bowl or lentil stew for a vegetarian meal. For the holidays, I serve it next to roasted turkey and mashed potatoes. It holds its own on a crowded table.
For drinks, a dry white wine like Sauvignon Blanc or a light Pinot Noir complements the nutty, sweet flavors. A sparkling water with a lemon wedge is also lovely.
Storage: Leftover squash keeps in an airtight container in the refrigerator for up to 4 days. The sage will lose its crispness, but the flavor remains delicious.
Reheating: Reheat in a 350°F (175°C) oven for 5-7 minutes, or in the microwave in 30-second bursts. The oven method gives better texture. The microwave is faster but the squash will be softer.
Freezing: You can freeze the roasted squash without the brown butter for up to 3 months. Thaw in the refrigerator overnight, then reheat and add fresh brown butter and sage before serving. The flavors actually deepen after freezing.
Nutritional Information & Benefits
Honeynut squash is a nutritional powerhouse. It is packed with vitamin A, vitamin C, and fiber. One serving provides a good chunk of your daily vitamin A needs, which is great for eye health and immune function.
The brown butter adds richness, but the portion here is modest. You get the flavor without going overboard. The sage is not just for show. It has anti-inflammatory properties and adds antioxidants to the dish.
Estimated nutrition per serving (based on 4 servings):
| Nutrient | Amount |
|---|---|
| Calories | 180 |
| Total Fat | 12g |
| Saturated Fat | 7g |
| Carbohydrates | 18g |
| Fiber | 3g |
| Sugar | 8g |
| Protein | 2g |
| Vitamin A | 200% DV |
| Vitamin C | 25% DV |
Dietary note: This recipe is naturally gluten-free and vegetarian. For a dairy-free version, use vegan butter. It is not low-carb, but the carbs come from whole food sources with fiber.
Conclusion
This cozy honeynut squash with brown butter and sage is the side dish that keeps surprising me. It is simple enough for a Tuesday night, but special enough for Thanksgiving. The brown butter and sage combination is classic for a reason. It just works.
I love this recipe because it proves that you do not need complicated techniques or fancy ingredients to make something memorable. A good squash, a little patience, and that nutty brown butter are all it takes. Plus, it might just convert the squash skeptics in your life. It happened in my kitchen. It could happen in yours, too.
Try it this week and let me know how it goes. Did you add the maple syrup? Did you try the spicy version? Drop a comment below. I would love to hear about your twists. And if you have a picky eater at your table, do not tell them what it is until after they have taken the first bite. Trust me on that one.
Frequently Asked Questions
What is the difference between honeynut squash and butternut squash?
Honeynut squash is smaller, sweeter, and has thinner skin than butternut squash. You do not need to peel it, which saves time. It also cooks faster. Butternut squash works as a substitute, but you will need to peel and cube it, and the cooking time will be longer.
Can I make this recipe ahead of time?
Yes, with a small adjustment. Roast the squash up to a day ahead and store it in the refrigerator. When you are ready to serve, make the brown butter and sage fresh, then reheat the squash and drizzle the butter over the top. The sage stays crisper this way.
Can I use dried sage instead of fresh?
I do not recommend it. Fresh sage leaves crisp up beautifully in the brown butter and add a bright, aromatic flavor. Dried sage will not crisp and can taste dusty. If fresh sage is unavailable, try fresh thyme or rosemary instead.
How do I prevent the brown butter from burning?
Stay close to the stove and watch the butter carefully. Use medium heat and swirl the pan often. The butter will foam, then the foam will subside. When the milk solids at the bottom turn a golden brown color and smell nutty, remove the pan from the heat immediately. It helps to use a light-colored pan so you can see the color change.
Is the skin of honeynut squash edible?
Yes! The skin is thin and tender when roasted. You can eat it right along with the flesh. This is one of the best things about honeynut squash. No peeling required.
Pin This Recipe!
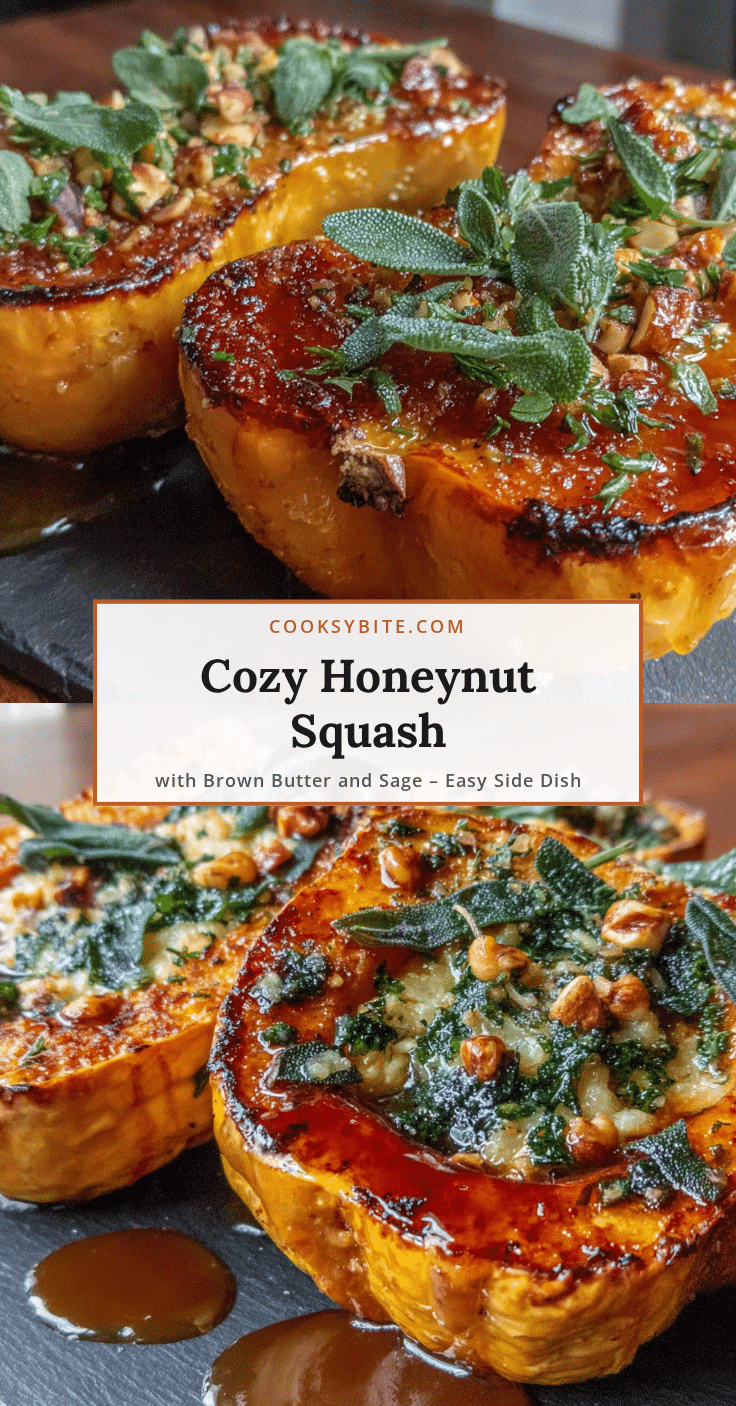
Cozy Honeynut Squash with Brown Butter & Sage: Easy Side Dish

This cozy honeynut squash with brown butter and sage is the side dish that changes minds without even trying. It is sweet, nutty, and a little bit salty, with that brown butter and sage situation that makes everything better.
- Prep Time: 10 minutes
- Cook Time: 25 minutes
- Total Time: 35 minutes
- Yield: 4 servings
- Category: Side Dish
- Cuisine: American
Ingredients
- Honeynut squash (about 2 pounds total, halved lengthwise and seeded)
- Unsalted butter (4 tablespoons, cut into pieces)
- Fresh sage leaves (about 12-15 leaves)
- Kosher salt (1 teaspoon, plus more to taste)
- Black pepper (½ teaspoon, freshly ground)
- Olive oil (1 tablespoon)
- Maple syrup (1 tablespoon, optional)
Instructions
- Preheat your oven to 400°F (200°C). Line a baking sheet with parchment paper if you want easy cleanup. Place the oven rack in the middle position.
- Prepare the squash. Using a sharp chef’s knife, carefully cut each honeynut squash in half lengthwise from stem to tip. Scoop out the seeds and stringy pulp with a large spoon. Discard the seeds or save them for roasting later.
- Season the squash. Drizzle the cut sides of the squash with the olive oil. Sprinkle with ½ teaspoon of the kosher salt and ¼ teaspoon of the black pepper. Rub the oil and seasoning into the flesh. Place the squash halves cut-side down on the prepared baking sheet.
- Roast the squash. Roast for 20-25 minutes, until the flesh is tender and easily pierced with a fork. The edges should be lightly browned and caramelized.
- Make the brown butter. While the squash roasts, place the butter pieces in a small skillet over medium heat. Let the butter melt completely, then continue cooking. Swirl the pan occasionally. The butter will foam up, then subside. Watch for the milk solids at the bottom to turn a golden brown color. This usually takes about 3-4 minutes. It will smell nutty and amazing.
- Add the sage. Once the butter is golden brown, immediately add the fresh sage leaves. They will sizzle and crisp up in about 15-20 seconds. Remove the pan from the heat. If you are using the maple syrup, stir it in now.
- Finish the dish. Carefully flip the roasted squash halves over so the cut sides face up. Drizzle the brown butter and sage mixture evenly over the squash. Sprinkle with the remaining ½ teaspoon of salt and ¼ teaspoon of pepper.
- Serve immediately. Transfer the squash to a serving platter. Spoon any extra brown butter from the pan over the top. Serve hot or warm.
Notes
Do not overcrowd the pan. Watch the butter like a hawk. Pat the sage leaves dry. Use a light-colored pan. Let the squash rest for a minute before adding brown butter. Double the sage if you love it.
Nutrition
- Serving Size: 1 serving
- Calories: 180
- Sugar: 8
- Sodium: 300
- Fat: 12
- Saturated Fat: 7
- Carbohydrates: 18
- Fiber: 3
- Protein: 2
Keywords: honeynut squash, brown butter, sage, easy side dish, fall recipe, vegetarian, gluten-free


