Introduction
It was one of those evenings where the fridge was looking pretty bare, and honestly, I wasn’t in the mood to cook a complicated meal. I had some leftover rice, a jar of kimchi sitting quietly in the corner, and a few eggs. So, I tossed everything together without much expectation, just hoping it wouldn’t be a total flop. But wow, that first bite of my kimchi fried rice with a sunny-side egg cracked perfectly on top was like a little culinary surprise. The tangy, spicy kimchi paired with the warm, runny yolk made every forkful sing. No fancy ingredients or hours spent in the kitchen—just a quick, satisfying dish that felt like a warm hug after a long day. That accidental mix turned into a staple in my weeknight meals, and now, I find myself craving it more often than I’d like to admit. It’s the kind of recipe that sneaks up on you and sticks around, comforting without fuss. That simple combination of bold flavors and easy prep is why this flavorful kimchi fried rice with sunny-side egg has stayed with me, quietly promising a quick fix whenever life gets messy.
Why You’ll Love This Recipe
- Quick & Easy: Comes together in under 20 minutes, perfect for busy weeknights or when you need something fast and filling.
- Simple Ingredients: Uses pantry staples and common fridge finds—no specialty shopping trips necessary.
- Perfect for Any Occasion: Whether it’s a casual lunch, a cozy dinner, or a lazy weekend brunch, this dish fits right in.
- Crowd-Pleaser: The balance of spicy kimchi and creamy egg yolk always gets compliments from friends and family.
- Unbelievably Delicious: The combination of fermented tang, umami depth, and the richness of the egg makes it feel like comfort food with a kick.
- What sets this recipe apart? It’s all about the technique: lightly toasting the rice for that perfect texture, and carefully cooking the sunny-side egg just right so the yolk spills over the spicy rice. Plus, I’ve refined the seasoning to keep it balanced—never too salty or overpowering.
- This isn’t just a meal—it’s a quick reset button when you need flavor that feels like a treat but comes together with zero stress.
What Ingredients You Will Need
This recipe uses simple, wholesome ingredients to pack bold flavor and satisfying texture without fuss. Many of these are pantry staples or easy to swap out if you’re short on something.
- Cooked rice (preferably day-old and chilled; about 3 cups or 600g) – helps achieve that perfect fried rice texture without mushiness
- Kimchi (1 cup or 150g, chopped) – the star ingredient; use your favorite brand or homemade for best flavor
- Vegetable oil (2 tbsp) – for frying; neutral oils like canola or grapeseed work well
- Garlic (2 cloves, minced) – adds aromatic depth
- Green onions (2 stalks, sliced) – fresh crunch and mild onion flavor
- Soy sauce (1 tbsp) – adds umami and saltiness; low-sodium is fine if you want to control salt levels
- Gochujang (Korean chili paste, 1 tsp) – optional but adds a lovely heat and complexity
- Sesame oil (1 tsp) – for toasting and a nutty finish
- Eggs (2 large) – to top the rice with that perfect sunny-side up
- Sesame seeds (1 tsp, toasted) – for garnish and extra texture
- Optional protein: diced cooked bacon, tofu cubes, or shredded chicken (½ cup) – if you want to bulk it up
Substitution tips: Use tamari instead of soy sauce for gluten-free, or coconut aminos if avoiding soy. If you don’t have gochujang, a pinch of chili flakes or sriracha can work in a pinch.
Equipment Needed
- Large non-stick skillet or wok: Ideal for stir-frying the rice evenly without sticking. I’ve found a heavy-bottomed skillet works wonders for heat distribution.
- Spatula or wooden spoon: For stirring and breaking up rice clumps.
- Small bowl: To beat eggs if you prefer or to hold prepped ingredients.
- Knife and cutting board: For chopping kimchi and green onions.
- Optional: A splatter screen if you’re nervous about oil popping when frying eggs.
If you don’t have a wok, no worries—a large frying pan does just fine. And honestly, a well-seasoned cast iron skillet can add a bit of extra flavor through slight char, if you’re up for it. For budget-friendly setups, any sturdy non-stick pan will do; just keep an eye on the heat so nothing burns.
Preparation Method
- Prep your ingredients: Chop the kimchi into bite-sized pieces, mince the garlic, and slice the green onions. If you’re adding protein like bacon or chicken, have it cooked and ready.
- Heat the oil: In your skillet or wok, warm 2 tablespoons of vegetable oil over medium-high heat (about 375°F or 190°C). The oil should shimmer but not smoke.
- Sauté aromatics: Add the minced garlic and sauté for about 30 seconds until fragrant but not browned. Toss in the chopped kimchi and cook for 2-3 minutes, stirring occasionally. You’ll notice the kimchi softening and releasing its tangy aroma.
- Add the rice: Stir in the chilled cooked rice, breaking up any clumps gently with your spatula. Keep the heat medium-high to let the rice toast slightly—this should take about 5 minutes. You want the grains to become slightly crisp on the edges but not dried out.
- Season the rice: Stir in the soy sauce and gochujang (if using). Mix well so the sauce evenly coats the rice. Taste a small spoonful; adjust seasoning as needed, adding a touch more soy for saltiness or gochujang for heat.
- Finish with sesame: Drizzle the sesame oil over the fried rice and sprinkle in the sliced green onions. Toss everything together for another minute, then remove from heat.
- Cook the eggs: In a separate small pan, heat a teaspoon of vegetable oil over medium heat. Crack the eggs carefully and cook sunny-side up until the whites are set but the yolks remain runny (about 2-3 minutes). Season them lightly with salt and pepper.
- Plate and garnish: Divide the kimchi fried rice into bowls or plates. Top each serving with a sunny-side egg and sprinkle toasted sesame seeds over the top. If you want, add extra green onions for freshness.
Pro tip: Using day-old rice is key here—it prevents mushiness and gives you that ideal fried rice texture. Also, don’t rush to stir constantly; letting the rice sit briefly before stirring helps it toast nicely.
Cooking Tips & Techniques
When making kimchi fried rice, heat control is your best friend. Cooking on too high heat can scorch the rice, while too low leaves it soggy. Medium-high heat strikes the perfect balance.
Prepping all your ingredients before heating the pan saves you from scrambling mid-cook, which can lead to uneven cooking or burnt bits.
When frying the eggs, patience is key—resist the urge to flip or poke the yolk. The contrast of the runny yolk over spicy rice is what makes this dish sing.
Avoid adding too much soy sauce upfront; kimchi already has salty, fermented flavors, so it’s easy to overdo. I’ve learned the hard way that it’s easier to add more seasoning later than fix a salty mess.
If you want to amp up the texture, tossing in some crunchy vegetables like diced carrots or peas adds a nice contrast. Just remember to cook them first before adding rice.
Variations & Adaptations
- Vegetarian: Skip any meat and toss in extra veggies like mushrooms, bell peppers, or zucchini. You can also add firm tofu cubes for protein.
- Low-carb: Substitute cooked cauliflower rice for the traditional rice. The cooking method stays the same but reduce cooking time slightly to avoid mushiness.
- Spicy boost: Add extra gochujang or a dash of chili flakes if you like it fiery. For milder palates, leave out gochujang and opt for a touch of sweet soy sauce instead.
- Seasonal twist: In spring, toss in fresh peas and sliced radishes; in winter, add kale or spinach for a green boost.
- Personal favorite: Once, I stirred in some kimchi juice and a splash of toasted sesame oil before plating—it deepened the flavor beautifully.
Serving & Storage Suggestions
This kimchi fried rice is best served hot and fresh, with the egg yolk just beginning to ooze across each bite. I like to present it in shallow bowls to catch that rich yolk and sprinkle a little extra sesame seed garnish for contrast.
Pair it with simple sides like steamed greens or a light cucumber salad to balance the spice and acidity. A cold glass of milk or lightly sweetened iced tea complements the heat nicely.
Leftovers keep well in the fridge for up to 2 days, stored in an airtight container. When reheating, add a splash of water and cover loosely to prevent drying out. Reheat over medium heat on the stove or microwave until warmed through.
Flavors tend to deepen after a day, so sometimes the next-day fried rice tastes even better! Just be sure to reheat thoroughly, especially if you included any protein.
Nutritional Information & Benefits
A serving of this flavorful kimchi fried rice with sunny-side egg packs roughly 400-450 calories, with a balanced mix of carbohydrates from rice, protein from eggs (and optional meat/tofu), and healthy fats from sesame oil.
Kimchi is a probiotic powerhouse, helping support digestion and gut health thanks to its fermented nature. Garlic and green onions add immune-boosting compounds, while eggs provide essential amino acids and vitamins.
This recipe can easily fit into gluten-free diets by swapping soy sauce with tamari, and it’s naturally low in added sugars. Just watch sodium levels if you’re sensitive.
From a personal wellness standpoint, it’s a filling dish that never leaves me feeling weighed down—probably thanks to the balance of spice, protein, and veggies.
Conclusion
Kimchi fried rice with a sunny-side egg has become one of those recipes I turn to when I want something fast, flavorful, and satisfying without fuss. It’s flexible enough to suit whatever ingredients I have on hand but reliably delicious every time.
I encourage you to make the recipe your own—tweak the spice level, add your favorite proteins, or toss in whatever veggies you like. It’s a forgiving dish that welcomes creativity.
For me, this meal is a reminder that sometimes the simplest dishes come from happy accidents and end up as favorites. I hope it brings you the same comfort and joy it’s given me over and over.
If you try it, I’d love to hear how you made it your own or what little twists you added. Sharing those stories makes cooking feel like a conversation, don’t you think?
FAQs
Can I use freshly cooked rice for kimchi fried rice?
It’s best to use day-old rice that’s been chilled. Freshly cooked rice tends to be too moist and can make the dish mushy.
What if I don’t have gochujang? Can I still make this recipe?
Absolutely! You can skip gochujang or substitute with sriracha or chili flakes for some heat, though the flavor won’t be exactly the same.
How do I get the perfect sunny-side egg?
Cook the egg on medium-low heat without flipping, cover the pan with a lid to gently steam the top whites while keeping the yolk runny. It usually takes about 2-3 minutes.
Is kimchi fried rice healthy?
Yes, especially if you load it with veggies and control the sodium. Kimchi adds probiotics and nutrients, and the dish offers a balanced mix of carbs, protein, and fats.
Can I make this recipe vegan?
Yes, omit the egg and any animal proteins. Use tofu or tempeh for protein, and consider a vegan egg substitute if you want that topping effect.
Pin This Recipe!

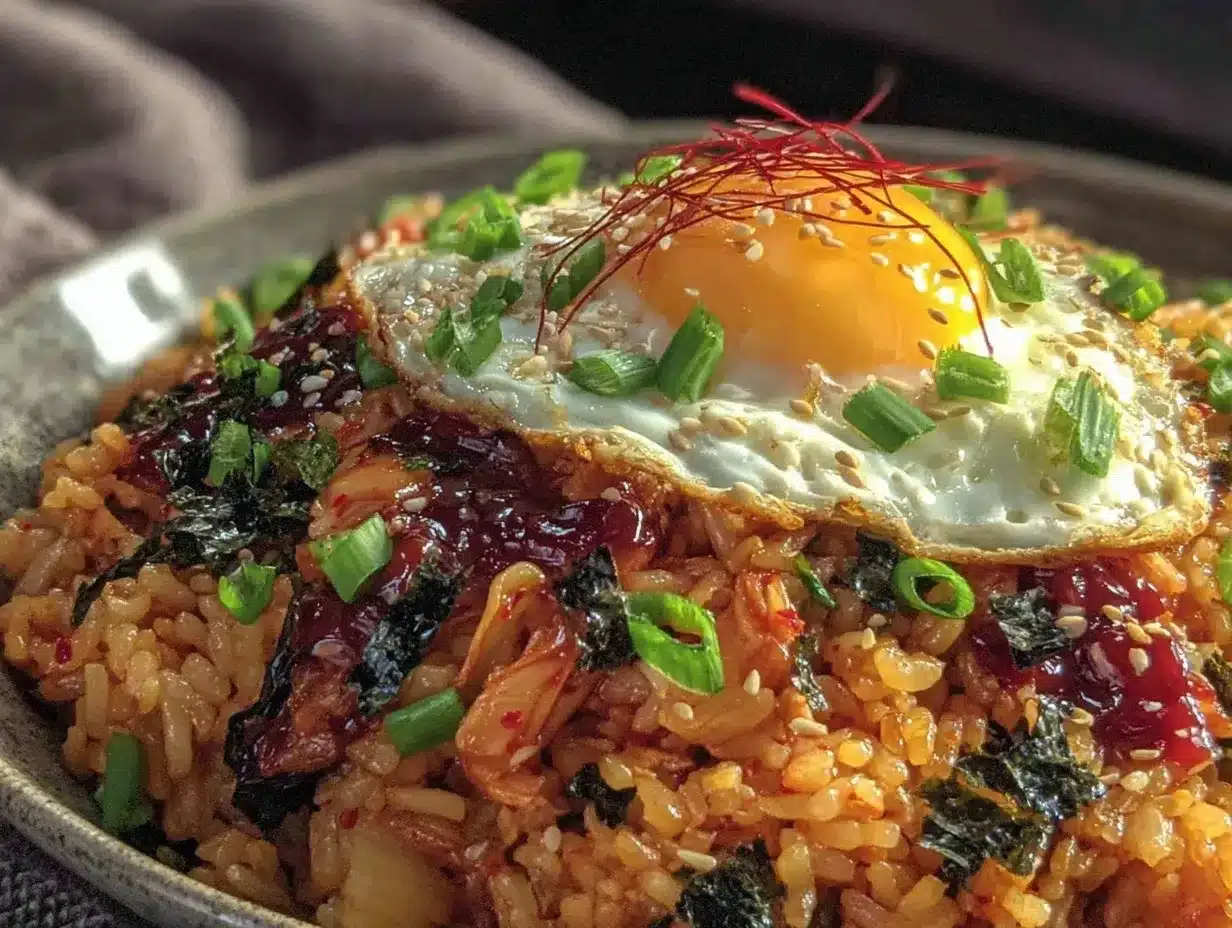
Flavorful Kimchi Fried Rice with Sunny-Side Egg

A quick and easy kimchi fried rice topped with a perfectly cooked sunny-side egg, combining tangy, spicy kimchi with warm, runny yolk for a comforting and satisfying meal.
- Prep Time: 10 minutes
- Cook Time: 10 minutes
- Total Time: 20 minutes
- Yield: 2 servings 1x
- Category: Main Course
- Cuisine: Korean
Ingredients
- 3 cups cooked rice (preferably day-old and chilled)
- 1 cup kimchi, chopped
- 2 tablespoons vegetable oil (canola or grapeseed)
- 2 cloves garlic, minced
- 2 stalks green onions, sliced
- 1 tablespoon soy sauce (low-sodium optional)
- 1 teaspoon gochujang (Korean chili paste, optional)
- 1 teaspoon sesame oil
- 2 large eggs
- 1 teaspoon toasted sesame seeds
- Optional protein: ½ cup diced cooked bacon, tofu cubes, or shredded chicken
Instructions
- Chop the kimchi into bite-sized pieces, mince the garlic, and slice the green onions. Prepare any optional protein if using.
- Heat 2 tablespoons of vegetable oil in a large non-stick skillet or wok over medium-high heat (about 375°F).
- Add minced garlic and sauté for about 30 seconds until fragrant but not browned.
- Add chopped kimchi and cook for 2-3 minutes, stirring occasionally until softened and aromatic.
- Stir in the chilled cooked rice, breaking up any clumps gently. Toast the rice for about 5 minutes until slightly crisp on the edges.
- Add soy sauce and gochujang (if using), mixing well to coat the rice evenly. Adjust seasoning as needed.
- Drizzle sesame oil over the rice and add sliced green onions. Toss together for another minute, then remove from heat.
- In a separate small pan, heat 1 teaspoon vegetable oil over medium heat. Crack eggs and cook sunny-side up until whites are set but yolks remain runny (2-3 minutes). Season lightly with salt and pepper.
- Divide kimchi fried rice into bowls or plates. Top each serving with a sunny-side egg and sprinkle with toasted sesame seeds. Add extra green onions if desired.
Notes
Use day-old rice to prevent mushiness and achieve ideal fried rice texture. Cook eggs on medium-low heat without flipping to keep yolks runny. Adjust soy sauce carefully to avoid oversalting. Optional proteins and vegetables can be added for variation.
Nutrition
- Serving Size: 1 bowl with 1 sunny-
- Calories: 425
- Sugar: 4
- Sodium: 700
- Fat: 18
- Saturated Fat: 4
- Carbohydrates: 50
- Fiber: 3
- Protein: 14
Keywords: kimchi fried rice, sunny-side egg, quick recipe, easy dinner, Korean food, spicy rice, comfort food