This was supposed to be a simple roast chicken. I had this whole plan—lemon, garlic, thyme, the whole works. My neighbor, Sarah, was coming over for dinner, and I wanted something that looked like I had my life together. But somewhere between the grocery store and my kitchen, things went sideways. I grabbed a pack of chicken wings instead of a whole bird—honestly, I don’t even know how that happens. My oven was acting up, preheating way hotter than it should have, and I was already running late because I’d spent twenty minutes looking for my good chef’s knife. I stood there, staring at these wings, the oven screaming at 450°F, and I almost just ordered pizza. But something made me grab the bottle of hot sauce sitting in my pantry door. I tossed those wings in butter and Frank’s, cranked the oven even higher, and figured I’d deal with the consequences. What came out was nothing like the plan—and better. They were crispy, sticky, and absolutely ridiculous. Sarah walked in while I was pulling them out, and she just laughed. “You made wings?” she said. “You never make wings.” And she was right. But I’ve been making them ever since. Maybe you’ve been there—the kitchen chaos, the plan that falls apart, the happy accident that becomes your go-to. That’s this recipe. It’s the one that stays with you because it saved dinner when everything else went wrong.
Why You’ll Love This Recipe
Let me tell you—these aren’t just any wings. These are the wings that disappear before you even sit down. I’ve tested this recipe more times than I can count, tweaking the heat, the crispiness, the dip. And every single time, someone asks for the recipe before the plate hits the table.
- Perfect for Hosting: These wings are made for a crowd. You can easily double or triple the batch without breaking a sweat. Your guests will think you slaved away, but honestly, the oven does most of the work.
- Simple Ingredients: No fancy grocery trips. Chicken wings, hot sauce, butter, and a few pantry staples. That’s it. You probably have everything right now.
- Crowd-Pleaser Guaranteed: I’ve served these at game nights, birthday parties, and casual dinners. They get devoured every single time. Kids love them, adults love them, even my friend who “doesn’t do spicy” asked for seconds.
- Unbelievably Crispy: The secret is in the technique—baking powder and high heat. No deep frying, no mess, just perfectly crispy skin that holds onto that buffalo sauce like a dream.
- That Blue Cheese Dip: Oh, the dip. It’s creamy, tangy, and has just the right amount of blue cheese crumbles. It takes these wings from great to unforgettable.
This recipe isn’t just good—it’s the kind that makes you close your eyes after the first bite. It’s comfort food reimagined: faster, easier, but with the same soul-soothing satisfaction. Perfect for impressing guests without stress, or turning a simple Tuesday into something memorable. Honestly, it’s my best version, and I’m not even sorry about how much I brag about it.
What Ingredients You Will Need
This recipe uses simple, honest ingredients to deliver bold flavor and that irresistible crispy texture. Most of these are probably already in your kitchen, which makes it perfect for last-minute hosting.
For the Wings:
- Chicken wings (3 lbs / 1.36 kg) – separated into drumettes and flats. Pat them super dry with paper towels—this is non-negotiable for crispy skin.
- Baking powder (2 teaspoons) – not baking soda! This is the secret to oven-crispy wings. It raises the pH of the skin, helping it brown and crisp up beautifully.
- Salt (1 teaspoon) – I use kosher salt for better flavor distribution.
- Garlic powder (1 teaspoon) – adds a subtle savory note without overpowering.
- Black pepper (½ teaspoon) – freshly ground is best.
For the Buffalo Sauce:
- Frank’s RedHot Original Sauce (½ cup / 120 ml) – I’ve tried other brands, but Frank’s is the gold standard for buffalo wings. It has the perfect balance of heat and tang.
- Unsalted butter (¼ cup / ½ stick / 56 g) – melted. This mellows the heat and adds richness. Use salted butter if that’s all you have, just reduce the added salt slightly.
- Worcestershire sauce (1 teaspoon) – adds depth and umami. Trust me on this one.
- Honey (1 tablespoon) – optional, but it balances the heat and helps the sauce cling to the wings.
For the Blue Cheese Dip:
- Blue cheese crumbles (½ cup / 75 g) – get a good quality one. I love the creamy, tangy flavor of Danish blue or Roquefort.
- Sour cream (½ cup / 120 ml) – full-fat gives the best texture.
- Mayonnaise (¼ cup / 60 ml) – adds creaminess. Use full-fat for best results.
- Lemon juice (1 tablespoon) – freshly squeezed, please. It brightens everything up.
- Garlic powder (¼ teaspoon) – just a hint.
- Salt and black pepper – to taste.
For Garnish (optional but recommended):
- Celery sticks and carrot sticks – classic crunch alongside the wings.
- Fresh chives or parsley – chopped, for a pop of color.
Ingredient Tips: Look for wings that are plump and have good color. If you can find pasture-raised chicken, the flavor is noticeably better. For the blue cheese, avoid pre-crumbled if possible—it has less moisture and flavor. Buy a block and crumble it yourself. It makes a difference, I promise.
Equipment Needed
You don’t need a fancy kitchen for these wings, but a few key tools make the job easier.
- Baking sheet – a rimmed baking sheet is essential. It catches any drips and prevents a mess in your oven.
- Wire rack – fits inside the baking sheet. This is crucial for air circulation, which gives you crispy wings on all sides. No flipping required.
- Large bowl – for tossing the wings with the dry rub.
- Small saucepan – for melting the butter and mixing the sauce.
- Mixing bowl – for the blue cheese dip.
- Tongs – for flipping and coating the wings.
- Paper towels – lots of them. Drying the wings thoroughly is the most important step.
Budget-Friendly Alternatives: No wire rack? No problem. You can place the wings directly on the baking sheet, but flip them halfway through. They won’t be quite as crispy on the bottom, but they’ll still be delicious. Also, a regular whisk works fine if you don’t have a small saucepan.
Preparation Method
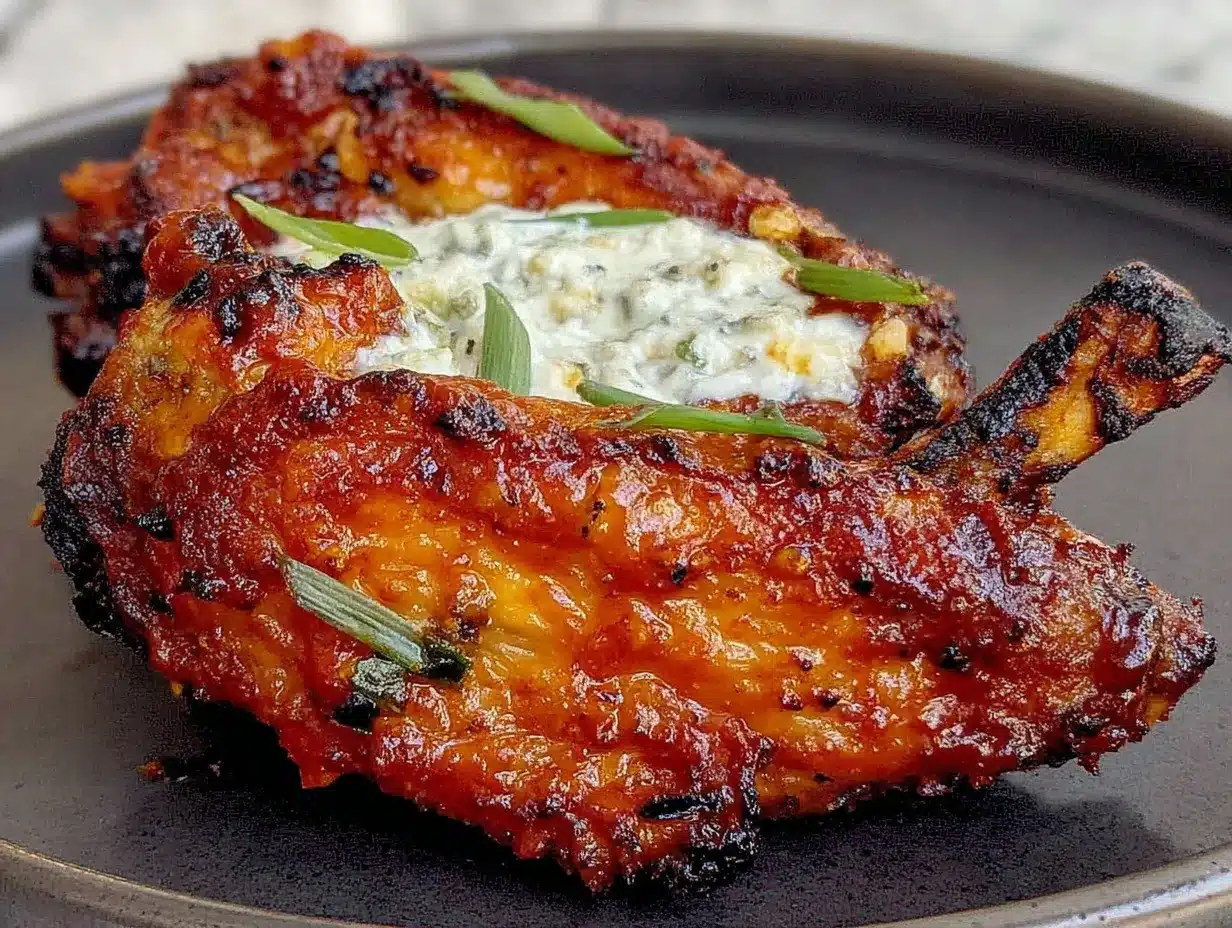
Let’s get cooking. This method is tested and tweaked to give you the best possible wings without the hassle of deep frying.
- Preheat and Prep: Preheat your oven to 425°F (220°C). Line a rimmed baking sheet with foil (for easy cleanup) and place a wire rack on top. This setup is key for crispy skin.
- Dry the Wings: Pat the chicken wings completely dry with paper towels. I mean, really dry. Any moisture on the skin will steam instead of crisp. This step takes patience, but it’s the difference between good wings and great wings.
- Season the Wings: In a large bowl, whisk together the baking powder, salt, garlic powder, and black pepper. Add the dried wings and toss until every piece is evenly coated. The baking powder might look a little dusty, but don’t worry—it works its magic in the oven.
- Arrange on Rack: Place the wings on the wire rack in a single layer, making sure they aren’t touching. This ensures even cooking and maximum crispiness. If they’re crowded, they’ll steam. Give them space.
- Bake the Wings: Bake for 45-50 minutes, flipping the wings halfway through (around the 25-minute mark). They should be golden brown and the skin should look crispy and blistered. The internal temperature should reach 165°F (74°C).
- Make the Buffalo Sauce: While the wings are baking, combine the hot sauce, melted butter, Worcestershire sauce, and honey (if using) in a small saucepan. Warm over low heat, whisking until smooth. Keep it warm until the wings are ready.
- Make the Blue Cheese Dip: In a mixing bowl, combine the blue cheese crumbles, sour cream, mayonnaise, lemon juice, garlic powder, and a pinch of salt and pepper. Stir until well mixed. The dip should be chunky, not smooth—you want those little pockets of blue cheese. Cover and refrigerate until serving.
- Glaze the Wings: Once the wings are out of the oven, transfer them to a large bowl. Pour the warm buffalo sauce over them and toss gently until every wing is coated. Don’t drown them—you want a nice, even layer of sauce, not a puddle.
- Serve Immediately: Transfer the glazed wings to a serving platter. Sprinkle with chopped chives or parsley if you’re feeling fancy. Serve hot with the blue cheese dip and celery sticks on the side. Watch them disappear.
Troubleshooting Tip: If your wings aren’t crispy enough after 45 minutes, give them an extra 5-10 minutes. Every oven runs a little differently. Also, if the sauce seems too thin, let it simmer on low for a minute or two to thicken slightly.
Cooking Tips & Techniques
I’ve made these wings more times than I care to admit, and I’ve learned a few things the hard way. Let me save you the trouble.
The Drying Secret: I cannot stress this enough—dry those wings like your life depends on it. I once rushed through this step because I was hungry, and the skin came out rubbery. Never again. Use fresh paper towels and pat each piece individually. It takes two minutes, and the payoff is huge.
Baking Powder vs. Baking Soda: This is a common mistake. Baking powder is not the same as baking soda. Baking soda will leave a metallic taste on your wings. I learned this the hard way during a Super Bowl party. Trust me, stick with baking powder.
The Wire Rack Trick: If you don’t have a wire rack, you can use a cooling rack that’s oven-safe. The key is getting air to circulate under the wings. If you skip the rack, flip the wings halfway and expect slightly less crispy bottoms. Still good, just not perfect.
Timing Your Sauce: Make the buffalo sauce right before the wings come out of the oven. If it sits too long, the butter can separate. Give it a quick whisk right before tossing to bring it back together. Also, keep it warm—cold sauce won’t coat the wings properly.
Double Batch Strategy: Hosting a big crowd? Make a double batch, but use two baking sheets with racks. Don’t overcrowd a single sheet—the wings will steam, and you’ll lose that precious crispiness. Rotate the sheets halfway through baking for even cooking.
The Dip Matters: Don’t skip the blue cheese dip. I know some people prefer ranch, but trust me on this one. The tangy, creamy dip cuts through the heat of the buffalo sauce perfectly. Make it at least 30 minutes ahead so the flavors can meld. It gets even better overnight.
Variations & Adaptations
These wings are incredibly versatile. Here are a few ways to switch things up without losing that crowd-pleasing magic.
- Extra Spicy: Add 1-2 teaspoons of cayenne pepper to the buffalo sauce, or use a hotter hot sauce like Tabasco Habanero. My brother-in-law loves these, and he has a cast-iron stomach. Just warn your guests—they’re intense.
- Honey Garlic Twist: Swap the buffalo sauce for a mix of ½ cup honey, ¼ cup soy sauce, and 4 cloves of minced garlic. Simmer until thickened, then toss with the baked wings. It’s sweet, savory, and sticky. My kids request this version every time.
- Smoky BBQ Style: Replace the hot sauce with your favorite smoky BBQ sauce. Add a teaspoon of smoked paprika to the dry rub for extra depth. These are perfect for summer cookouts or game days.
- Gluten-Free Option: These wings are naturally gluten-free as written. Just double-check your hot sauce and Worcestershire sauce labels—some brands contain gluten. The blue cheese dip is also gluten-free. Easy peasy.
- Air Fryer Adaptation: Cook the wings in an air fryer at 400°F (200°C) for 20-25 minutes, shaking the basket halfway through. They come out incredibly crispy with less oil. Toss with the sauce right after cooking. I’ve tested this, and it works beautifully.
Serving & Storage Suggestions
These wings are best served hot, right after they’re glazed. The contrast between the crispy skin and the warm, sticky sauce is pure magic. Arrange them on a large platter with celery and carrot sticks on the side. The blue cheese dip should be in a small bowl in the center, ready for dunking.
What to Serve Alongside: These wings are the star, but they love company. Serve them with crispy fries, a simple coleslaw, or a fresh green salad to balance the richness. For drinks, ice-cold beer is the classic choice, but a crisp white wine or a tangy lemonade works too.
Storage: Leftover wings (if you have any) can be stored in an airtight container in the refrigerator for up to 3 days. The blue cheese dip will keep for 5 days. The flavors actually get better as they sit—the sauce soaks into the meat a little more.
Reheating: The best way to reheat wings is in the oven at 375°F (190°C) for 10-15 minutes. This restores the crispiness. Avoid the microwave—it makes the skin rubbery. If you’re in a hurry, an air fryer at 350°F (175°C) for 5-7 minutes works like a charm.
Freezing: You can freeze the baked (un-sauced) wings for up to 2 months. Place them in a single layer on a baking sheet, freeze until solid, then transfer to a freezer bag. When you’re ready, bake from frozen at 400°F (200°C) for 20 minutes, then toss with fresh sauce. It’s a lifesaver for last-minute hosting.
Nutritional Information & Benefits
Here’s the honest truth—these wings are a treat, not a health food. But they’re made with real ingredients, and that counts for something.
Estimated per serving (about 5 wings with dip):
- Calories: 420
- Protein: 28g
- Fat: 32g
- Carbohydrates: 6g
- Fiber: 0g
- Sugar: 3g
- Sodium: 980mg
Health Highlights: Chicken wings are a good source of protein, which keeps you full and satisfied. The blue cheese dip provides calcium from the dairy. Celery and carrots add fiber and vitamins—plus they’re a great vehicle for that dip. If you’re watching your sodium, use low-sodium hot sauce and skip the added salt in the dry rub.
Dietary Considerations: This recipe is naturally gluten-free (check your sauces). It’s also low-carb and keto-friendly if you skip the honey in the sauce. For a dairy-free version, use a plant-based butter and a vegan blue cheese-style dip. Not quite the same, but still delicious.
Honestly, I don’t make these wings every week—they’re a special occasion thing. But when I do, I enjoy every bite without guilt. Balance is key, right?
Conclusion
These Crowd-Pleasing Bat Wing Buffalo Wings are more than just a recipe—they’re a story. A story about a kitchen disaster that turned into a happy accident, and a dish that’s become my go-to for every gathering. They’re crispy, saucy, and absolutely irresistible. The blue cheese dip is the perfect partner, cooling the heat and adding that tangy richness.
I love this recipe because it’s forgiving. It doesn’t demand perfection. You can mess up the timing, forget an ingredient, and still end up with something incredible. That’s the kind of cooking I believe in—real, messy, and full of flavor.
So go ahead. Make these wings for your next game day, dinner party, or just because it’s Tuesday. Customize them to your liking—spicier, sweeter, smokier. Whatever you do, don’t skip that blue cheese dip. And when your guests ask for the recipe (they will), send them my way. I’d love to hear how they turned out. Drop a comment below, share a photo, or tell me about your own kitchen accident that became a favorite. Happy cooking!
Frequently Asked Questions
Can I use frozen chicken wings?
Yes, but you need to thaw them completely and pat them very dry. Frozen wings release a lot of moisture, which will prevent crisping. Thaw in the refrigerator overnight for best results.
Can I make these wings ahead of time?
You can bake the wings a day ahead and store them unsauced in the refrigerator. Reheat at 375°F (190°C) for 10 minutes, then toss with warm sauce just before serving. The blue cheese dip can be made 2-3 days in advance.
How do I make the wings less spicy?
Reduce the hot sauce to ¼ cup and increase the butter to ⅓ cup. You can also use a mild hot sauce or a buffalo-style sauce labeled “mild.” The honey also helps balance the heat.
What’s the best way to separate chicken wings?
Use a sharp chef’s knife. Locate the joint between the drumette and the flat, and cut through it. Discard the wing tip or save it for stock. If you’re unsure, ask your butcher to do it—most will separate them for free.
Can I grill these wings instead of baking?
Absolutely. Grill over medium heat (350°F / 175°C) for 20-25 minutes, turning occasionally. Brush with the buffalo sauce during the last 5 minutes. The grill adds a wonderful smoky flavor. Just watch for flare-ups from the dripping fat.
Pin This Recipe!
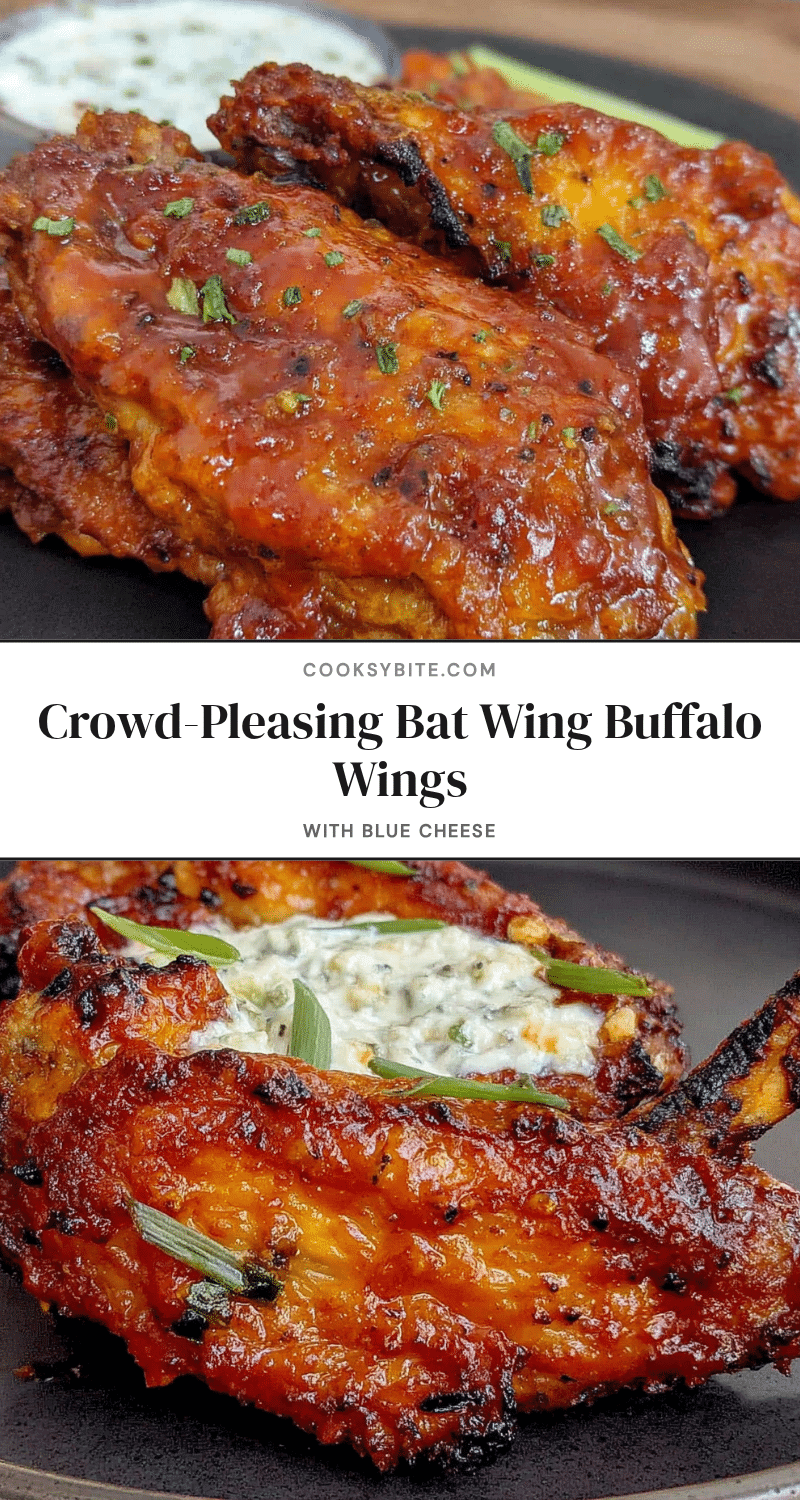
Best Crowd-Pleasing Bat Wing Buffalo Wings with Easy Blue Cheese Dip

Crispy, sticky, and absolutely ridiculous buffalo wings with a creamy blue cheese dip. This recipe is a happy accident that became a go-to for game nights, parties, and casual dinners.
- Prep Time: 15 minutes
- Cook Time: 50 minutes
- Total Time: 1 hour 5 minutes
- Yield: 4 servings 1x
- Category: Appetizer
- Cuisine: American
Ingredients
- 3 lbs chicken wings, separated into drumettes and flats
- 2 teaspoons baking powder
- 1 teaspoon kosher salt
- 1 teaspoon garlic powder
- ½ teaspoon freshly ground black pepper
- ½ cup Frank’s RedHot Original Sauce
- ¼ cup unsalted butter (½ stick, 56 g), melted
- 1 teaspoon Worcestershire sauce
- 1 tablespoon honey (optional)
- ½ cup blue cheese crumbles (75 g)
- ½ cup sour cream (120 ml)
- ¼ cup mayonnaise (60 ml)
- 1 tablespoon freshly squeezed lemon juice
- ¼ teaspoon garlic powder
- Salt and black pepper to taste
- Celery sticks and carrot sticks for serving
- Fresh chives or parsley, chopped, for garnish (optional)
Instructions
- Preheat oven to 425°F (220°C). Line a rimmed baking sheet with foil and place a wire rack on top.
- Pat chicken wings completely dry with paper towels.
- In a large bowl, whisk together baking powder, salt, garlic powder, and black pepper. Add dried wings and toss until evenly coated.
- Arrange wings on the wire rack in a single layer, not touching.
- Bake for 45-50 minutes, flipping halfway through, until golden brown and crispy. Internal temperature should reach 165°F (74°C).
- While wings bake, combine hot sauce, melted butter, Worcestershire sauce, and honey (if using) in a small saucepan. Warm over low heat, whisking until smooth. Keep warm.
- In a mixing bowl, combine blue cheese crumbles, sour cream, mayonnaise, lemon juice, garlic powder, and a pinch of salt and pepper. Stir until well mixed. Cover and refrigerate until serving.
- Once wings are out of the oven, transfer to a large bowl. Pour warm buffalo sauce over them and toss gently until evenly coated.
- Transfer glazed wings to a serving platter. Sprinkle with chopped chives or parsley if desired. Serve hot with blue cheese dip and celery sticks on the side.
Notes
Pat wings very dry for crispy skin. Do not substitute baking soda for baking powder. Make blue cheese dip at least 30 minutes ahead for best flavor. For extra crispy wings, bake an additional 5-10 minutes if needed.
Nutrition
- Serving Size: about 5 wings with d
- Calories: 420
- Sugar: 3
- Sodium: 980
- Fat: 32
- Saturated Fat: 12
- Carbohydrates: 6
- Protein: 28
Keywords: buffalo wings, chicken wings, blue cheese dip, game day, appetizer, crispy wings, oven baked wings


