Late October, and the only thing I want is this loaf. The kitchen is dark except for the oven light, and I am standing there, watching dough rise through the glass. It is quiet—no music, no podcast, just the occasional creak of the house settling. Outside, the air smells like wet leaves and woodsmoke from a neighbor’s chimney. Inside, my hands are dusted with flour, and there is a bowl of bubbling sourdough starter on the counter, looking alive and hungry.
I did not plan to make pumpkin sourdough bread. I had a different recipe in mind, something simpler. But then I saw the can of pumpkin puree in the pantry, and the bag of pepitas I bought on a whim, and I thought—why not? Honestly, I was skeptical at first. Sourdough is a diva. Pumpkin is a diva. Putting them together felt like asking two strong personalities to share a kitchen. But sometimes, the best things happen when you stop overthinking and just mix.
This bread has become my quiet ritual. It is not flashy. It does not demand attention. It just sits there, golden and speckled with green pepitas, waiting for you to slice into it. The first time I made it, I burned the bottom because I got distracted by a phone call. The second time, I forgot the salt. (Do not do that.) But by the third try, I had something worth sharing. Something that tastes like autumn in a way that feels personal, not performative.
If you have ever been intimidated by sourdough, or if you think pumpkin belongs only in pies, this bread might change your mind. It is forgiving. It is patient. And honestly, it is the kind of recipe you will want to keep to yourself—but I am sharing it anyway.
Why You’ll Love This Recipe
I have tested this pumpkin sourdough bread more times than I care to admit. There were loaves that looked like deflated footballs. There were loaves that tasted more like pumpkin spice air than actual bread. But this version? This is the one I keep coming back to. It has been chef-tested (by me, in my tiny kitchen), family-approved (my mom asked for the recipe, which is the highest compliment), and honestly, it is foolproof if you follow the steps.
- Quick & Easy : While sourdough takes time to rise, the actual hands-on work is under 20 minutes. Perfect for a lazy Sunday when you want to feel productive without actually doing much.
- Simple Ingredients : You probably have most of this already. Flour, water, salt, starter. The pumpkin and pepitas are the only “special” items, and they are easy to find this time of year.
- Perfect for Fall Gatherings : Bring this to a Friendsgiving or a cozy dinner, and people will think you spent hours. Let them think that.
- Crowd-Pleaser : Kids love the mild sweetness. Adults love the tangy sourdough bite. Everyone loves the crunch of pepitas on top.
- Unbelievably Delicious : The texture is soft with a crackly crust. The pumpkin keeps it moist without making it heavy. And the pepitas add this salty, nutty pop that balances everything.
What makes this recipe different from all the other pumpkin breads out there? It is not a quick bread. It is not a dessert. It is real, honest-to-goodness sourdough with pumpkin woven into the dough, not just slapped on top. The tanginess of the fermented starter cuts through the sweetness of the pumpkin, creating a loaf that is complex without being fussy. It is comfort food reimagined—healthier, more interesting, but with the same soul-soothing satisfaction.
What Ingredients You Will Need
This recipe uses simple, wholesome ingredients to deliver bold flavor and satisfying texture without the fuss. Most of these are pantry staples, especially if you already maintain a sourdough starter. The pumpkin and pepitas are the stars here, so choose them wisely.
- Active sourdough starter, 100g (fed and bubbly, about 4-6 hours after feeding) — I use a 100% hydration starter, and I recommend King Arthur Flour brand starter if you are starting from scratch.
- Bread flour, 400g (about 3 cups) — For structure and chew. All-purpose works in a pinch, but bread flour gives a better rise.
- Whole wheat flour, 100g (about ¾ cup) — Adds depth and helps with fermentation. You can use all bread flour if you prefer a lighter crumb.
- Pumpkin puree, 200g (about ¾ cup) — Not pumpkin pie filling. Make sure it is 100% pure pumpkin. I prefer Libby’s for consistent moisture content.
- Water, 200g (about ¾ cup) — Lukewarm, around 80°F. Too hot will kill your starter.
- Salt, 10g (about 1½ teaspoons) — Fine sea salt or kosher salt. Do not skip this—it controls fermentation and adds flavor.
- Pepitas (raw pumpkin seeds), 60g (about ½ cup) — Plus extra for topping. I buy these from the bulk bin at my local co-op.
- Honey or maple syrup, 30g (about 2 tablespoons) — Optional, for a hint of sweetness. I use honey in fall and maple syrup in winter.
- Olive oil, 15g (about 1 tablespoon) — For the bowl and your hands. Any neutral oil works.
Substitution Guidance: If you are gluten-sensitive, swap the bread flour with a good gluten-free bread flour blend (I like Cup4Cup). The texture will be denser but still delicious. For a vegan version, skip the honey and use maple syrup. If you cannot find pepitas, sunflower seeds or chopped pecans work beautifully.
Equipment Needed
You do not need a fancy bakery setup for this. Here is what I use in my own kitchen:
- Digital kitchen scale — Essential for accuracy. I use a simple OXO scale that cost me $20.
- Large mixing bowl — Glass or ceramic works best. Metal can react with the dough over long fermentation.
- Dutch oven — For that bakery-style crust. If you do not have one, a heavy baking sheet with a metal bowl on top works as a makeshift cloche.
- Bench scraper — Helps with folding and shaping. A plastic dough scraper is fine too.
- Banneton or proofing basket — I use a 9-inch round banneton. A colander lined with a floured tea towel works perfectly.
- Parchment paper — For easy transfer into the Dutch oven.
- Lame or sharp knife — For scoring the top. A razor blade works too.
- Cooling rack — Do not skip this. Cooling on a solid surface makes the bottom soggy.
My first year of sourdough, I used a cast iron skillet and a metal bowl as a lid. It was janky, but it worked. Do not let equipment hold you back.
Preparation Method
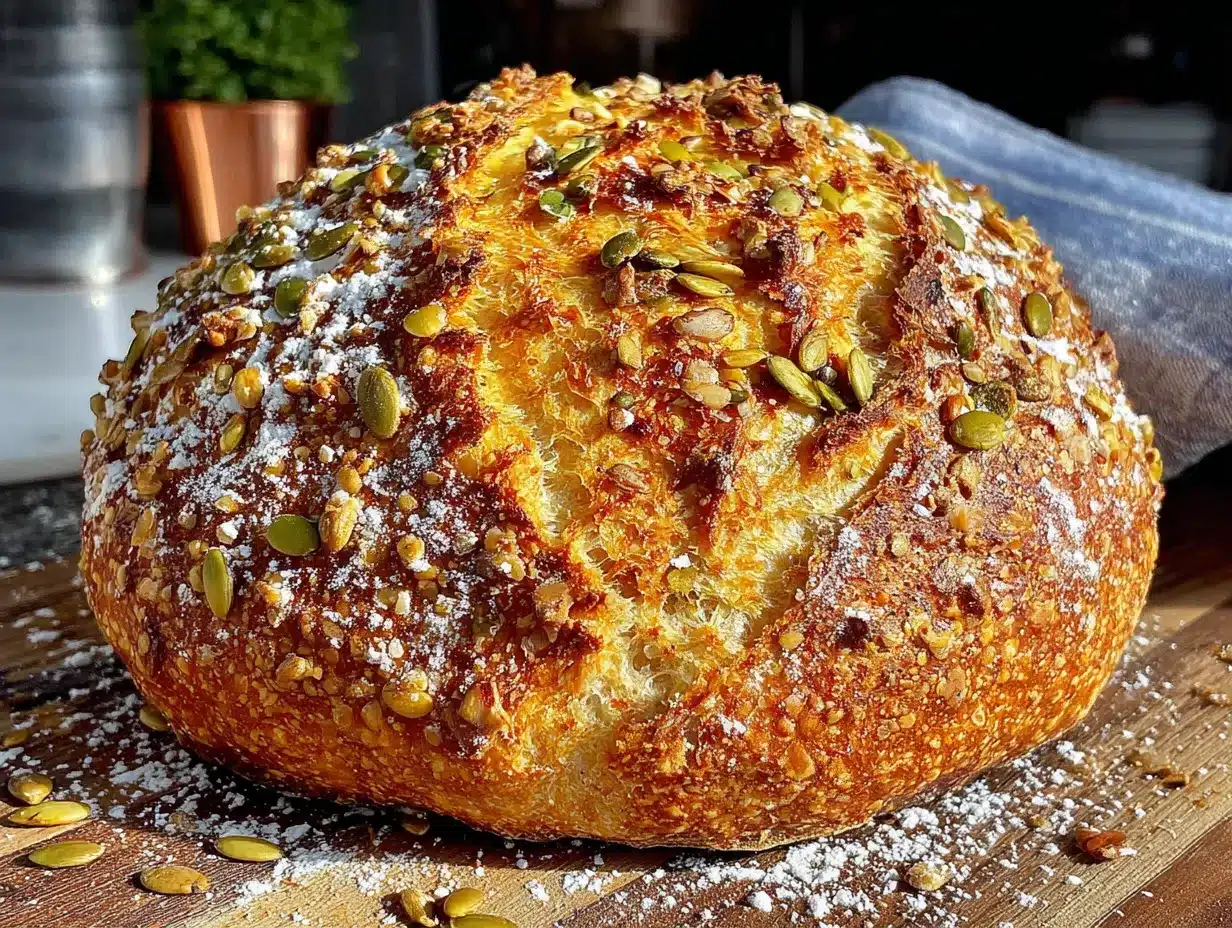
This process takes about 5-6 hours from start to finish, but most of that is hands-off rising time. Plan to start in the morning so you can bake by late afternoon.
- Mix the dough (9:00 AM) — In a large bowl, combine 100g active starter, 200g lukewarm water, and 200g pumpkin puree. Stir until the starter dissolves and the mixture looks like orange soup. Add 400g bread flour and 100g whole wheat flour. Mix with your hand or a dough whisk until no dry flour remains. It will look shaggy and rough—that is normal. Cover with a damp towel and let it rest for 30 minutes (this is called autolyse).
- Add salt and honey (9:30 AM) — Sprinkle 10g salt and 30g honey (if using) over the dough. Add 15g water to help it dissolve. Pinch and squeeze the dough with your fingers until the salt is fully incorporated. The dough will feel sticky and wet. Do not add more flour. Trust the process.
- Bulk fermentation with folds (10:00 AM to 1:00 PM) — This is where the magic happens. Every 30 minutes for the first 2 hours, perform a “fold.” Wet your hands slightly, grab one side of the dough, stretch it up, and fold it over the center. Rotate the bowl and repeat on all four sides. After 4 folds total, let the dough rest. It should feel stronger and smoother with each fold. After 2 hours, let it rise undisturbed for another 2 hours. The dough should increase by about 50% and have bubbles on the surface.
- Add pepitas (1:00 PM) — Sprinkle 60g pepitas over the dough. Gently fold them in using 2-3 turns of the bowl. Do not overmix—you want pockets of crunch, not a uniform paste.
- Shape the dough (1:30 PM) — Turn the dough onto a lightly floured surface. Gently stretch it into a rectangle. Fold the top third down and the bottom third up (like a letter). Then roll it into a tight log. Cup your hands around the dough and drag it toward you to create surface tension. Place it seam-side up in a floured banneton or lined colander.
- Cold proof (1:45 PM to next morning, or 2 hours at room temperature) — Cover the banneton with plastic wrap or a reusable shower cap. For best flavor and easier scoring, refrigerate overnight (8-12 hours). If you are impatient, let it proof at room temperature for 2 hours until puffy.
- Preheat and bake (next morning, 9:00 AM) — Place your Dutch oven in the oven and preheat to 475°F for at least 30 minutes. Carefully remove the hot Dutch oven. Turn the dough onto a piece of parchment paper. Score the top with a sharp lame or knife—a simple cross or a single deep slash works. Sprinkle extra pepitas on top and press them in gently. Lower the dough into the Dutch oven using the parchment as a sling. Cover and bake for 25 minutes. Remove the lid and bake for another 20-25 minutes until deep golden brown. The internal temperature should read 200-205°F.
- Cool completely (10:00 AM to 11:00 AM) — Transfer the bread to a cooling rack. Do not slice it for at least 1 hour. I know it is hard. The steam inside is still cooking the crumb. Cutting too early will give you gummy bread.
Cooking Tips & Techniques
I have made every mistake you can imagine with this loaf. Here is what I learned the hard way.
Do not skip the autolyse. That 30-minute rest after mixing gives the flour time to absorb the liquid and develop gluten naturally. I once skipped it because I was in a hurry, and the dough never came together properly. It was a sticky, sad mess.
Watch your water temperature. Pumpkin puree is cold straight from the fridge. If you use cold water too, your dough will take forever to rise. Warm your water to about 80°F to compensate. I use a meat thermometer to check—yes, I am that person.
Listen to your dough, not the clock. Every kitchen is different. My kitchen is drafty and cool, so my bulk fermentation takes closer to 5 hours. A warm kitchen might only need 3. The dough is ready when it feels pillowy, jiggles slightly when you shake the bowl, and has visible bubbles on the surface. Do not rely solely on time.
Score with confidence. A shallow score will burst open in the oven. A deep, confident slash (about ½ inch deep) gives you that beautiful “ear” and controls where the bread expands. If you are nervous, practice on a piece of paper first. I am not kidding.
Steam is your friend. The Dutch oven traps steam from the dough, which creates that crackly crust. If you are using a baking sheet and bowl method, spritz the inside of the bowl with water before covering. I have done this with a spray bottle, and it works surprisingly well.
Variations & Adaptations
This recipe is flexible. Here are some ways I have adapted it over the years.
- Spiced Pumpkin Version — Add 1 teaspoon cinnamon, ½ teaspoon nutmeg, ¼ teaspoon ginger, and a pinch of cloves to the flour before mixing. This turns it into a pumpkin pie sourdough that is incredible toasted with butter.
- Cheese and Herb Twist — Omit the honey and add 100g shredded sharp cheddar and 1 tablespoon fresh rosemary along with the pepitas. The tangy sourdough and sharp cheese are a match made in heaven.
- Gluten-Free Adaptation — Use a 1:1 gluten-free flour blend that contains xanthan gum. Reduce the water to 150g since gluten-free flours absorb less liquid. The dough will be more like a batter—do not try to shape it by hand. Bake it in a loaf pan lined with parchment.
- Seeded Crust Variation — Before baking, brush the top with an egg wash (or milk for vegan) and press in a mix of pepitas, sesame seeds, and flax seeds. It looks gorgeous and adds extra crunch.
- Sweet Breakfast Loaf — Increase the honey to 60g and add 100g dried cranberries or chopped dried apricots along with the pepitas. This version is incredible for French toast.
Serving & Storage Suggestions
This bread is best served at room temperature or lightly toasted. The crust should crackle when you squeeze it fresh from the oven. I like to slice it thick and serve it with salted butter and a drizzle of honey. It is also fantastic with a bowl of soup—try it alongside a creamy butternut squash soup for a double pumpkin experience.
For a sweet treat, toast a slice, spread it with cream cheese, and top with a sprinkle of cinnamon sugar. For a savory option, make an open-faced sandwich with turkey, brie, and arugula. The mild sweetness of the bread balances the savory fillings perfectly.
Storage: Wrap the cooled loaf in a clean kitchen towel and keep it at room temperature for up to 3 days. Do not refrigerate—it will dry out the bread. For longer storage, slice the loaf, wrap it tightly in plastic wrap and foil, and freeze for up to 3 months. Toast directly from frozen.
Reheating: For a crust that tastes fresh-baked, reheat slices in a 350°F oven for 5-7 minutes. For a quick fix, pop them in the toaster. The pepitas will soften slightly over time, but toasting brings back their crunch.
I have found that this bread actually tastes better on day two. The flavors meld, and the sourdough tang becomes more pronounced. If you can resist eating it all on day one, you are stronger than I am.
Nutritional Information & Benefits
Per slice (based on 12 slices per loaf):
- Calories: 210
- Total Fat: 5g
- Saturated Fat: 1g
- Carbohydrates: 36g
- Fiber: 4g
- Sugar: 4g
- Protein: 8g
- Sodium: 320mg
This bread is a good source of complex carbohydrates and fiber from the whole wheat flour and pumpkin. Pumpkin is rich in vitamin A and antioxidants, while pepitas provide magnesium, zinc, and healthy fats. The fermentation process in sourdough breaks down phytic acid, making the minerals in the flour more bioavailable. It is also lower on the glycemic index compared to regular bread, thanks to the fermentation and fiber content.
If you are watching your sodium, you can reduce the salt to 8g without affecting the texture much. For a lower-carb option, replace the bread flour with almond flour and increase the eggs (though this will change the texture significantly—it will be more like a dense quick bread).
Conclusion
This pumpkin sourdough bread with crunchy pepitas is more than a recipe. It is a moment. It is the smell of autumn filling your kitchen. It is the satisfaction of pulling a beautiful, crackling loaf from the oven and knowing you made it with your own hands. It is forgiving enough for beginners and rewarding enough for experienced bakers.
I have made this loaf for Thanksgiving dinners, for quiet Sunday mornings, and for neighbors who needed a little comfort. It never fails to make people smile. The combination of tangy sourdough, sweet pumpkin, and salty pepitas is just right—not trying too hard, but leaving an impression.
I would love to hear how yours turns out. Did you add extra spices? Did you try the cheese version? Did you burn the bottom like I did the first time? (No judgment.) Drop a comment below or tag me in your photos. This recipe is meant to be shared, adapted, and made your own. Happy baking, friend. Your kitchen is about to smell amazing.
Frequently Asked Questions
Can I use canned pumpkin pie filling instead of pure pumpkin puree?
No, please do not. Pumpkin pie filling has added sugar, spices, and stabilizers that will throw off the hydration and fermentation of your dough. Stick with 100% pure pumpkin puree. If you have leftover pie filling, make a small batch of muffins instead.
My dough is very sticky. Did I do something wrong?
Probably not. Sourdough with pumpkin is stickier than regular dough because pumpkin adds extra moisture. Resist the urge to add more flour. Use wet hands during folding and shaping, and be gentle. The dough will firm up as it ferments and develops gluten.
Can I make this without a sourdough starter?
Technically, yes, but it will not be sourdough. You can substitute 1 teaspoon active dry yeast and 100g water for the starter. Reduce the water by 50g and let the dough rise for 1-2 hours instead of the long fermentation. The flavor will be different—more like a yeasted pumpkin bread—but still delicious.
Why did my bread not rise in the oven (no oven spring)?
This usually happens for one of three reasons: your starter was not active enough, you over-proofed the dough, or your oven was not hot enough. Make sure your starter is bubbly and passes the float test before using. And do not let the final proof go too long—if the dough feels overly soft and deflates when touched, it has gone too far.
How do I get a softer crust?
If you prefer a softer crust, brush the baked loaf with melted butter as soon as it comes out of the oven. You can also wrap it in a clean towel while it cools—the trapped steam will soften the crust. For a super soft version, store the bread in a plastic bag after it has fully cooled.
Pin This Recipe!
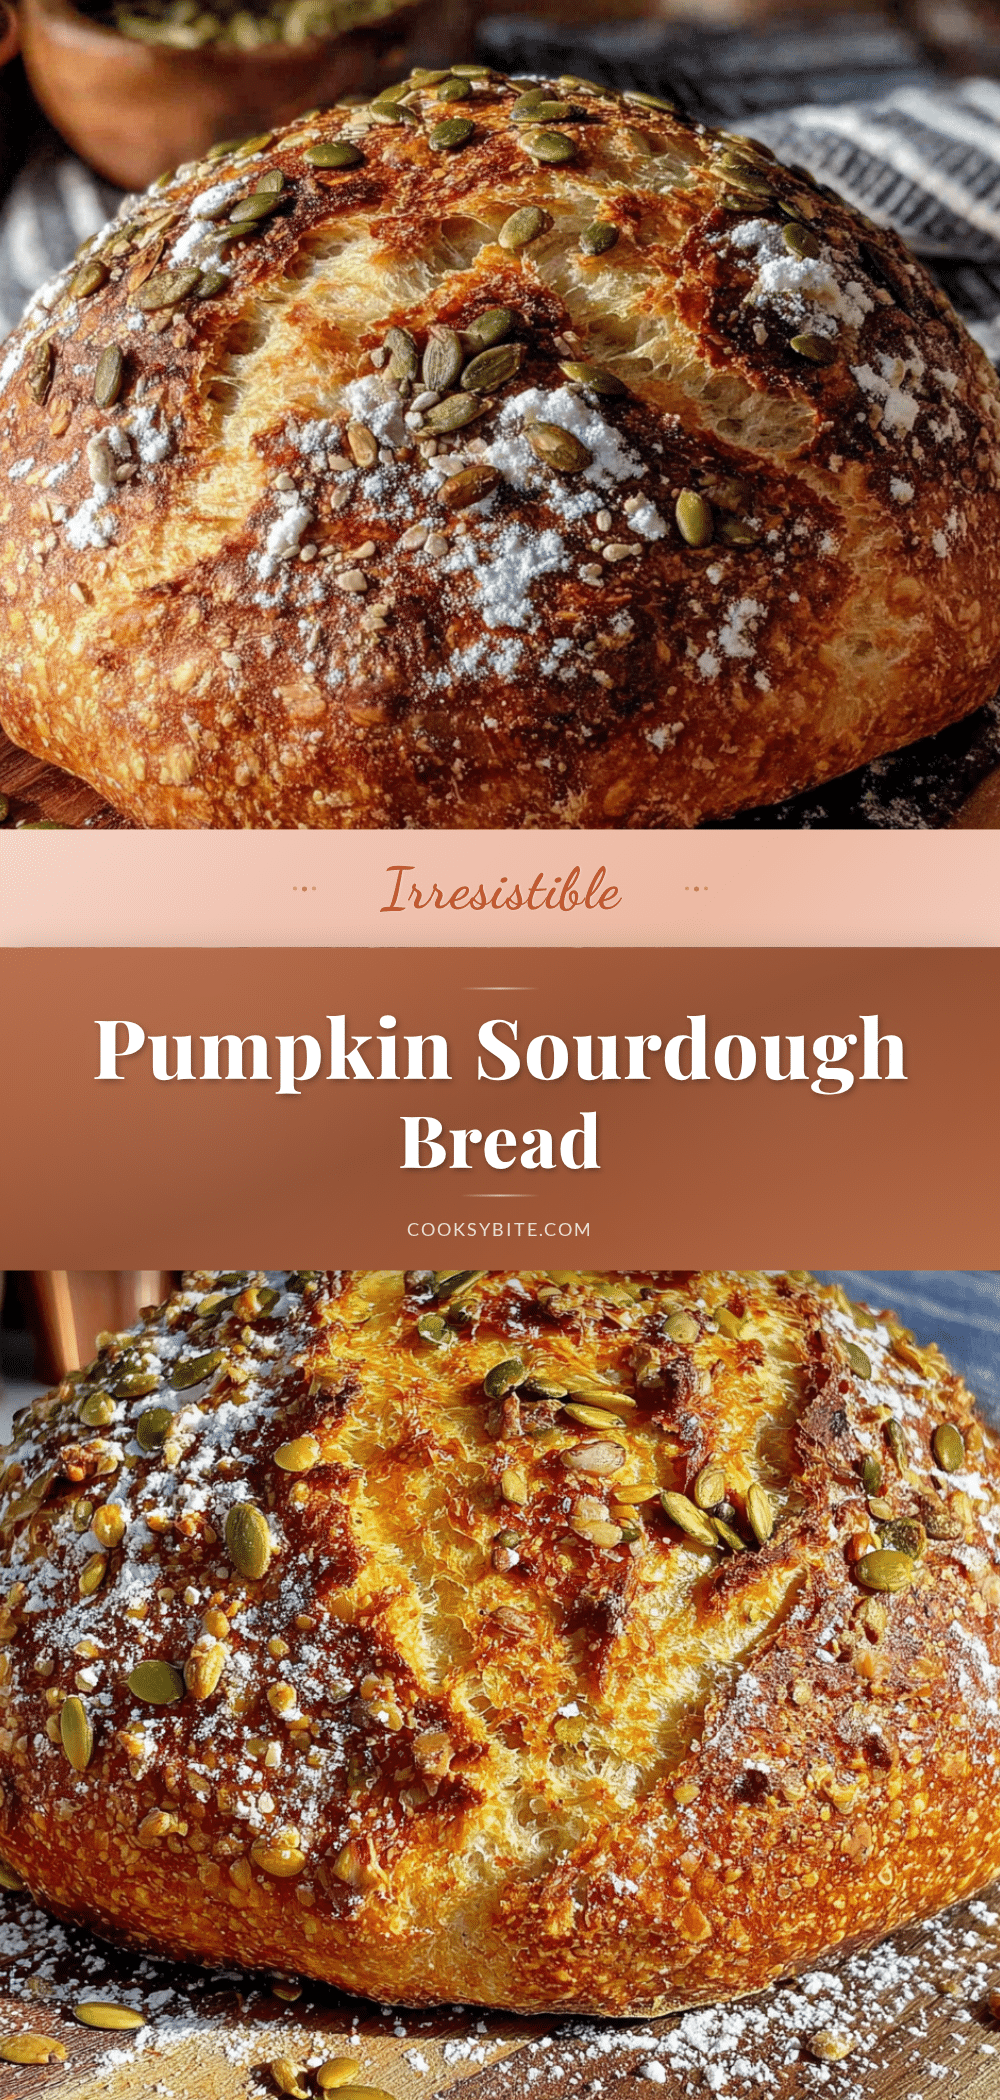
Best Homemade Pumpkin Sourdough Bread with Crunchy Pepitas
This pumpkin sourdough bread is a cozy fall loaf with a tangy sourdough crumb, sweet pumpkin, and crunchy pepitas. It’s forgiving for beginners and rewarding for experienced bakers, perfect for autumn gatherings or quiet mornings.
- Prep Time: 20 minutes
- Cook Time: 45 minutes
- Total Time: 5 hours 30 minutes (including rising and proofing)
- Yield: 12 servings 1x
- Category: Bread
- Cuisine: American
Ingredients
- 100g active sourdough starter (fed and bubbly, about 4–6 hours after feeding)
- 400g bread flour (about 3 cups)
- 100g whole wheat flour (about ¾ cup)
- 200g pumpkin puree (about ¾ cup, 100% pure pumpkin)
- 200g lukewarm water (about ¾ cup, around 80°F)
- 10g salt (about 1½ teaspoons, fine sea salt or kosher salt)
- 60g pepitas (raw pumpkin seeds, about ½ cup), plus extra for topping
- 30g honey or maple syrup (about 2 tablespoons, optional)
- 15g olive oil (about 1 tablespoon, for the bowl and hands)
Instructions
- Mix the dough: In a large bowl, combine 100g active starter, 200g lukewarm water, and 200g pumpkin puree. Stir until the starter dissolves. Add 400g bread flour and 100g whole wheat flour. Mix until no dry flour remains. Cover with a damp towel and let rest for 30 minutes (autolyse).
- Add salt and honey: Sprinkle 10g salt and 30g honey (if using) over the dough. Add 15g water to help dissolve. Pinch and squeeze the dough until fully incorporated. The dough will be sticky.
- Bulk fermentation with folds: Every 30 minutes for the first 2 hours, perform a fold: wet your hands, stretch one side of the dough up, and fold it over the center. Rotate the bowl and repeat on all four sides. After 4 folds, let the dough rise undisturbed for another 2 hours until increased by about 50% and bubbly.
- Add pepitas: Sprinkle 60g pepitas over the dough. Gently fold them in using 2-3 turns of the bowl.
- Shape the dough: Turn the dough onto a lightly floured surface. Stretch into a rectangle, fold the top third down and bottom third up, then roll into a tight log. Create surface tension by cupping your hands around the dough and dragging it toward you. Place seam-side up in a floured banneton or lined colander.
- Cold proof: Cover the banneton with plastic wrap and refrigerate overnight (8-12 hours) for best flavor, or proof at room temperature for 2 hours until puffy.
- Preheat and bake: Place a Dutch oven in the oven and preheat to 475°F for at least 30 minutes. Turn the dough onto parchment paper, score the top with a sharp knife, and sprinkle extra pepitas on top. Lower the dough into the hot Dutch oven using the parchment as a sling. Cover and bake for 25 minutes. Remove the lid and bake for another 20-25 minutes until deep golden brown (internal temperature 200-205°F).
- Cool completely: Transfer the bread to a cooling rack and let cool for at least 1 hour before slicing.
Notes
Do not skip the autolyse—it helps develop gluten. Use lukewarm water (about 80°F) to compensate for cold pumpkin puree. Listen to your dough, not the clock; it’s ready when pillowy and jiggly with bubbles. Score with confidence (about ½ inch deep) for a beautiful ear. Steam is key for a crackly crust. The bread tastes even better on day two.
Nutrition
- Serving Size: 1 slice
- Calories: 210
- Sugar: 4
- Sodium: 320
- Fat: 5
- Saturated Fat: 1
- Carbohydrates: 36
- Fiber: 4
- Protein: 8
Keywords: pumpkin sourdough bread, sourdough bread, pumpkin bread, pepitas, fall baking, artisan bread, homemade bread


