I was standing in the snack aisle at Target last October, staring at a row of pre-packaged pumpkin-shaped crackers, when the weirdest thing happened. A little kid ran past me clutching a paper lunch bag, and the crinkle of that bag mixed with the faint smell of cinnamon from a nearby candle display—and suddenly I was seven years old again, sitting on my aunt Carol’s linoleum kitchen floor. She was handing me a paper cone filled with popcorn and candy corn, wrapped in a napkin, and I remember thinking it was the fanciest thing I’d ever seen.
Honestly, I haven’t thought about those cones in years. My aunt Carol passed away when I was twelve, and I guess I’d filed that memory away somewhere deep. But standing there in Target, I could feel the cold floor under my legs and hear the hum of her old refrigerator. That’s when the idea hit me—what if I made those cones again, but with a cozy fall twist? Something I could actually feed my own kids without them bouncing off the walls from a sugar rush.
So I grabbed a bag of those pumpkin crackers (you know the ones), some cheese sticks, and a few other things, and I went home to experiment. The first batch? Let’s just say I learned that mini pretzel sticks look adorable but stab right through a paper cone if you’re not careful. There was a mess, there was laughter, and there was definitely some snacking along the way. But by the time I was done, I had something special.
These Cozy Mini Pumpkin Charcuterie Cones for Kids are my little tribute to Aunt Carol’s snack cones—but made for my own kitchen, my own kids, and all the cozy fall afternoons ahead. Maybe you’ve been there too, chasing a memory through a grocery store aisle, hoping to catch it. Well, I caught mine, and I’m sharing it with you.
Why You’ll Love This Recipe
Let me tell you, as a mom who’s tested about a hundred different snack ideas for playdates, birthday parties, and “I’m bored” afternoons, these little cones are a total game-changer. They’re not just cute—they actually work. Here’s why I keep coming back to them:
- Quick & Easy: You can put these together in under 15 minutes. Seriously. No baking, no cooking, no waiting. Just assembly and instant gratification.
- Simple Ingredients: Everything comes from a regular grocery store. No special orders, no fancy health food runs. You probably already have half of this stuff in your pantry.
- Perfect for Fall Gatherings: Halloween parties, Thanksgiving kids’ tables, pumpkin patch picnics, or just a rainy Tuesday afternoon—these fit right in.
- Crowd-Pleaser: I’ve served these to toddlers, teenagers, and even a few skeptical adults. The cones empty fast every single time.
- Unbelievably Delicious: There’s something about the combo of salty pretzels, creamy cheese, sweet dried fruit, and that little pumpkin-shaped cracker that just works. It’s like fall in a cone.
What makes these different from other snack boards or charcuterie ideas? For one thing, they’re portion-controlled—each kid gets their own cone, so there’s no fighting over the last piece of cheese. Plus, the cone shape makes them portable. You can hand one to a kid and send them off to play without worrying about spills or messes. And honestly? They’re just so stinking cute. The little pumpkin theme makes them feel special without requiring hours of effort.
This is the kind of snack that makes you close your eyes after the first bite—not because it’s fancy, but because it’s exactly what you needed. It’s comfort food for little hands and big hearts.
What Ingredients You Will Need
This recipe uses simple, wholesome ingredients to deliver big flavor and cozy fall vibes without any fuss. Most of these are pantry staples or easy to find in any grocery store’s snack aisle. Here’s what you’ll need:
For the Cones
- Mini waffle cones or ice cream cones (look for the small ones, about 3-4 inches tall—they’re the perfect size for little hands)
- Pumpkin-shaped crackers (I like the Pepperidge Farm Goldfish pumpkin crackers or Annie’s Harvest pumpkin bunnies—both hold up well)
- Pretzel sticks (the thin, mini ones work best—regular pretzel sticks are too thick and take up too much space)
- Cheese cubes (mild cheddar or colby jack are kid favorites; cut them into small cubes about ½ inch each)
- Dried cranberries or cherries (adds a sweet-tart pop that balances the salty stuff)
- Roasted pumpkin seeds (pepitas) (optional, but they add a nice crunch and reinforce the pumpkin theme)
- Mini marshmallows (because what kid doesn’t love a marshmallow tucked in their snack?)
- Apple slices (thin, cut into small triangles—toss them in a little lemon juice to keep them from browning)
For Decoration (Optional but Fun)
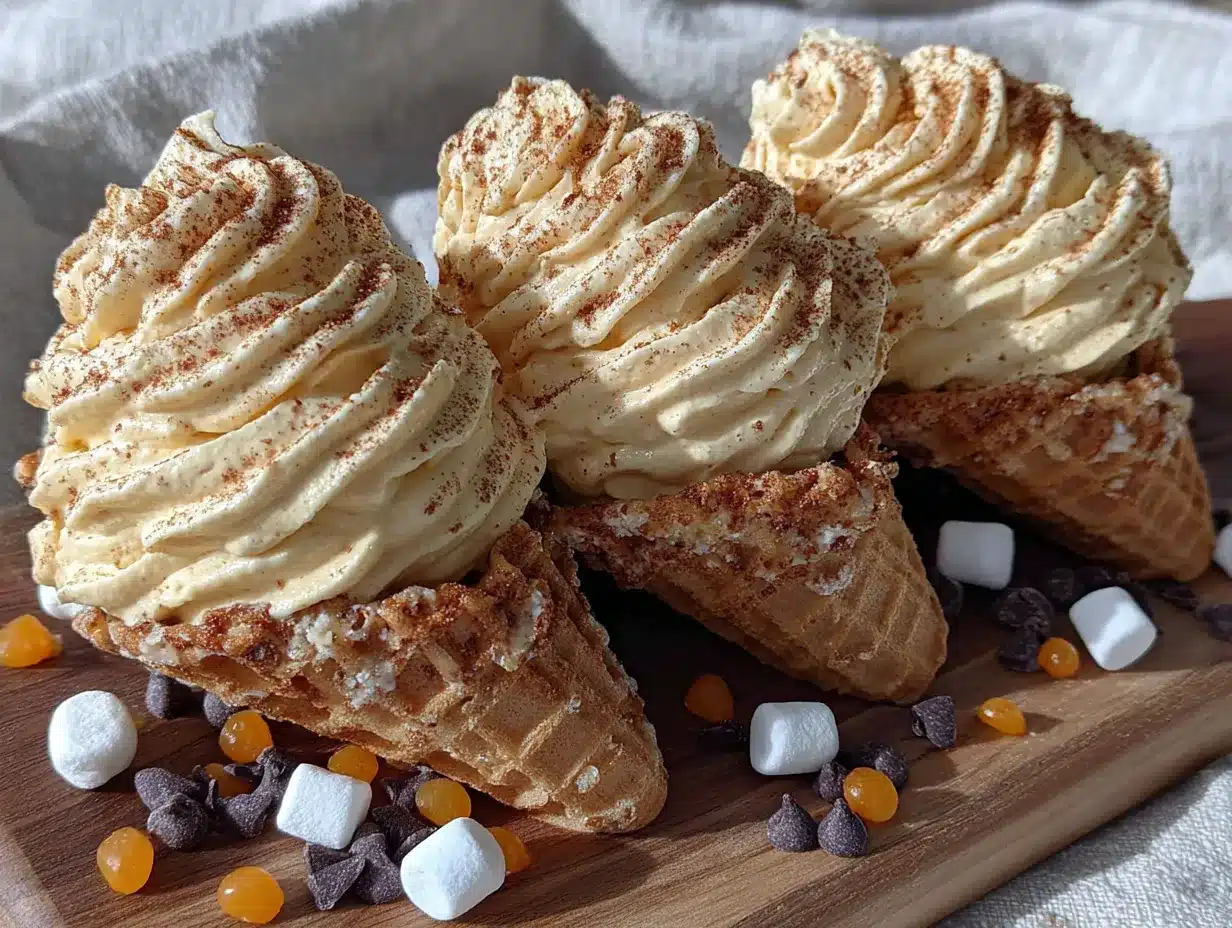
- Orange frosting or cream cheese (to pipe a little pumpkin face on the cone—use a small piping bag or a zip-top bag with the corner snipped off)
- Green candy melts or frosting (for a tiny stem on top)
- Edible googly eyes (found in the baking aisle—these make the cones look like little pumpkin monsters)
When I make these, I usually grab the pumpkin crackers from the seasonal aisle at Target or Walmart. They only show up in September and October, so stock up if you see them! If you can’t find pumpkin-shaped crackers, any fall-shaped cracker works—leaves, acorns, or even regular goldfish will do the trick. For the cheese, I recommend buying a block and cutting it yourself rather than using pre-shredded or pre-cubed cheese. It tastes better and holds its shape longer in the cone.
One thing I learned the hard way: don’t use wet ingredients like grapes or cucumber slices in these cones. The moisture makes the cone soggy within minutes. Stick with dry or low-moisture ingredients, and your cones will stay crunchy for hours.
Equipment Needed
You don’t need much to make these cones, which is part of the beauty. Here’s what I use:
- Mini waffle cones or ice cream cones (about 3-4 inches tall—look for them near the ice cream toppings at the grocery store)
- Small piping bag or zip-top bag (for decorating the cones with frosting or cream cheese)
- Small cookie scoop or teaspoon (for portioning out ingredients evenly—I use a 1-teaspoon scoop for the cheese cubes)
- Cutting board and sharp knife (for cubing cheese and slicing apples)
- Baking sheet or large platter (to hold the cones while you assemble them—line with parchment paper for easy cleanup)
- Tongs or small spoons (for filling the cones without making a mess)
If you don’t have mini waffle cones, you can use paper cones instead—just roll a piece of cardstock into a cone shape and tape it. I’ve done that in a pinch, and it works fine. Just don’t use regular paper; it gets flimsy. Also, if you don’t have a piping bag, a simple zip-top bag with a tiny corner cut off works perfectly for the frosting details.
I bought a set of mini waffle cones from Amazon last year, and they’ve been worth every penny. They’re reusable (just wipe them clean), and they make the cones look extra polished. But honestly, the disposable ones from the grocery store work just as well for a one-time party.
Preparation Method
Alright, let’s get to the fun part. Here’s how to make these cozy mini pumpkin charcuterie cones step by step. Take your time—this is supposed to be relaxing, not stressful.
- Prep your ingredients first. Cut your cheese into small cubes, about ½ inch each. Slice your apple into thin triangles and toss them in a little lemon juice to prevent browning. Open your bags of crackers, pretzels, dried cranberries, and mini marshmallows. Having everything ready before you start assembling makes the process so much smoother. Trust me on this—I once tried to cube cheese while holding a cone, and it did not end well.
- Decorate your cones (optional but highly recommended). If you’re adding pumpkin faces, do this before you fill the cones. Use your orange frosting or cream cheese to pipe a little pumpkin face on the front of each cone. I like to do two triangle eyes and a little zigzag mouth—simple but cute. Add a tiny green stem on top using green frosting or a candy melt. Let the frosting set for about 5 minutes before filling. If you’re using edible googly eyes, press them into the frosting while it’s still soft.
- Start with a base layer. Place your cone upright in a small glass or on a baking sheet with a hole (like a muffin tin). This keeps it steady while you fill it. Drop a few pumpkin-shaped crackers into the bottom of the cone—about 3 or 4 should do it. This creates a solid base and prevents smaller pieces from falling through.
- Add the cheese cubes. Tuck 2 or 3 cheese cubes into the cone, nestling them between the crackers. You want them to be visible from the top, so don’t push them all the way down. Think of it like building a little tower—you want each layer to peek out a bit.
- Insert the pretzel sticks. Gently push 2 or 3 mini pretzel sticks into the cone, angling them slightly so they stick out at different heights. This gives the cone a playful, messy look that kids love. If you’re using regular pretzel sticks, break them in half first. I learned this after trying to fit a whole pretzel stick into a mini cone—it stuck out at a weird angle and kept falling over.
- Add the sweet stuff. Sprinkle in a small handful of dried cranberries or cherries. Drop in 2 or 3 mini marshmallows. Add a few apple slices, tucking them in between the other ingredients. If you’re using pumpkin seeds, sprinkle a few on top. The goal is to fill the cone about three-quarters full, leaving enough room at the top for the ingredients to be visible and inviting.
- Top it off. Add a final layer of pumpkin-shaped crackers on top, arranging them so they’re the first thing you see. This is the “wow” moment—the crackers should be facing outward, like little jack-o’-lanterns smiling at you. If you have extra room, tuck in one more marshmallow or a cheese cube for good measure.
- Repeat until all cones are filled. Depending on the size of your cones and how generous you are with the fillings, this recipe makes about 8 to 12 cones. I usually aim for 10—that’s enough for a small party or a week’s worth of after-school snacks.
- Serve immediately or store. These cones are best eaten within a few hours of assembly. If you need to make them ahead, prepare all the ingredients separately and assemble just before serving. The cones can get soggy if they sit too long, especially if you’re using apple slices or other moist ingredients.
A few things I’ve learned from making these over and over: Don’t overfill the cones. It’s tempting to cram in as much as possible, but a stuffed cone is a messy cone. Kids are more likely to eat everything if it’s arranged neatly and they can see what’s inside. Also, if you’re making these for a party, set up a “build your own” station with bowls of ingredients and empty cones. Let the kids fill their own cones—it’s a fun activity and takes the pressure off you.
Cooking Tips & Techniques
I’ve made these cones about a dozen times now, and I’ve picked up a few tricks along the way. Here’s what I wish someone had told me before I started:
Keep it dry. The number one mistake people make with these cones is using wet ingredients. Grapes, cucumber slices, even cherry tomatoes—they all release moisture and turn your crunchy cone into a soggy mess. Stick with dry ingredients like crackers, pretzels, cheese, and dried fruit. If you want to include fresh fruit, use apple slices that have been patted dry and tossed in lemon juice.
Layer strategically. Think about what kids will see when they look into the cone. The top layer should be the most visually appealing—pumpkin crackers, a cheese cube, a marshmallow. The less exciting stuff (like pretzel sticks) can go in the middle. I always put a few pumpkin crackers right at the top because that’s what makes these cones so darn cute.
Use a stabilizer. When you’re filling the cones, they tend to tip over. I use a mini muffin tin to hold them upright—each cone fits perfectly into a muffin cup. You can also use a small glass or a shot glass. Anything that keeps the cone from rolling around while you fill it.
Don’t skip the lemon juice. If you’re adding apple slices, a quick toss in lemon juice (or even pineapple juice) will keep them from turning brown. Nobody wants to eat brown apples, especially not kids. Pat them dry with a paper towel before adding them to the cone to remove excess moisture.
Make it a game. I’ve found that kids are way more excited about these cones if they help make them. Set up a little assembly line and let them choose their own ingredients. My son always adds extra marshmallows, while my daughter goes heavy on the cheese. It gives them ownership over their snack, and they’re more likely to eat everything.
Prep ahead for parties. If you’re making these for a Halloween party or a playdate, prep all the ingredients the night before. Cube the cheese, slice the apples, portion out the crackers. Store everything in separate containers in the fridge. Then, 15 minutes before the party starts, assemble the cones. They’ll be fresh, crunchy, and ready to impress.
Variations & Adaptations
One of the best things about these cones is how easy they are to customize. Here are some variations I’ve tried, all of which turned out great:
Savory Pumpkin Cones: Skip the sweet ingredients and go all-in on savory. Fill the cones with pumpkin-shaped crackers, cheese cubes, salami or pepperoni slices (cut into small pieces), and roasted chickpeas. Add a few black olives for a salty kick. These are perfect for older kids or adults who want a less sweet option.
Gluten-Free Version: Use gluten-free crackers (many pumpkin-shaped varieties are gluten-free, but check the label) and gluten-free pretzels. Most cheese and dried fruit are naturally gluten-free. Just make sure your cones are gluten-free too—some waffle cones contain wheat flour. You can also use paper cones as a gluten-free alternative.
Dairy-Free Version: Swap the cheese cubes for dairy-free cheese or omit them entirely. Add extra dried fruit, nuts (if allowed), or roasted chickpeas for protein. Use dairy-free frosting for the decorations. My dairy-free neighbor loves these with Just Cheese brand dairy-free cheddar—it melts a little at room temperature, so keep the cones cool until serving.
Nut-Free Version: This is important for school parties or playdates where allergies might be a concern. Skip the pumpkin seeds and any nut-based ingredients. Use only seeds (like sunflower seeds) if you want a crunchy element. Most crackers, pretzels, and dried fruit are nut-free, but always check the labels to be safe.
Seasonal Twists: In the spring, swap the pumpkin crackers for bunny-shaped crackers and use pastel-colored marshmallows. In the summer, use star-shaped crackers and add dried mango or pineapple. In the winter, use snowflake-shaped crackers and add white chocolate chips. The cone concept works year-round—just change the theme.
Extra Protein Version: For active kids or after-school snacks, add mini turkey or chicken meatballs (cut in half), hard-boiled egg slices, or edamame. These additions make the cones more filling without sacrificing the fun factor.
My personal favorite variation? The “Monster Mash” cones for Halloween. I use edible googly eyes on the front of the cone, fill it with orange and black ingredients (cheddar cubes, black olives, pumpkin crackers), and top it with a little green frosting “hair.” My kids lose their minds over these every year.
Serving & Storage Suggestions
These cones are best served at room temperature, straight from the assembly station. I like to arrange them on a large platter or wooden board, standing upright, with a few extra ingredients scattered around for snacking. If you’re serving them at a party, place them in a mini muffin tin or a cupcake stand—it keeps them organized and looks super cute.
For beverages, these cones pair beautifully with apple cider, warm hot chocolate, or a simple glass of milk. If you’re serving adults alongside the kids, a spiced chai latte or a pumpkin spice coffee would be perfect. The salty-sweet combo of the cones balances the warmth of the drinks.
Storage: These cones are best eaten within 2-3 hours of assembly. After that, the cones can start to soften, especially if you’ve used any moist ingredients. If you need to store them, keep them in an airtight container at room temperature for up to 24 hours. The texture won’t be as crunchy, but they’ll still taste good. Do not refrigerate them—the moisture in the fridge will make the cones soggy and the cheese will sweat.
Freezer: I don’t recommend freezing assembled cones. The texture of the crackers and pretzels will suffer, and the cheese will become crumbly. However, you can freeze the individual ingredients separately and assemble fresh cones later. Cheese cubes freeze well, as do dried fruit and pretzels. Just thaw everything in the fridge overnight before assembling.
Reheating: You don’t need to reheat these cones—they’re served cold or at room temperature. If you’ve stored them and they’ve lost their crunch, you can try popping the cones (without the fillings) in a 300°F oven for 2-3 minutes to crisp them up. Let them cool completely before refilling.
One thing I love about these cones is that the flavors actually get better over time—the cheese softens slightly, the dried fruit plumps up a bit, and everything melds together. If you can resist eating them right away, they’re even better after an hour or two.
Nutritional Information & Benefits
Here’s a rough estimate of the nutritional breakdown for one mini pumpkin charcuterie cone (based on a typical filling of crackers, cheese, pretzels, dried cranberries, and marshmallows):
| Nutrient | Amount per Cone |
|---|---|
| Calories | 120-150 |
| Total Fat | 5-7g |
| Saturated Fat | 2-3g |
| Carbohydrates | 15-20g |
| Sugar | 6-8g |
| Protein | 4-6g |
| Fiber | 1-2g |
| Sodium | 200-300mg |
These numbers will vary depending on your specific ingredients and portion sizes. If you’re using reduced-fat cheese or skipping the marshmallows, the calories and sugar will be lower.
Health Benefits: Despite looking like a treat, these cones actually offer some nutritional value. The cheese provides calcium and protein for growing bones and muscles. The dried cranberries offer antioxidants and a natural source of sweetness. Pumpkin seeds (if you use them) are packed with magnesium, zinc, and healthy fats. And the apple slices add fiber and vitamin C. It’s not exactly a health food, but it’s a far cry from a candy bar.
Dietary Considerations: This recipe can be easily adapted for gluten-free, dairy-free, and nut-free diets (see variations above). It’s naturally vegetarian. If you’re watching sugar intake, skip the marshmallows and use only unsweetened dried fruit. For a lower-sodium option, use low-sodium cheese and unsalted pretzels.
Potential Allergens: This recipe contains dairy (cheese) and gluten (crackers, pretzels, cones). It may also contain traces of nuts depending on the brands you choose. Always check labels if you’re serving someone with allergies.
From my perspective, these cones are a perfect example of “everything in moderation.” They’re fun, they’re festive, and they give kids a chance to eat a variety of foods in one sitting. I feel good about serving them because I know exactly what’s in them—no weird additives, no excessive sugar, just real food arranged in a cute way.
Conclusion
These Cozy Mini Pumpkin Charcuterie Cones for Kids have become a staple in our house every fall, and I have a feeling they’ll become one in yours too. They’re quick enough for a weekday afternoon snack, special enough for a Halloween party, and customizable enough to please even the pickiest eaters. Plus, they carry a little piece of my aunt Carol’s memory with them—and that makes them extra special to me.
I hope you’ll try making these cones with your own kids, your grandkids, or just for yourself (no judgment here). Play around with the ingredients, make them your own, and don’t stress about perfection. The best ones are the ones made with love and a little bit of laughter.
When you make them, I’d love to hear how they turned out! Drop a comment below and let me know what fillings your family loved best. Did you add something unexpected? Did your kids go crazy for the googly eyes? Share your stories—I read every single comment, and your ideas might just inspire my next recipe.
Until next time, happy snacking, and may your fall be filled with cozy cones and warm memories.
Frequently Asked Questions
Can I make these cones ahead of time for a party?
You can prep all the ingredients up to 24 hours in advance, but I recommend assembling the cones no more than 2-3 hours before serving. The cones can get soggy if they sit too long, especially with fresh fruit or moist ingredients. If you need to assemble them the night before, skip the apple slices and add them just before serving.
What can I use instead of mini waffle cones?
Paper cones work great! You can find them at party supply stores or make your own by rolling cardstock into a cone shape and taping it. You can also use small paper cups or even ice cream cones that are slightly larger. Just adjust your filling amounts accordingly.
Are these cones safe for toddlers?
Yes, with a few modifications. For toddlers under 3, avoid hard pretzel sticks and large cheese cubes that could be a choking hazard. Use soft ingredients like shredded cheese, small crackers, and diced fruit. Always supervise young children while they’re eating, and make sure the cones are stable and won’t tip over.
Can I use fresh fruit in these cones?
You can, but be careful. Fresh fruit like grapes, berries, or melon balls release moisture that can make the cone soggy. If you want to include fresh fruit, pat it dry thoroughly with a paper towel and add it just before serving. Apple slices tossed in lemon juice and patted dry work best because they hold their shape and don’t release as much moisture.
How many cones does this recipe make?
Depending on the size of your cones and how generously you fill them, this recipe makes about 8 to 12 cones. If you’re using mini waffle cones (about 3-4 inches tall), you’ll get closer to 10-12. If you’re using larger cones, you’ll get fewer. I usually double the recipe for parties because these cones disappear fast!
Pin This Recipe!
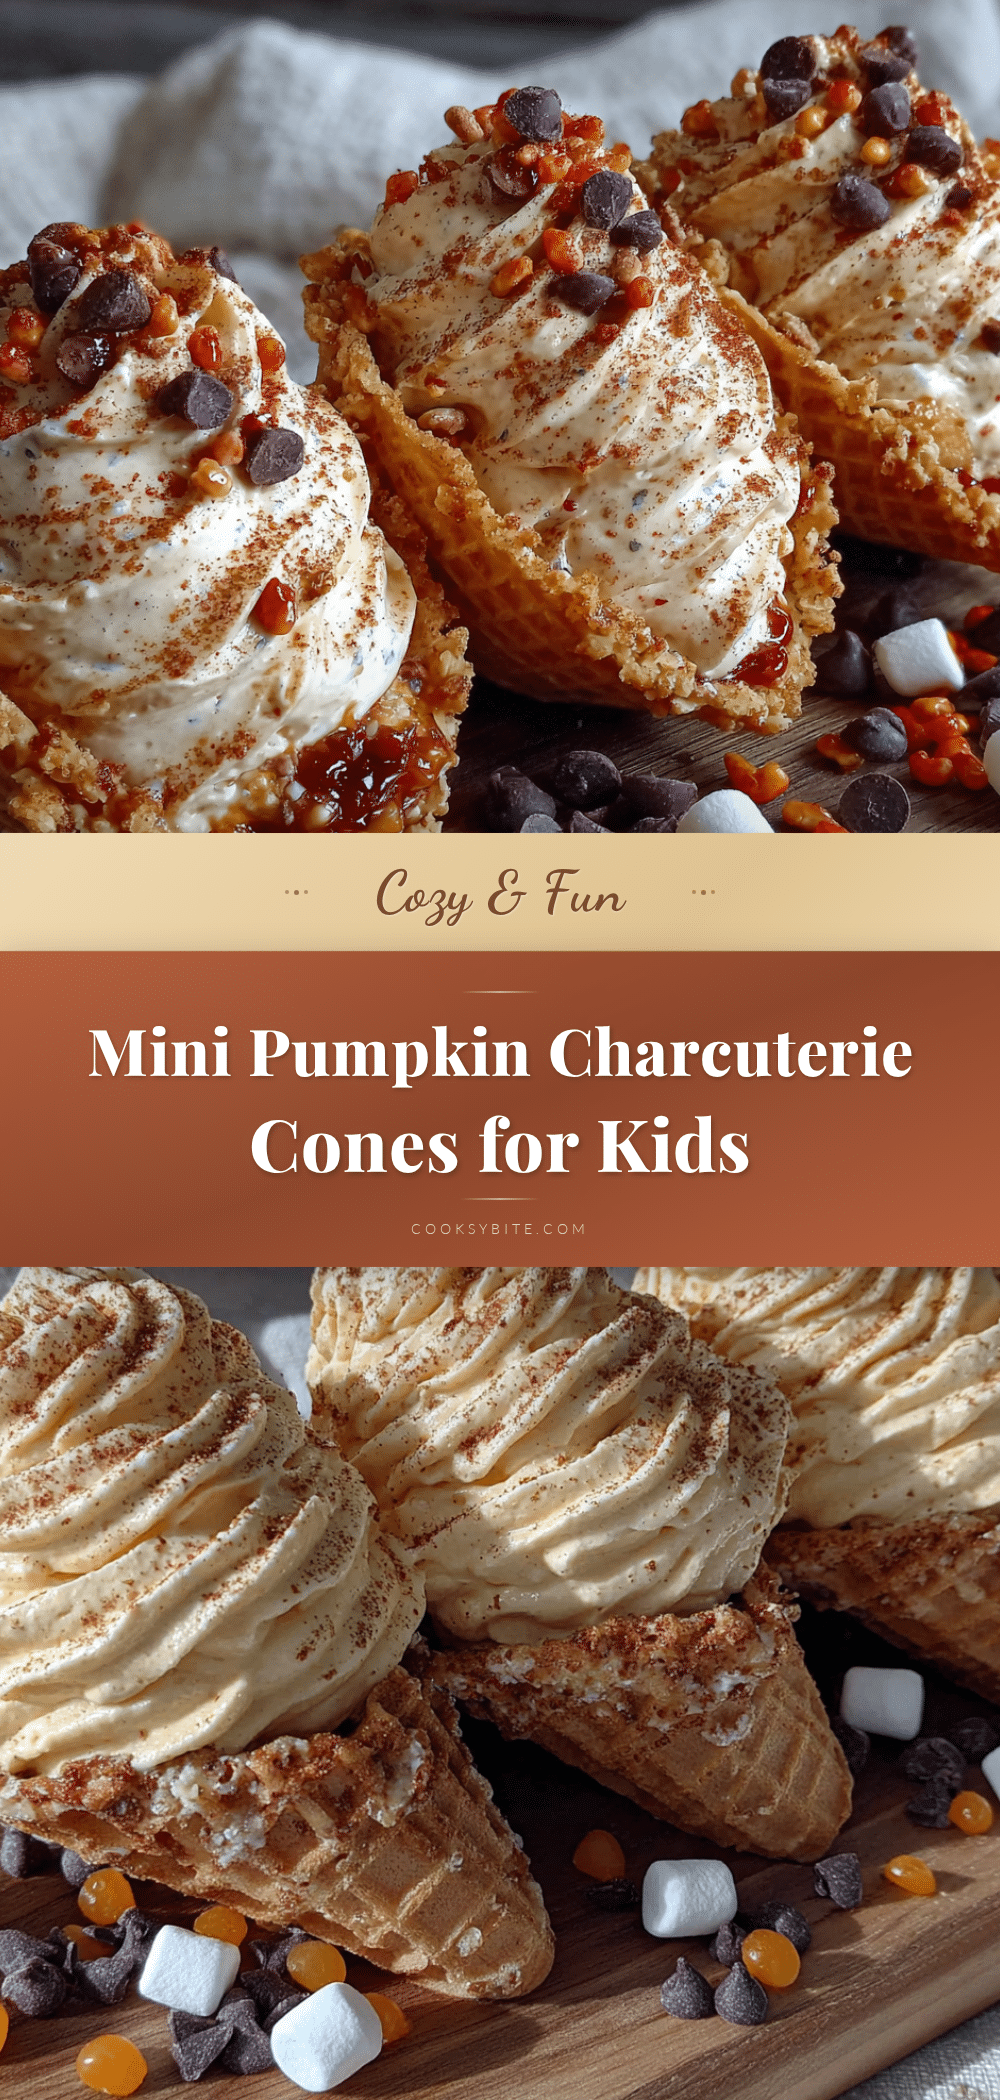
Easy Mini Pumpkin Charcuterie Cones for Kids

These Cozy Mini Pumpkin Charcuterie Cones for Kids are a quick, no-bake snack perfect for fall gatherings. Each cone is filled with pumpkin-shaped crackers, cheese cubes, pretzel sticks, dried cranberries, and mini marshmallows, creating a fun and portable treat that kids love.
- Prep Time: 15 minutes
- Cook Time: 0 minutes
- Total Time: 15 minutes
- Yield: 8-12 cones
- Category: Snack
- Cuisine: American
Ingredients
- Mini waffle cones or ice cream cones (about 3-4 inches tall)
- Pumpkin-shaped crackers (e.g., Pepperidge Farm Goldfish pumpkin crackers or Annie’s Harvest pumpkin bunnies)
- Mini pretzel sticks
- Cheese cubes (mild cheddar or colby jack, cut into ½-inch cubes)
- Dried cranberries or cherries
- Roasted pumpkin seeds (pepitas) (optional)
- Mini marshmallows
- Apple slices (thin, cut into small triangles, tossed in lemon juice)
- Orange frosting or cream cheese (for decoration, optional)
- Green candy melts or frosting (for decoration, optional)
- Edible googly eyes (for decoration, optional)
Instructions
- Prep your ingredients first: Cut cheese into small cubes (about ½ inch each). Slice apple into thin triangles and toss in lemon juice to prevent browning. Open bags of crackers, pretzels, dried cranberries, and mini marshmallows.
- Decorate your cones (optional): Pipe a pumpkin face on the front of each cone using orange frosting or cream cheese. Add a tiny green stem on top. Let frosting set for about 5 minutes before filling. If using edible googly eyes, press them into the frosting while still soft.
- Start with a base layer: Place cone upright in a small glass or muffin tin. Drop 3-4 pumpkin-shaped crackers into the bottom of the cone.
- Add the cheese cubes: Tuck 2-3 cheese cubes into the cone, nestling them between the crackers so they are visible from the top.
- Insert the pretzel sticks: Gently push 2-3 mini pretzel sticks into the cone, angling them slightly so they stick out at different heights. If using regular pretzel sticks, break them in half first.
- Add the sweet stuff: Sprinkle in a small handful of dried cranberries or cherries. Drop in 2-3 mini marshmallows. Add a few apple slices, tucking them in between other ingredients. If using pumpkin seeds, sprinkle a few on top. Fill cone about three-quarters full.
- Top it off: Add a final layer of pumpkin-shaped crackers on top, arranging them so they face outward. If room, tuck in one more marshmallow or cheese cube.
- Repeat until all cones are filled. This recipe makes about 8-12 cones.
- Serve immediately or store: Best eaten within a few hours of assembly. If making ahead, prepare ingredients separately and assemble just before serving.
Notes
Keep ingredients dry to prevent soggy cones. Use a mini muffin tin to stabilize cones while filling. For parties, set up a ‘build your own’ station. Cones are best eaten within 2-3 hours of assembly. Do not refrigerate assembled cones.
Nutrition
- Serving Size: 1 cone
- Calories: 120150
- Sugar: 68
- Sodium: 200300
- Fat: 57
- Saturated Fat: 23
- Carbohydrates: 1520
- Fiber: 12
- Protein: 46
Keywords: pumpkin charcuterie cones, kids snack, fall snack, Halloween snack, no-bake snack, mini cones, charcuterie for kids


