That first crackle of a meringue shell against my teeth—sharp, then dissolving into a sweet, airy nothing—still takes me straight to my grandmother’s kitchen, circa 1992. She was making these for a church bake sale, and I was convinced they were actual ghosts she’d somehow trapped in the oven. The way she piped them, with those little peaks and swirls, they looked like they might float right off the parchment paper. I remember standing on a step stool, watching her fold in the sugar with this look of intense concentration, like she was performing a magic trick. And honestly, she kind of was. You take egg whites, sugar, and a bit of cream of tartar, and you end up with something that feels impossible—light as a whisper, sweet as a secret.
These ghost meringue cookies are a Halloween tradition I look forward to every year, but they weren’t always perfect. My first few batches were flat, weepy, or just plain ugly. They looked more like sad, deflated balloons than spooky ghosts. It took a few tries (and a lot of tears over wasted chocolate chips) to figure out the right technique. But now? I’ve got it down to a science. The key is patience, a clean bowl, and a little bit of faith. You have to trust the process, even when you’re staring at a bowl of what looks like shaving cream. When you finally pipe those little ghosts onto a baking sheet, dot them with chocolate chip eyes, and watch them set in a low oven, it feels like a small, sweet victory.
This recipe is the one I always come back to because it delivers on every level. It’s a conversation starter, a crowd-pleaser, and honestly, the most fun you can have with a whisk and a piping bag. So, let’s make some ghosts. I promise, it’s easier than it looks.
Why You’ll Love This Recipe
- Quick & Easy: The active prep time is only about 20 minutes. The oven does most of the work, slowly drying the meringues to perfection. It’s perfect for a last-minute Halloween party treat.
- Simple Ingredients: You only need a handful of pantry staples—egg whites, sugar, cream of tartar, vanilla, and chocolate chips. No fancy grocery trips required.
- Perfect for Halloween: These are the star of any Halloween spread. They’re spooky, cute, and incredibly fun to make with kids. They’re also a great, lighter alternative to heavy, sugary candies.
- Crowd-Pleaser: Everyone loves a good meringue. They’re naturally gluten-free and fat-free, which makes them a hit with guests who have dietary restrictions. Plus, who can resist a cookie that looks like a ghost?
- Unbelievably Delicious: The texture is what gets you. That initial crunch gives way to a melt-in-your-mouth, marshmallow-like center. The tiny chocolate chips add just the right amount of rich, bitter contrast to the sweet meringue.
What makes these different from every other ghost cookie out there? It’s the technique. I’ve perfected the method for getting that perfect, glossy, stiff-peak meringue that holds its shape and doesn’t weep. No flat ghosts here. I’ve also learned the exact oven temperature and timing to get that crisp exterior with a soft, chewy center. This isn’t just another version—it’s the best version, tested and tweaked until it was just right.
Honestly, this recipe is the kind that makes you close your eyes after the first bite. It’s a little bit of Halloween magic, baked into a cookie.
What Ingredients You Will Need
This recipe uses simple, humble ingredients that work together to create something truly special. The magic is all in the technique, not in hard-to-find items. You likely have everything you need in your kitchen right now.
- For the Meringue:
- 4 large egg whites, at room temperature: This is crucial. Cold egg whites won’t whip up to the same volume. Separate your eggs while they’re cold, then let the whites sit on the counter for about 30 minutes. (This is a non-negotiable step for the fluffiest ghosts.)
- 1 cup (200g) granulated sugar: I prefer regular white sugar here. It dissolves cleanly and gives the meringue its signature structure. You can use superfine sugar, but it’s not necessary.
- 1/2 teaspoon cream of tartar: This is your secret weapon. It stabilizes the egg whites, helping them hold their shape and preventing them from deflating. It also gives the meringue a brilliant white color. (I always use McCormick brand.)
- 1 teaspoon pure vanilla extract: Adds a warm, comforting flavor. You can use imitation vanilla in a pinch, but pure extract makes a noticeable difference in taste.
- A pinch of salt: Just a tiny pinch to balance the sweetness and enhance the vanilla flavor.
- For the Eyes:
- 1/2 cup (90g) mini chocolate chips: Mini chips are the perfect size for ghost eyes. Regular-sized chips will look too big and might fall off. I love using Guittard or Enjoy Life brand for a smooth, rich flavor. (If you want a dairy-free option, use dairy-free mini chips.)
Ingredient Selection Tips:
- For the best results, use fresh eggs. Older egg whites are thinner and can be harder to whip to stiff peaks.
- If you live in a humid climate, you might need to bake the meringues a little longer. Humidity is the enemy of a crisp meringue.
- You can substitute the vanilla extract with other extracts like peppermint or almond for a different flavor profile. Just be careful—a little goes a long way.
Equipment Needed
You don’t need a professional pastry kitchen to make these ghosts, but a few key tools will make your life much easier.
- Stand mixer or hand mixer: A stand mixer with a whisk attachment is ideal, but a hand mixer works perfectly too. You’re going to be whisking for about 8-10 minutes, so your arm will thank you for the electric help.
- Large, clean glass or metal mixing bowl: Plastic bowls can retain a thin film of grease, which will prevent your egg whites from whipping up. Glass or metal is best. Make sure it’s spotless and dry.
- Piping bag with a large round tip: A piping bag gives you the most control. I use a Wilton #1A or #12 tip. If you don’t have a piping bag, you can use a zip-top bag with a corner snipped off. (It won’t be as precise, but it works in a pinch.)
- Baking sheets lined with parchment paper: Parchment paper is non-stick and makes cleanup a breeze. Do not use wax paper—the meringues will stick.
- Kitchen scale (optional but helpful): For the most consistent results, weighing your sugar is a good idea. It ensures you have the exact amount needed.
Budget-Friendly Tip: Instead of a fancy piping bag, you can use a sturdy gallon-sized zip-top bag. Just fill it with the meringue, seal the top, and snip off a 1/2-inch corner. It works like a charm!
Preparation Method
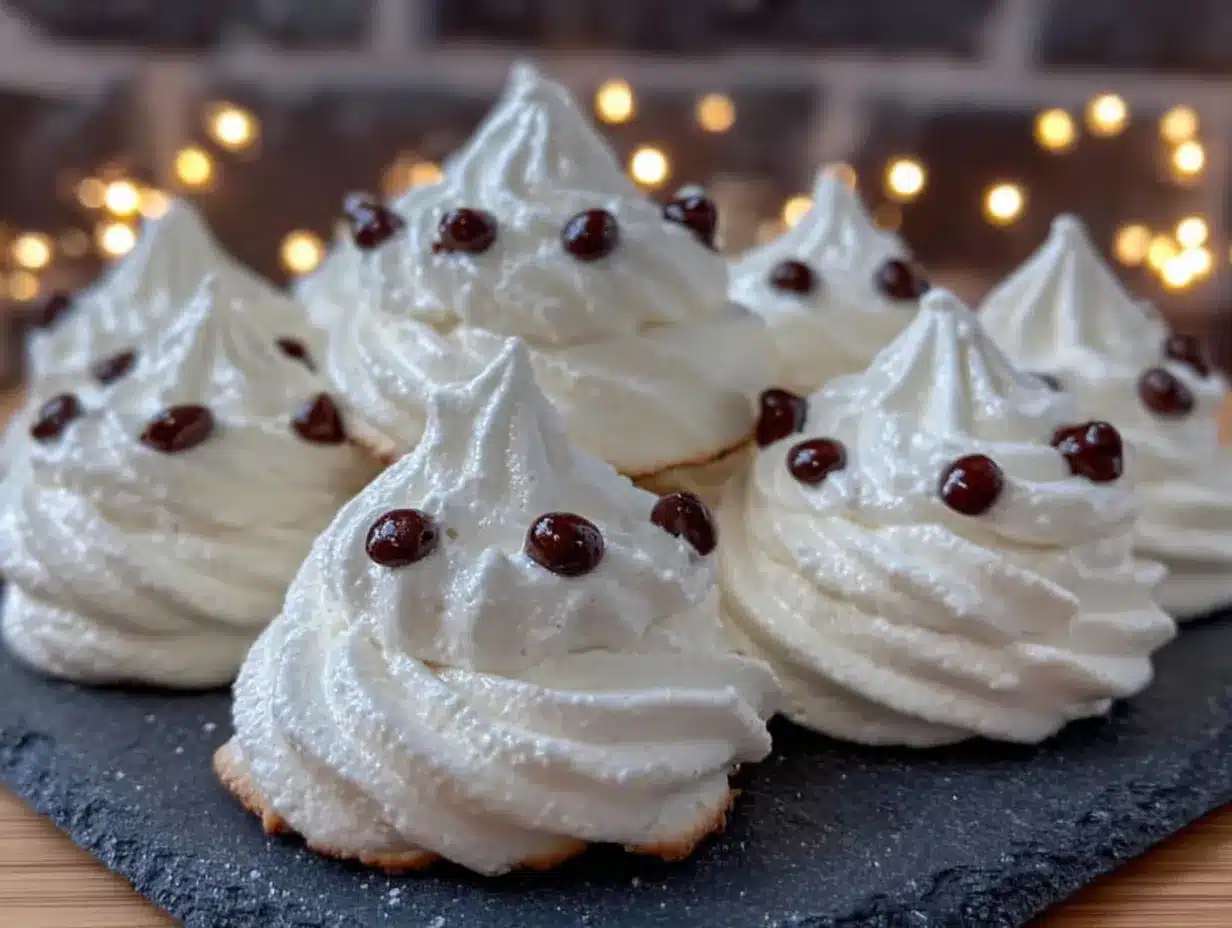
Okay, let’s get to the fun part. Follow these steps carefully, and you’ll have a sheet of perfect little ghosts.
- Preheat and Prep: Preheat your oven to 200°F (95°C). Line two large baking sheets with parchment paper. Set aside.
- Whip the Egg Whites: In your completely clean, dry mixing bowl, combine the room-temperature egg whites and cream of tartar. Start beating on medium speed with the whisk attachment. After about 1-2 minutes, the mixture will become frothy and bubbly, like a bubble bath.
- Slowly Add the Sugar: With the mixer still running on medium speed, start adding the granulated sugar, one tablespoon at a time. This is the most important step! Adding the sugar slowly allows it to dissolve completely into the egg whites. If you dump it all in at once, your meringue will be grainy and unstable. (I learned this the hard way—my first batch was a disaster.)
- Whip to Stiff Peaks: Once all the sugar is added, increase the speed to medium-high. Continue beating for another 5-7 minutes. You’re looking for stiff, glossy peaks. How do you know when it’s ready? Lift the whisk attachment out of the bowl. The meringue should stand up straight and hold its shape without drooping. It should be so thick and glossy that it looks like marshmallow fluff. Another test: rub a tiny bit of the meringue between your fingers. If it feels smooth and not gritty, the sugar has dissolved. If it feels grainy, keep whipping for another minute.
- Add Flavor: Add the vanilla extract and a tiny pinch of salt. Beat on low speed for just 10-15 seconds to combine. Don’t overmix at this stage, or you might deflate the meringue.
- Pipe the Ghosts: Transfer the meringue to your piping bag fitted with the large round tip. Hold the bag vertically, about 1/2 inch above the parchment paper. Squeeze out a blob of meringue, about 1.5 inches in diameter. As you reach the desired size, stop squeezing and pull the bag straight up to create a little peak on top. This is the ghost’s head! Leave at least 1 inch of space between each ghost.
- Add the Eyes: This is the part that makes them come alive. Gently press two mini chocolate chips into the meringue to form eyes. Push them in just enough so they stay put, but not so deep that they disappear into the ghost. (A little tip: place the chips as close to the top as possible to give them a cute, surprised expression.)
- Bake Low and Slow: Place the baking sheets in the preheated oven. Bake for 1 hour and 15 minutes to 1 hour and 30 minutes. The meringues are done when they are firm to the touch and can be easily lifted off the parchment paper. They should not be sticky or soft. The goal is to dry them out, not to brown them. They should remain a brilliant, ghostly white.
- Cool in the Oven: This is the secret to a perfect texture. Turn off the oven and leave the meringues inside to cool completely, with the door slightly ajar (you can prop it open with a wooden spoon). This takes about 1-2 hours. This slow cooling process prevents them from cracking and ensures they stay crisp.
Sensory Cue: When you tap the bottom of a cooled meringue, it should sound hollow. That’s how you know it’s perfectly baked.
Cooking Tips & Techniques
I’ve made a lot of mistakes in the kitchen, and meringues have been a humbling teacher. Here are the lessons I’ve learned so you don’t have to make them yourself.
- The Bowl Must Be Immaculate: Any trace of fat—whether it’s a speck of egg yolk, a bit of butter, or even a greasy fingerprint—will ruin your meringue. The egg whites won’t be able to hold air, and you’ll end up with a flat, soupy mess. Before you start, wipe your bowl and whisk attachment with a little white vinegar on a paper towel to remove any lingering grease. (Trust me on this one.)
- Don’t Over-Bake: The goal is to dry the meringues, not cook them. If your oven runs hot, they might start to brown or crack. If you see them getting even a hint of color, your oven is too hot. Lower the temperature by 10-15 degrees next time.
- Humidity is the Enemy: Meringues are hygroscopic, meaning they absorb moisture from the air. Don’t make these on a rainy or humid day. They will turn sticky and soft. Save them for a crisp, dry day for the best results.
- Timing is Everything: The total time from start to finish is about 3 hours, but most of that is inactive oven time. You can prep the meringues, pop them in the oven, and then go about your day while they dry out. It’s a great recipe for multitasking.
Variations & Adaptations
Once you’ve mastered the basic ghost, you can get creative! Here are a few ways to make these cookies your own.
- Spooky Swirls: Before piping, stir in a drop of black or orange food coloring to create a marbled effect. Don’t mix it in completely—just a few swirls for a tie-dye look.
- Flavor Twists: Swap the vanilla extract for peppermint extract for a wintery ghost, or use almond extract for a nutty, marzipan-like flavor. You can also add a pinch of cinnamon or pumpkin pie spice for a fall-inspired version.
- Dietary Adaptations: This recipe is naturally gluten-free and fat-free. To make it dairy-free, simply use dairy-free mini chocolate chips. For a lower-sugar version, you can try using a sugar substitute like Swerve, but the texture will be slightly different.
- Different Shapes: You can pipe the meringue into other Halloween shapes like pumpkins, bats, or even simple swirls. Just be sure to adjust the baking time for smaller or larger shapes.
- Personal Variation: My favorite twist is to add a tiny pinch of freeze-dried raspberry powder to the meringue before piping. It gives the ghosts a subtle pink blush and a tangy, fruity flavor that pairs beautifully with the chocolate eyes.
Serving & Storage Suggestions
These ghosts are best served at room temperature. They’re a fantastic addition to a Halloween party platter, a school bake sale, or a spooky movie night.
- Serving: Arrange them on a platter with other Halloween treats like these cherry chocolate brownies or a bowl of candy corn. They also look adorable perched on top of a pink velvet bundt cake for a truly show-stopping dessert table.
- Storage: Store the cooled meringues in an airtight container at room temperature. They will keep for up to 2 weeks. Do not refrigerate them, as the moisture will make them sticky.
- Freezing: You can freeze baked meringues for up to 3 months. Place them in a single layer in a freezer-safe container, with parchment paper between layers. Thaw at room temperature for about 30 minutes before serving. The texture will remain perfect.
- Flavor Development: The flavor actually improves slightly after a day or two as the vanilla and chocolate meld together. They’re still delicious fresh, but they’re even better the next day.
Nutritional Information & Benefits
Per serving (1 ghost cookie): Approximately 35 calories, 0g fat, 8g carbohydrates, 1g protein. (Values are estimates and will vary based on exact ingredients used.)
Health Benefits:
- These cookies are naturally fat-free and low-calorie, making them a guilt-free Halloween treat.
- They are gluten-free and contain no dairy (if you use dairy-free chocolate chips).
- Egg whites are a good source of high-quality protein.
- Potential Allergens: Contains eggs. May contain dairy depending on the chocolate chips used.
Honestly, it’s nice to have a Halloween dessert that doesn’t leave you feeling heavy and sluggish. These ghosts are pure, airy sweetness—a little bit of magic without the sugar crash.
Conclusion
These ghost meringue cookies aren’t just a recipe; they’re an experience. They’re the kind of treat that makes you smile when you see them, and sigh with pleasure when you eat them. They’re proof that you don’t need complicated ingredients or fancy equipment to create something truly special. Just a little patience, a clean bowl, and a willingness to have fun.
I love this recipe because it brings people together. I’ve made them with my niece, with friends, and even by myself on a quiet Sunday afternoon. Every time, they turn out just a little bit different, but they’re always perfect in their own way. They’re a reminder that the best things in life are often the simplest.
So go ahead, preheat your oven, and whip up a batch of these adorable ghosts. And when you do, I want to hear about it! Leave a comment below and tell me how they turned out. Did you try a fun variation? Share your photos and tag me on social media. Happy Halloween, and happy baking!
Frequently Asked Questions
Can I use a hand mixer instead of a stand mixer?
Absolutely! A hand mixer works perfectly for this recipe. It might take a minute or two longer to reach stiff peaks, but the results will be the same. Just make sure your bowl is deep enough to prevent splashing.
Why did my meringue turn out flat and runny?
This usually happens for one of two reasons: either there was a trace of fat (like egg yolk) in your bowl, or the egg whites were not whipped to stiff enough peaks. Make sure your bowl and whisk are spotless, and don’t stop whipping until the meringue holds its shape firmly.
Can I make these without a piping bag?
Yes! You can use a sturdy zip-top bag with a corner snipped off. If you don’t have a bag at all, you can use two spoons to drop dollops of meringue onto the baking sheet. They won’t be as perfectly shaped, but they’ll still be delicious and ghost-like.
How do I know when the meringues are done baking?
The meringues are done when they are firm to the touch and can be easily lifted off the parchment paper. They should feel dry and crisp, not sticky or soft. The best test is to let one cool for a minute and then tap it—it should sound hollow.
Can I add other mix-ins besides chocolate chips?
You can get creative! Chopped nuts, sprinkles, or a dusting of cocoa powder are all great options. Just make sure any mix-ins are small and dry, as moisture can cause the meringue to deflate. For a different look, try a drizzle of melted white chocolate after baking.
Pin This Recipe!
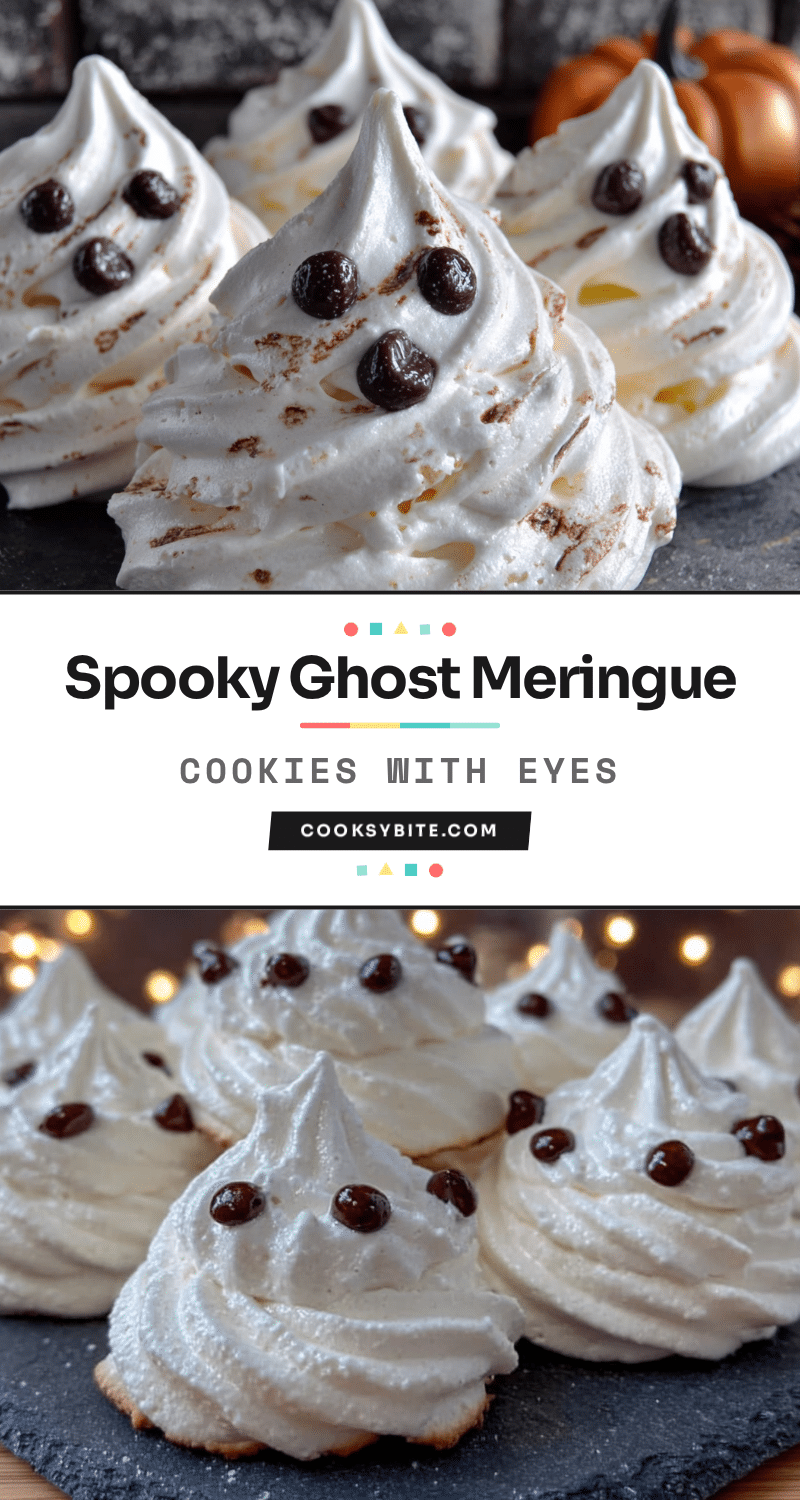
Ghost Meringue Cookies Easy Halloween Recipe
These ghost meringue cookies are a Halloween tradition that delivers a crisp exterior with a soft, chewy center. Made with simple ingredients, they are naturally gluten-free and fat-free, perfect for a spooky treat.
- Prep Time: 20 minutes
- Cook Time: 1 hour 15 minutes
- Total Time: 3 hours
- Yield: 24 servings 1x
- Category: Dessert
- Cuisine: American
Ingredients
- 4 large egg whites, at room temperature
- 1 cup (200g) granulated sugar
- 1/2 teaspoon cream of tartar
- 1 teaspoon pure vanilla extract
- A pinch of salt
- 1/2 cup (90g) mini chocolate chips
Instructions
- Preheat your oven to 200°F (95°C). Line two large baking sheets with parchment paper.
- In a completely clean, dry mixing bowl, combine the room-temperature egg whites and cream of tartar. Beat on medium speed until frothy and bubbly, about 1-2 minutes.
- With the mixer still running on medium speed, add the granulated sugar one tablespoon at a time, allowing it to dissolve completely.
- Increase speed to medium-high and beat for 5-7 minutes until stiff, glossy peaks form. The meringue should stand up straight and feel smooth between your fingers.
- Add the vanilla extract and a pinch of salt. Beat on low speed for 10-15 seconds to combine.
- Transfer the meringue to a piping bag fitted with a large round tip. Pipe 1.5-inch diameter blobs onto the prepared baking sheets, pulling straight up to create a peak on top. Leave 1 inch of space between each ghost.
- Gently press two mini chocolate chips into each meringue to form eyes, placing them near the top.
- Bake for 1 hour 15 minutes to 1 hour 30 minutes, until firm to the touch and easily lifted off the parchment.
- Turn off the oven and leave the meringues inside to cool completely with the door slightly ajar, about 1-2 hours.
Notes
Ensure bowl and whisk are completely clean and free of grease. Do not make on humid days. For dairy-free, use dairy-free mini chocolate chips. Meringues can be stored in an airtight container at room temperature for up to 2 weeks or frozen for up to 3 months.
Nutrition
- Serving Size: 1 ghost cookie
- Calories: 35
- Sugar: 8
- Sodium: 10
- Carbohydrates: 8
- Protein: 1
Keywords: ghost meringue cookies, Halloween cookies, meringue cookies, gluten-free cookies, fat-free cookies, easy Halloween recipe


