I was standing in the canned goods aisle last October, staring at a wall of pumpkin puree, when a memory hit me so hard I almost dropped my shopping basket. It was the smell — that specific, warm combination of cinnamon and nutmeg that somehow always finds its way into autumn air. And suddenly I was seven years old, standing on a step stool in my Aunt Lena’s tiny kitchen, watching her roll cookie dough into perfect little balls. She had this way of humming while she baked, off-key and completely unbothered by it. I remember the flour on her apron and the way she’d let me lick the spatula clean, even though my mom would’ve said no.
Aunt Lena passed away a few years back, and I never did get her exact snickerdoodle recipe. But I spent a good chunk of last fall trying to recreate that feeling — that soft, pillowy cookie with just the right amount of cinnamon sugar crackle on top. Honestly, the first few batches were disasters. Too flat, too dry, too dense. My kids ate them anyway, because that’s what kids do when cookies are involved, but I knew they weren’t right. Then it hit me one rainy Tuesday afternoon — pumpkin. Not just for pies and lattes, but for keeping cookies impossibly soft and tender. The moisture from the pumpkin puree changes everything. Maybe you’ve been there, chasing a taste from your childhood that you can almost remember but not quite hold onto. This is that cookie for me.
Why You’ll Love This Recipe
Let me tell you why these soft pumpkin snickerdoodle cookies have become the most-requested treat in my house. I’ve tested this recipe at least a dozen times, tweaking the flour ratio, playing with the spice blend, and even bribing my neighbor (who’s a pastry chef) to taste-test a batch. The result is a cookie that genuinely delivers on every promise.
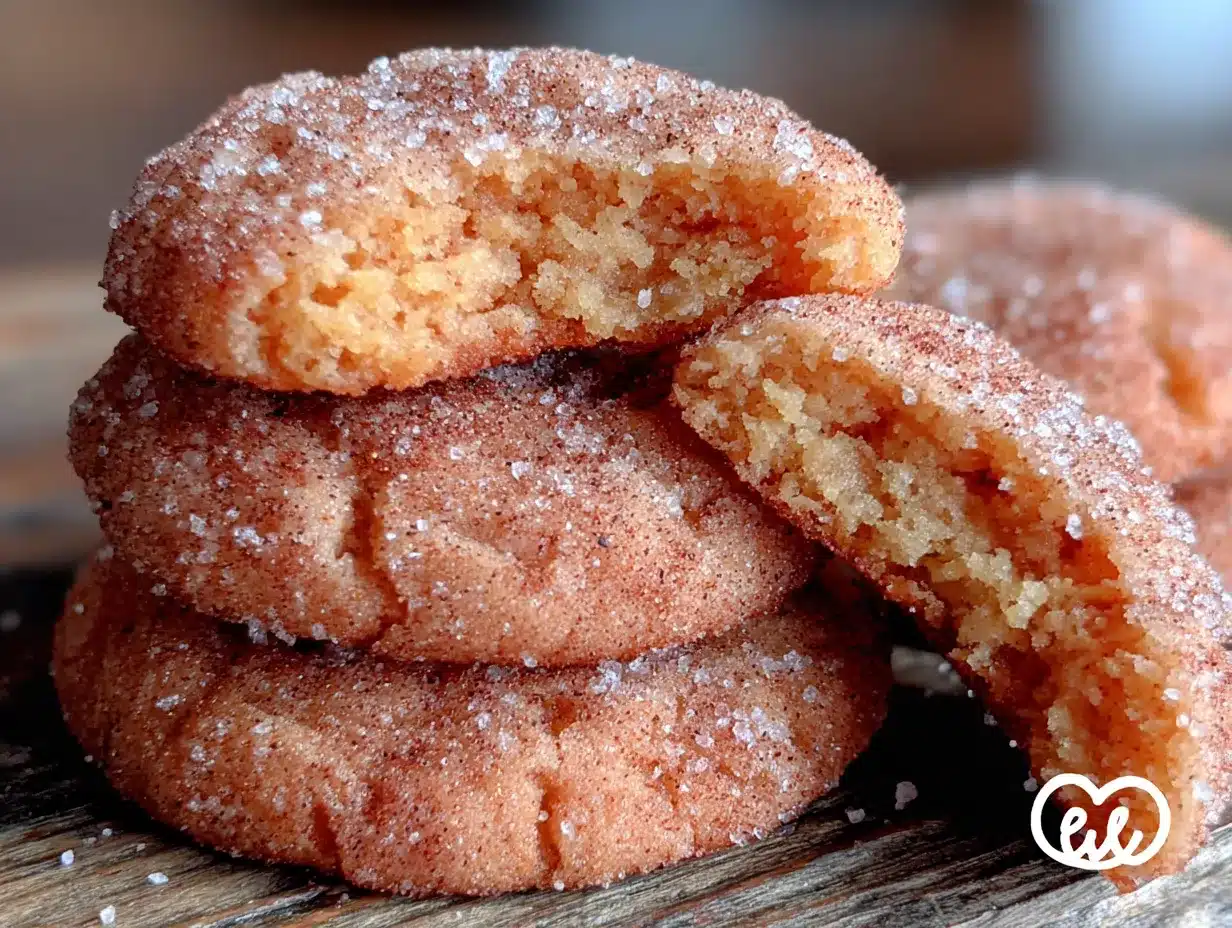
- Incredibly Soft & Chewy: The pumpkin puree keeps these cookies tender for days. No dry, crumbly cookies here — just that perfect, melt-in-your-mouth texture that makes you close your eyes after the first bite.
- Simple Pantry Ingredients: You probably already have everything you need. Canned pumpkin, butter, sugar, flour, and a few spices. No fancy grocery trips required.
- Kid-Approved & Mom-Approved: My kids devour these faster than I can bake them. And I love that they’re getting a tiny bit of vegetable (yes, pumpkin counts!) in their dessert.
- Perfect for Fall Baking: Whether it’s a school bake sale, a Thanksgiving dessert table, or just a cozy Saturday afternoon, these cookies fit right in.
- Freezes Beautifully: Bake a double batch and stash some in the freezer. They thaw perfectly and taste just-baked when reheated for 10 seconds in the microwave.
What makes this recipe different from every other pumpkin cookie out there? It’s the technique. Instead of just dumping everything in one bowl, we cream the butter and sugar properly to create air pockets that keep the cookies light. The pumpkin adds moisture without making them cakey — that’s the sweet spot. And the cinnamon-sugar coating? It creates that signature crackled top that snickerdoodles are famous for, but with a soft, almost pillowy interior that’s pure comfort. This isn’t just another pumpkin cookie recipe. It’s the one you’ll come back to year after year.
What Ingredients You Will Need
This recipe uses simple, honest ingredients that work together to create something truly special. Most of these are pantry staples, which makes this an easy last-minute baking project when the kids are begging for something sweet.
For the Cookie Dough
- 1/2 cup (113g) unsalted butter, softened — I prefer using unsalted so I can control the salt level. Let it sit out for about 30 minutes before you start.
- 3/4 cup (150g) granulated sugar — Regular white sugar works perfectly here. It helps create that slight crispness on the outside while keeping the inside soft.
- 1/4 cup (50g) packed light brown sugar — Adds a touch of molasses flavor and extra moisture. Don’t skip it!
- 1/2 cup (120g) pumpkin puree — Make sure you’re using 100% pumpkin puree, not pumpkin pie filling. The pie filling has added sugar and spices that will throw off the balance. I like Libby’s brand for consistent results.
- 1 large egg, room temperature — A room-temperature egg incorporates more evenly into the butter mixture. If you forgot to take it out of the fridge, place it in a bowl of warm water for 5 minutes.
- 1 teaspoon vanilla extract — Pure vanilla extract makes a difference, but imitation works fine in a pinch.
- 2 cups (250g) all-purpose flour — Spoon and level your flour for accuracy. Scooping directly from the bag packs in too much flour and makes cookies dry.
- 1 teaspoon baking soda — Helps the cookies spread just enough without becoming flat.
- 1/2 teaspoon baking powder — Adds a little extra lift for that soft, puffy texture.
- 1/2 teaspoon salt — Balances the sweetness and enhances the spices.
- 1 1/2 teaspoons ground cinnamon — The star spice in any snickerdoodle.
- 1/2 teaspoon ground nutmeg — Freshly grated nutmeg is amazing if you have it, but pre-ground works great.
- 1/4 teaspoon ground ginger — Adds a subtle warmth that pairs beautifully with the pumpkin.
- 1/4 teaspoon ground cloves — Just a pinch for depth. Don’t overdo it — cloves can be overpowering.
For the Cinnamon-Sugar Coating
- 1/4 cup (50g) granulated sugar
- 1 1/2 teaspoons ground cinnamon
Ingredient Tip: If you’re out of pumpkin puree, you can substitute with sweet potato puree in a pinch. The flavor will be slightly different, but the texture will still be soft and delicious. For a dairy-free version, use vegan butter that’s designed for baking — just make sure it’s softened properly.
Equipment Needed
You don’t need a fancy kitchen to make these cookies. Here’s what you’ll need:
- Large mixing bowl — Any medium-to-large bowl will do. I use a ceramic one that belonged to my grandmother, but glass or metal works just as well.
- Electric hand mixer or stand mixer — A hand mixer is perfectly fine. If you’re mixing by hand, expect a good arm workout — the dough gets thick.
- Rubber spatula — Essential for scraping down the sides of the bowl and folding in the flour.
- Measuring cups and spoons — For accuracy. I recommend a set of dry measuring cups for the flour and sugar.
- Cookie scoop (1.5 tablespoon size) — This ensures uniform cookies that bake evenly. If you don’t have one, use a tablespoon and shape the dough into balls by hand.
- Baking sheets — I recommend light-colored baking sheets for even browning. Dark sheets can cause the bottoms to burn.
- Parchment paper or silicone baking mat — Prevents sticking and makes cleanup a breeze. I prefer parchment paper because it’s disposable.
- Cooling rack — Allows air to circulate around the cookies so they cool evenly without getting soggy on the bottom.
Budget-Friendly Tip: You can skip the cookie scoop and just use your hands. It takes a little longer, but the cookies will taste just as good. And if you don’t have parchment paper, lightly greasing the baking sheet works too — just watch the bottoms so they don’t over-brown.
Preparation Method
Let’s get baking! Follow these steps carefully, and you’ll have soft, perfect pumpkin snickerdoodle cookies in no time.
Step 1: Preheat and Prepare
Preheat your oven to 350°F (175°C). Line two baking sheets with parchment paper or silicone mats. This ensures the cookies won’t stick and helps them bake evenly.
Step 2: Cream the Butter and Sugars
In a large mixing bowl, beat the softened butter, granulated sugar, and brown sugar together until light and fluffy. This takes about 2-3 minutes with an electric mixer on medium speed. You want the mixture to look pale and airy. Scrape down the sides of the bowl with your spatula halfway through. Don’t rush this step — proper creaming creates air pockets that make the cookies tender.
Step 3: Add Wet Ingredients
Add the pumpkin puree, room-temperature egg, and vanilla extract to the butter mixture. Beat on medium speed until everything is well combined. The mixture might look slightly curdled at this point — that’s totally normal. The pumpkin adds a lot of moisture, so don’t worry if it looks a little different from regular cookie dough.
Step 4: Combine Dry Ingredients
In a separate bowl, whisk together the all-purpose flour, baking soda, baking powder, salt, cinnamon, nutmeg, ginger, and cloves. Whisking ensures the leavening agents and spices are evenly distributed throughout the flour.
Step 5: Mix Wet and Dry Ingredients
Gradually add the dry ingredients to the wet mixture, mixing on low speed. Add about one-third of the flour mixture at a time, mixing just until combined after each addition. Be careful not to overmix — once you can’t see any more streaks of flour, stop. Overmixing develops gluten and makes cookies tough. Use your spatula to fold in any remaining flour from the bottom of the bowl.
Step 6: Chill the Dough (Important!)
Cover the bowl with plastic wrap and refrigerate the dough for at least 30 minutes. This step is non-negotiable. Chilling the dough prevents the cookies from spreading too much in the oven and allows the flavors to meld together. If you skip this, your cookies will turn into flat, sad puddles. Trust me, I learned this the hard way.
Step 7: Prepare the Cinnamon-Sugar Coating
In a small bowl, stir together the 1/4 cup granulated sugar and 1 1/2 teaspoons cinnamon until well combined.
Step 8: Shape and Coat the Cookies
Remove the chilled dough from the refrigerator. Using a cookie scoop or your hands, portion out 1.5 tablespoon-sized balls of dough. Roll each ball between your palms until smooth, then roll it in the cinnamon-sugar mixture until fully coated. Place the coated dough balls on the prepared baking sheets, spacing them about 2 inches apart. These cookies spread a little, so give them room.
Step 9: Bake
Bake for 10-12 minutes, or until the edges are set and the tops look slightly cracked. The centers will still look soft and slightly underdone — that’s exactly what you want. They’ll continue to set as they cool. For softer cookies, bake for 10 minutes. For slightly firmer cookies, go for 12 minutes.
Step 10: Cool
Let the cookies cool on the baking sheet for 5 minutes. This allows them to firm up enough to transfer without breaking. Then, carefully move them to a wire cooling rack to cool completely. The smell in your kitchen right now is absolutely heavenly.
Cooking Tips & Techniques
I’ve made these cookies more times than I can count, and I’ve made every mistake in the book. Here are the lessons I learned so you don’t have to repeat them.
Don’t Skip the Chill Time. I know, I know — you’re hungry and impatient. But the first time I made these, I was in a hurry and baked the dough immediately. The cookies spread into flat, greasy discs that looked nothing like the soft, puffy cookies I was aiming for. The chill time solidifies the butter and gives the flour time to hydrate. Thirty minutes makes all the difference.
Measure Your Flour Correctly. This is the most common baking mistake. If you scoop your measuring cup directly into the flour bag, you’ll end up with way more flour than the recipe calls for. Instead, use a spoon to fluff the flour, then spoon it into your measuring cup and level it off with a knife. Your cookies will thank you.
Use Room Temperature Ingredients. Cold butter doesn’t cream properly, and cold egg can seize up the mixture. Take the butter and egg out of the fridge about 30 minutes before you start. If you’re short on time, cut the butter into small cubes — they’ll soften faster.
Watch the Baking Time. Every oven runs a little differently. My oven runs hot, so I start checking at 9 minutes. The cookies are done when the edges are set and the centers look slightly underdone. If you wait until the centers look fully baked, they’ll be overdone and dry once they cool.
Use a Cookie Scoop for Uniform Size. Cookies that are all the same size bake evenly. If some are bigger than others, the small ones will burn while the big ones are still raw. A cookie scoop is a cheap investment that pays off in consistent results.
Let Them Cool on the Baking Sheet. I know it’s tempting to move them immediately, but they’re fragile when they come out of the oven. Those 5 minutes on the hot sheet allow them to set properly. Moving them too early can cause them to break or crumble.
Variations & Adaptations
One of the best things about this recipe is how adaptable it is. Here are some variations I’ve tried and loved.
Gluten-Free Version: Substitute the all-purpose flour with a 1:1 gluten-free baking flour blend that contains xanthan gum. I’ve had great results with King Arthur Measure for Measure. The texture will be slightly more delicate, but the flavor is still spot on.
Dairy-Free Version: Use vegan butter that’s specifically formulated for baking. My go-to is Earth Balance buttery sticks. Make sure it’s softened to room temperature before creaming.
Extra Spiced Version: If you love warm fall flavors, add an extra 1/2 teaspoon of cinnamon and a pinch of cardamom to the dry ingredients. The cardamom adds a floral, slightly citrusy note that pairs beautifully with the pumpkin.
Chocolate Chip Pumpkin Snickerdoodles: Fold in 1/2 cup of semi-sweet chocolate chips after mixing the dough. The chocolate adds a rich contrast to the spiced cookie. My kids go absolutely crazy for this version.
Pumpkin Cream Cheese Filling: For a truly decadent treat, sandwich two cookies together with a cream cheese frosting. Beat 4 ounces of softened cream cheese with 2 tablespoons of butter, 1 cup of powdered sugar, and 1/2 teaspoon of vanilla extract. It’s like a pumpkin snickerdoodle whoopie pie!
Lower Sugar Option: Reduce the granulated sugar to 1/2 cup and the brown sugar to 2 tablespoons. The cookies will be less sweet but still delicious. You can also use a sugar substitute like monk fruit sweetener, though the texture may be slightly different.
Serving & Storage Suggestions
These soft pumpkin snickerdoodle cookies are wonderful served warm, when the cinnamon-sugar coating is still slightly melty and the centers are ultra-soft. But they’re also fantastic at room temperature — the texture stays tender for days.
Serving Ideas: Serve them alongside a glass of cold milk for the kids, or with a hot cup of spiced chai or coffee for the adults. They’re also perfect on a Thanksgiving dessert table, paired with pumpkin pie and apple crisp. For a fun presentation, arrange them on a wooden board with apple slices and a side of caramel dip.
Storage Instructions: Store leftover cookies in an airtight container at room temperature for up to 5 days. To keep them extra soft, add a slice of bread to the container — the cookies will absorb the moisture from the bread and stay tender. Replace the bread slice every couple of days.
Freezer Instructions: These cookies freeze beautifully. Place the baked and cooled cookies in a single layer on a baking sheet and freeze for 1 hour, then transfer them to a freezer-safe bag or container. They’ll keep for up to 3 months. To thaw, leave them at room temperature for about 30 minutes, or microwave for 10-15 seconds for that just-baked warmth.
Freezing the Dough: You can also freeze the unbaked dough balls. Roll them into balls, coat them in cinnamon sugar, and place them on a baking sheet in the freezer for 1 hour. Transfer the frozen dough balls to a freezer bag. When you’re ready to bake, add 2-3 minutes to the baking time — no need to thaw first.
Flavor Development: Honestly, these cookies taste even better the next day. The spices have time to meld together, and the texture becomes even softer. If you can resist eating them all on day one, you’re in for a real treat on day two.
Nutritional Information & Benefits
Here’s the estimated nutritional information for one cookie (based on a batch of 24 cookies):
- Calories: 135
- Total Fat: 5g
- Saturated Fat: 3g
- Cholesterol: 20mg
- Sodium: 95mg
- Total Carbohydrates: 21g
- Dietary Fiber: 1g
- Sugars: 12g
- Protein: 2g
Health Benefits: While these are definitely a treat, the pumpkin puree does add some nutritional value. Pumpkin is rich in vitamin A, which supports eye health and immune function. It also provides fiber, which helps with digestion. The cinnamon has antioxidant properties and can help regulate blood sugar levels. So yes, you can feel a tiny bit virtuous while enjoying one of these cookies!
Dietary Considerations: This recipe contains dairy (butter) and gluten (all-purpose flour). As mentioned in the variations section, both can be substituted for dietary restrictions. The cookies are nut-free as written, making them a great option for school bake sales where nut allergies are a concern.
Allergen Note: Always check your ingredient labels if you’re baking for someone with allergies. Some brands of vanilla extract contain corn syrup, and some baking powders contain cornstarch.
Conclusion
These soft pumpkin snickerdoodle cookies have become a staple in my kitchen for good reason. They’re everything I remember from Aunt Lena’s kitchen — that warm, spiced aroma, that soft, tender bite, and that feeling of pure comfort that only a really good cookie can bring. But they’re also something entirely my own, made with the ingredients and techniques I’ve learned over years of trial and error in my own kitchen.
I hope you give these cookies a try, whether you’re chasing a childhood memory like I was or just looking for a new fall baking project. Don’t be afraid to customize them — add chocolate chips, double the cinnamon, or make them gluten-free. The best recipes are the ones that adapt to your family’s tastes. And honestly, the mess you’ll make in the kitchen is totally worth it when you see those little faces light up with the first bite.
If you make these cookies, I’d love to hear about it! Leave a comment below and let me know how they turned out. Did your kids love them? Did you try a fun variation? Share your photos on Pinterest and tag me — I’m always looking for baking inspiration from this amazing community. Happy baking, friends!
Frequently Asked Questions
Can I use homemade pumpkin puree instead of canned?
Absolutely! Just make sure you strain the homemade puree through a cheesecloth or fine-mesh strainer to remove excess water. Homemade pumpkin can be more watery than canned, and too much moisture will make your cookies spread too much. Let it drain for about 30 minutes before using.
Why did my cookies turn out flat?
Flat cookies usually happen for one of three reasons: the butter was too soft or melted, the dough wasn’t chilled long enough, or too much sugar was used. Make sure your butter is softened but not melted, and don’t skip the 30-minute chill time. Also, double-check your measurements — too much sugar can cause excessive spreading.
Can I make the dough ahead of time?
Yes! The dough can be refrigerated for up to 3 days before baking. Just keep it covered tightly with plastic wrap. You can also freeze the dough balls as mentioned in the storage section. Having ready-to-bake dough in the freezer is a lifesaver for unexpected guests or last-minute cravings.
How do I know when the cookies are done baking?
Look for set edges and slightly cracked tops. The centers should still look soft and slightly underdone — they’ll continue to bake from the residual heat of the baking sheet as they cool. If the centers look fully set and firm, you’ve overbaked them. When in doubt, err on the side of underbaking for the softest cookies.
Can I reduce the sugar in this recipe?
You can reduce the granulated sugar to 1/2 cup and the brown sugar to 2 tablespoons without major texture issues. Keep in mind that sugar isn’t just for sweetness — it also contributes to the cookies’ texture and spread. Reducing too much sugar can result in denser, less tender cookies. If you’re looking for a lower-sugar option, try using a sugar substitute like monk fruit sweetener, but expect a slightly different texture.
Pin This Recipe!
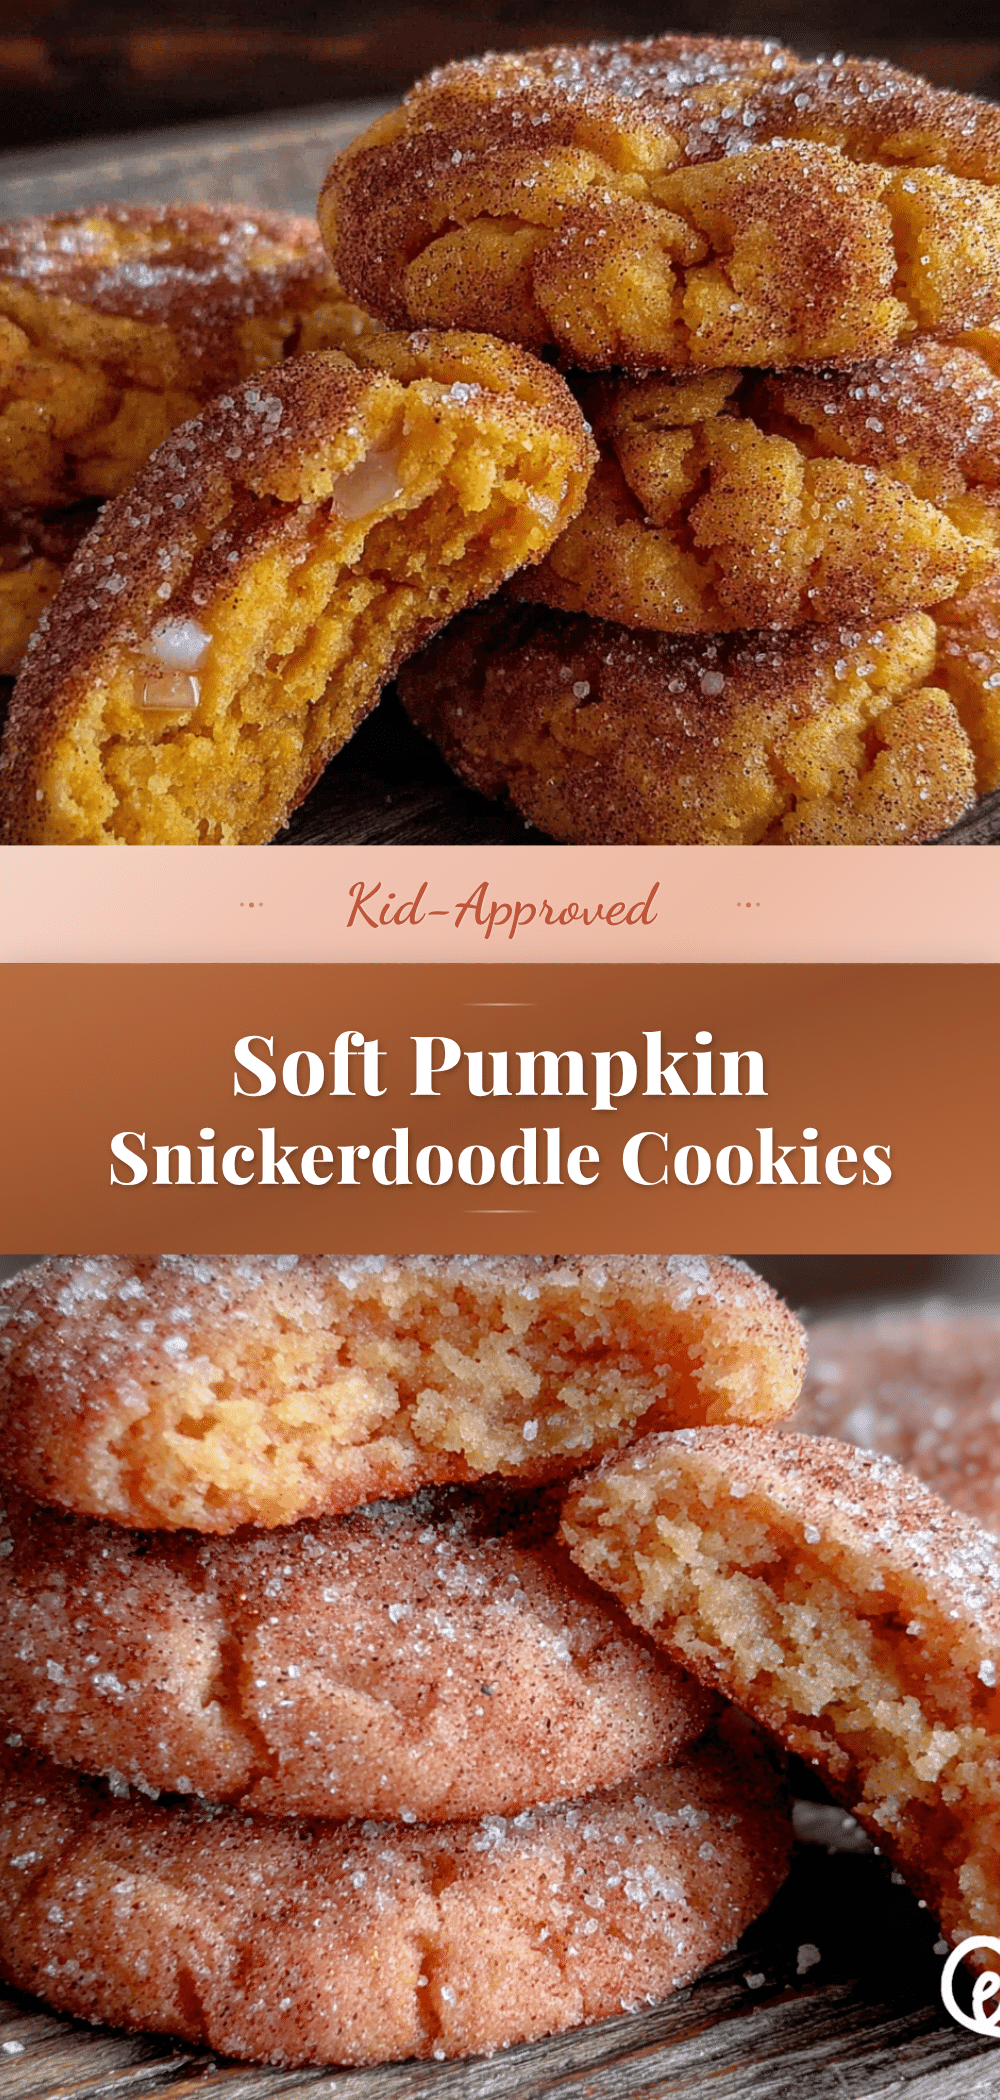
Soft Pumpkin Snickerdoodle Cookies: Easy Kid-Approved Recipe
These soft pumpkin snickerdoodle cookies are incredibly tender with a perfect cinnamon-sugar crackle on top. Made with simple pantry ingredients, they’re kid-approved and perfect for fall baking.
- Prep Time: 15 minutes
- Cook Time: 12 minutes
- Total Time: 57 minutes
- Yield: 24 servings 1x
- Category: Dessert
- Cuisine: American
Ingredients
- 1/2 cup (113g) unsalted butter, softened
- 3/4 cup (150g) granulated sugar
- 1/4 cup (50g) packed light brown sugar
- 1/2 cup (120g) pumpkin puree
- 1 large egg, room temperature
- 1 teaspoon vanilla extract
- 2 cups (250g) all-purpose flour
- 1 teaspoon baking soda
- 1/2 teaspoon baking powder
- 1/2 teaspoon salt
- 1 1/2 teaspoons ground cinnamon
- 1/2 teaspoon ground nutmeg
- 1/4 teaspoon ground ginger
- 1/4 teaspoon ground cloves
- 1/4 cup (50g) granulated sugar (for coating)
- 1 1/2 teaspoons ground cinnamon (for coating)
Instructions
- Preheat oven to 350°F (175°C). Line two baking sheets with parchment paper or silicone mats.
- In a large mixing bowl, beat softened butter, granulated sugar, and brown sugar together until light and fluffy, about 2-3 minutes with an electric mixer on medium speed. Scrape down sides halfway through.
- Add pumpkin puree, room-temperature egg, and vanilla extract. Beat on medium speed until well combined. Mixture may look slightly curdled.
- In a separate bowl, whisk together flour, baking soda, baking powder, salt, cinnamon, nutmeg, ginger, and cloves.
- Gradually add dry ingredients to wet mixture, mixing on low speed. Add about one-third at a time, mixing just until combined. Do not overmix. Fold in any remaining flour with a spatula.
- Cover bowl with plastic wrap and refrigerate dough for at least 30 minutes.
- In a small bowl, stir together 1/4 cup granulated sugar and 1 1/2 teaspoons cinnamon for coating.
- Remove chilled dough. Using a cookie scoop or hands, portion out 1.5 tablespoon-sized balls. Roll each ball smooth, then coat in cinnamon-sugar mixture. Place on prepared baking sheets, spacing 2 inches apart.
- Bake for 10-12 minutes, until edges are set and tops look slightly cracked. Centers should still look soft.
- Let cookies cool on baking sheet for 5 minutes, then transfer to a wire cooling rack to cool completely.
Notes
Chill the dough for at least 30 minutes to prevent spreading. Use room temperature ingredients for best results. For softer cookies, bake for 10 minutes; for firmer, bake for 12 minutes. Store in an airtight container at room temperature for up to 5 days. Add a slice of bread to keep cookies soft. Freeze baked cookies for up to 3 months.
Nutrition
- Serving Size: 1 cookie
- Calories: 135
- Sugar: 12
- Sodium: 95
- Fat: 5
- Saturated Fat: 3
- Carbohydrates: 21
- Fiber: 1
- Protein: 2
Keywords: pumpkin snickerdoodle, soft pumpkin cookies, fall baking, kid-approved cookies, easy cookie recipe


