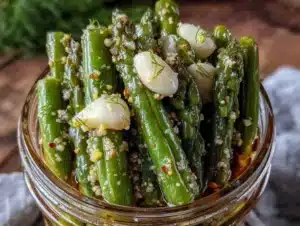
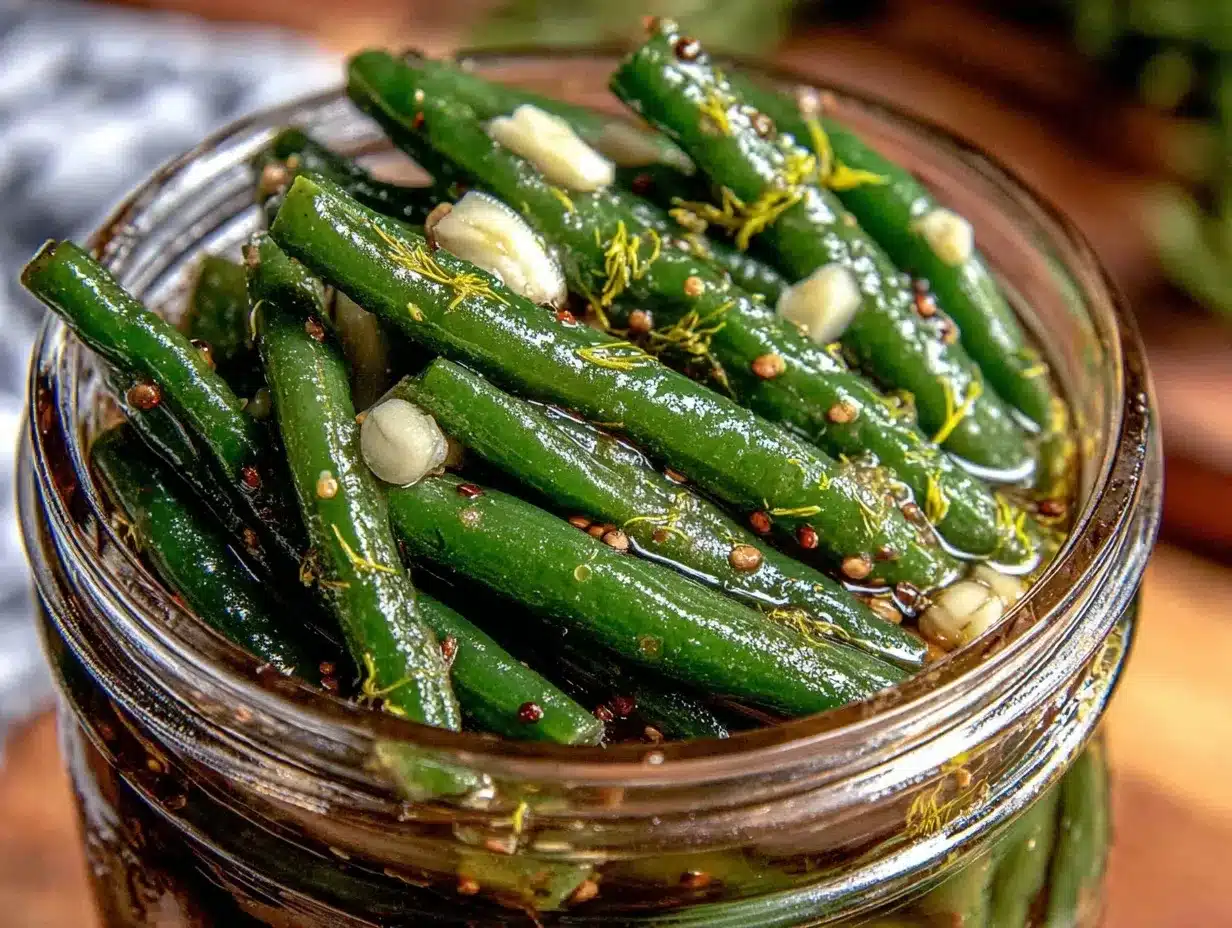
That unmistakable snap when you bite into a perfectly pickled dilly bean — and that’s the whole point. The way the bean holds its shape, firm and just a little resistant under your teeth, makes every jar a little treasure of texture. You might think pickles are all about flavor or tang, but honestly, for me, it’s the feel that seals the deal. I first got hooked on crisp garlic dilly beans during a summer visit to a local farmer’s market, where a vendor proudly handed over a jar boasting that satisfying crunch. I swear, I could taste the cool, fresh green bean before I even opened it, and that gave me the urge to recreate those exact refrigerator pickles at home.
It’s funny how something as simple as the snap of a bean can turn a snack into an experience. The garlic and dill are just the supporting players—it’s all about that texture that makes you reach back into the jar again and again. I’ve tried countless pickle recipes, but this one sticks because it honors that balance: crispness without toughness, flavor without overpowering. And you know, it’s a recipe that’s surprisingly easy to pull off—no canning skills needed, just a few ingredients, some patience, and a fridge.
What really surprised me is how these crisp garlic dilly beans became a staple in my kitchen, showing up at barbecues, family dinners, and even as a spontaneous snack straight from the jar. They have this cool, refreshing bite that pairs so well with rich, savory dishes. Honestly, this recipe is my go-to when I want something homemade but hassle-free, and it’s always a crowd-pleaser. So yeah, the snap is what got me, but the whole experience is why I keep coming back.
Why You’ll Love This Crisp Garlic Dilly Beans Recipe
This recipe has been through my kitchen trials and happy accidents, and it’s solid—reliable, tasty, and simple. Making these refrigerator pickles in just five easy steps means you don’t have to wait forever to enjoy that fresh crunch. Here’s what makes them stand out:
- Quick & Easy: Ready to eat in about 3 days and perfect for last-minute picnic additions or weekday snacks.
- Simple Ingredients: No exotic spices or hard-to-find stuff — just fresh beans, garlic, dill, vinegar, and a few pantry staples.
- Perfect for Summer Gatherings: These beans bring a fresh, tangy crunch to any barbecue or potluck table.
- Crowd-Pleaser: Kids, adults, garlic lovers, and dill fanatics all agree—these pickles disappear fast.
- Unbelievably Delicious: The snap of the bean combined with garlicky, herby flavor is comfort food with a twist.
What sets this apart is the simple brine that’s just right—not too salty, not too vinegary—and the technique of packing the beans snugly with fresh dill and garlic cloves. I’ve found that starting with young, tender beans and soaking them briefly in ice water before packing helps keep that crispness. Plus, skipping the canning step means you get to enjoy these delightful pickles without fuss or pressure. It’s a no-fail way to add a homemade touch to your fridge.
What Ingredients You Will Need
This recipe uses simple, wholesome ingredients to deliver bold flavor and satisfying texture without the fuss. You’ll find most of these in your kitchen already, and substitutions are easy if needed.
- Fresh Green Beans: 1 pound (450 g) of young, tender beans, trimmed (look for firm beans with no blemishes)
- Garlic Cloves: 4-5 large cloves, peeled and lightly smashed (adds that punch of flavor)
- Fresh Dill: 3-4 sprigs (use feathery dill heads if possible for best aroma)
- White Vinegar: 1 cup (240 ml) – I prefer Heinz for its clean acidity
- Water: 1 cup (240 ml) – filtered if possible for neutral taste
- Salt: 1 tablespoon kosher salt (Diamond Crystal is my go-to for pickling)
- Sugar: 1 teaspoon (optional, balances acidity slightly)
- Black Peppercorns: 1 teaspoon (whole, adds subtle spice)
For those looking to tweak the recipe, you can swap white vinegar with apple cider vinegar for a fruitier note. If you’re avoiding salt, use a low-sodium option but keep the quantity similar to maintain preservation balance. Also, feel free to toss in a pinch of red pepper flakes if you want a little heat.
Equipment Needed
For crisp garlic dilly beans refrigerator pickles, you don’t need fancy gear, but having the right tools makes the process straightforward.
- Quart-Sized Mason Jars: Standard 1-quart (950 ml) jars with lids work perfectly (I like Ball jars for their reliability).
- Large Mixing Bowl: For rinsing and soaking the beans.
- Small Saucepan: To warm the brine ingredients.
- Tongs or Fork: Helpful for packing beans into jars without crushing them.
- Measuring Cups and Spoons: For precise brine ratios.
If you don’t have mason jars, any glass container with a tight-sealing lid will do. Avoid metal lids that might rust. I’ve also used wide-mouth jars to make packing beans easier. A tip from experience: make sure the jars are clean and dry to avoid any unwanted fermentation.
Preparation Method
- Prepare the Beans: Rinse 1 pound (450 g) of fresh green beans and trim the ends. Soak them in ice water for 30 minutes to keep them extra crisp.
- Pack the Jars: Place 4-5 peeled, lightly smashed garlic cloves and 3-4 sprigs of fresh dill into each clean quart jar. Pack the drained beans tightly, standing upright if possible, leaving about 1 inch (2.5 cm) of headspace.
- Make the Brine: In a small saucepan, combine 1 cup (240 ml) white vinegar, 1 cup (240 ml) water, 1 tablespoon kosher salt, and 1 teaspoon sugar. Add 1 teaspoon whole black peppercorns. Bring the mixture to a boil, stirring until salt and sugar dissolve, then remove from heat.
- Pour the Brine: Carefully pour the hot brine over the beans in the jars, covering them completely. Use a spoon to release any air bubbles by gently pressing beans down. Leave about ½ inch (1.3 cm) of headspace.
- Seal and Refrigerate: Screw on the lids tightly, let jars cool to room temperature, then refrigerate. Allow the beans to pickle for at least 3 days before enjoying. Maximum flavor and crunch develop after 5 days.
Note: If you notice any floating beans after pouring the brine, press down carefully with a clean utensil to submerge them. This helps prevent softening. Also, shaking the jar gently once a day during the first few days can help distribute flavors evenly.
Cooking Tips & Techniques
Getting the perfect crispness in garlic dilly beans takes a bit of attention but is totally doable. Here’s what I’ve learned:
- Start with Fresh Beans: The fresher and younger, the better. Older beans tend to get mushy after pickling.
- Ice Water Soak: Soaking beans in cold water before packing creates a snap you won’t regret.
- Don’t Overcook the Brine: Just bring it to a boil and remove from heat to preserve flavor and acidity balance.
- Pack Tight, But Gently: Avoid crushing beans when filling jars—intact beans stay crisp longer.
- Refrigerate Promptly: These are refrigerator pickles, so keep them chilled to prevent softening or spoilage.
One time, I didn’t soak the beans first, and the pickles came out limp and sad. Lesson learned! Also, skipping sugar entirely might make the brine a bit too harsh, so a small amount really helps mellow things out. When you’re ready to serve, drain excess brine for a cleaner bite.
Variations & Adaptations
While this crisp garlic dilly beans recipe is classic, there are ways to shake things up:
- Spicy Version: Add red pepper flakes or a sliced jalapeño to the jar for a kick.
- Low-Sodium Option: Reduce the salt slightly or substitute with a salt alternative, but keep vinegar levels steady.
- Herbal Twist: Swap dill for fresh tarragon or add a few thyme sprigs for a different herbaceous note.
- Pickled Mixed Vegetables: Combine green beans with baby carrots and pearl onions for a colorful jar.
- Fermented Style: Skip the vinegar and ferment beans naturally with saltwater brine for about a week (requires more patience and care).
I once tried adding lemon slices to the jar for a bright citrus punch—it was surprisingly refreshing and worked great alongside grilled meats. For a gluten-free twist, this recipe is naturally safe, but always check your vinegar label if allergies are a concern.
Serving & Storage Suggestions
Serve your crisp garlic dilly beans chilled straight from the fridge for that ultimate snap. They make a fantastic snack on their own but also complement hearty sandwiches, grilled sausages, or a charcuterie board beautifully.
Store refrigerated in their brine for up to 3 weeks. Over time, the beans may soften slightly but will still taste delicious. Always use clean utensils to avoid contamination.
When reheating isn’t needed since these are best cold, but you can chop them up and toss into salads or pasta dishes for a tangy crunch. I often pair them with smoky grilled meats or alongside classic picnic fare like deviled eggs and pink champagne jello shots—a fun combo for summer parties.
Nutritional Information & Benefits
These crisp garlic dilly beans are low in calories (about 10-15 calories per bean) and packed with fiber, vitamins A and C, plus antioxidants from the fresh dill and garlic. The vinegar acts as a natural preservative and may help aid digestion. This recipe is naturally gluten-free and vegan-friendly, making it accessible to many diets.
I like to think of these pickles as a smart, flavorful way to sneak more veggies into my day without feeling like a chore. Plus, the garlic offers immune benefits, and the fresh dill adds a unique antioxidant boost. It’s a crunchy, tasty snack you can feel good about.
Conclusion
If you’re after a no-fuss way to enjoy fresh, crunchy pickles with bold garlic and dill flavor, this crisp garlic dilly beans refrigerator pickles recipe is a winner. The texture is addictive, the prep easy, and the results reliable every time. I love how it brings a homemade touch to my fridge without any complicated steps.
Feel free to tweak the garlic or spice levels to suit your taste, and watch how this simple recipe becomes a staple for your snacking and entertaining needs. I’d love to hear how you make it your own.
Give it a try, and you might find yourself reaching for that satisfying snap more often than you expected. Happy pickling!
FAQs About Crisp Garlic Dilly Beans Refrigerator Pickles
How long do refrigerator pickles last?
Stored properly in the fridge, these pickles last up to 3 weeks. Always check for any off smells or mold before eating.
Can I use frozen green beans for this recipe?
Fresh green beans are best for crispness. Frozen beans tend to get mushy after pickling, so it’s not recommended.
Do I need to boil the beans before pickling?
Nope! For refrigerator pickles, packing raw beans preserves that crunchy texture perfectly.
Can I make this recipe without garlic?
Sure, but garlic adds essential flavor to the pickles. You could substitute with shallots or extra dill for a different profile.
Is it possible to can these beans for shelf stability?
This recipe is designed for refrigerator pickling only. For shelf-stable canned dilly beans, follow tested canning guidelines with pressure canners.
Pin This Recipe!
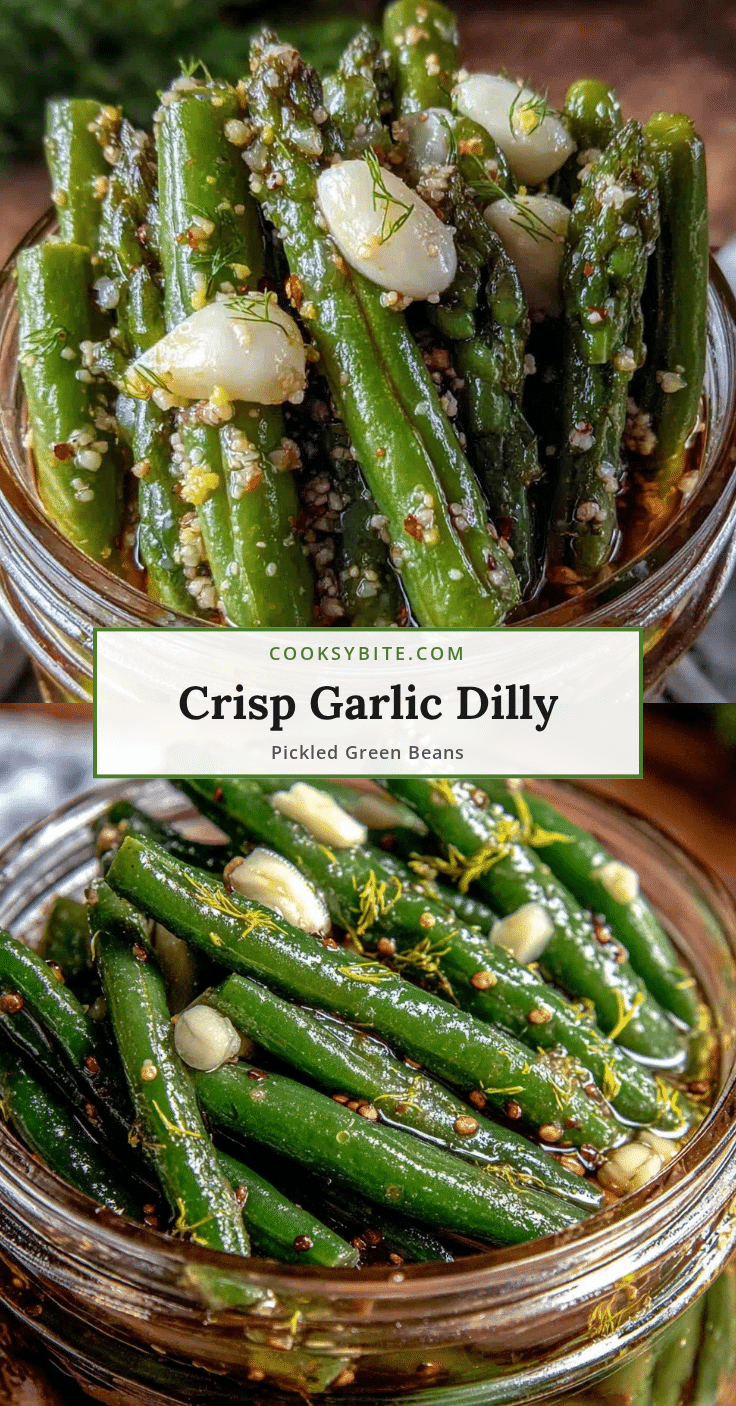
Crisp Garlic Dilly Beans Recipe
A simple and reliable refrigerator pickle recipe delivering perfectly crisp garlic dilly beans with a satisfying snap and bold flavor, ready in just 3 days.
- Prep Time: 40 minutes
- Cook Time: 10 minutes
- Total Time: 3 days 50 minutes
- Yield: 4 servings 1x
- Category: Pickles
- Cuisine: American
Ingredients
- 1 pound fresh green beans, trimmed
- 4–5 large garlic cloves, peeled and lightly smashed
- 3–4 sprigs fresh dill
- 1 cup white vinegar (240 ml)
- 1 cup water (240 ml)
- 1 tablespoon kosher salt
- 1 teaspoon sugar (optional)
- 1 teaspoon whole black peppercorns
Instructions
- Rinse 1 pound of fresh green beans and trim the ends. Soak them in ice water for 30 minutes to keep them extra crisp.
- Place 4-5 peeled, lightly smashed garlic cloves and 3-4 sprigs of fresh dill into each clean quart jar. Pack the drained beans tightly, standing upright if possible, leaving about 1 inch of headspace.
- In a small saucepan, combine 1 cup white vinegar, 1 cup water, 1 tablespoon kosher salt, and 1 teaspoon sugar. Add 1 teaspoon whole black peppercorns. Bring the mixture to a boil, stirring until salt and sugar dissolve, then remove from heat.
- Carefully pour the hot brine over the beans in the jars, covering them completely. Use a spoon to release any air bubbles by gently pressing beans down. Leave about ½ inch of headspace.
- Screw on the lids tightly, let jars cool to room temperature, then refrigerate. Allow the beans to pickle for at least 3 days before enjoying. Maximum flavor and crunch develop after 5 days.
Notes
Start with fresh, young green beans and soak them in ice water for 30 minutes to ensure crispness. Do not overcook the brine; just bring it to a boil and remove from heat. Pack beans tightly but gently to avoid crushing. Refrigerate promptly and consume within 3 weeks. Shake jars gently once a day during the first few days to distribute flavors evenly. Optional: add red pepper flakes for spice or substitute apple cider vinegar for a fruitier note.
Nutrition
- Serving Size: Approximately 1/4 of
- Calories: 15
- Sugar: 1
- Sodium: 600
- Carbohydrates: 3
- Fiber: 1
- Protein: 1
Keywords: garlic dilly beans, refrigerator pickles, crisp pickles, easy pickles, garlic pickles, dill pickles, summer snacks, quick pickles