“You sure you want to make these from scratch?” my friend asked while I was already digging through the pantry. Honestly, I was half-expecting to grab a box of those pre-made sandwich pockets for a quick lunch fix. But something about the idea of homemade Easy Homemade Uncrustables stuck with me. I’d been juggling chaotic mornings and last-minute snack emergencies for weeks, and freezer meal prep was my lifeline.
That afternoon, I set out in my small kitchen with nothing but bread, peanut butter, jelly, and some trusty sandwich cutters. The first batch was a bit rough around the edges (literally), but within a few tries, I found a rhythm. The smell of fresh bread sealing in all those gooey flavors made me realize this simple recipe was going to be a game-changer. No more scrambling for snacks or worrying about soggy sandwiches on rushed mornings.
What surprised me most was how these homemade pockets held up in the freezer—still soft, still packed with flavor, and ready to thaw in minutes. It’s funny how such a simple recipe became my go-to, especially after I tweaked the jelly thickness just right. Now, every time I hear the freezer door open, I smile, knowing there’s a little homemade comfort waiting inside.
This recipe stuck not just because it saves time, but because it offers that familiar, nostalgic bite with a fresher, homemade soul. If you’re like me and love the convenience of freezer meals without the processed stuff, this recipe might just become your quiet kitchen hero too.
Why You’ll Love This Recipe
After testing countless versions of these sandwiches (yes, I might have made them three times a week for a while), I can say this Easy Homemade Uncrustables recipe hits all the right notes. Here’s why you’ll want to keep this one handy:
- Quick & Easy: These sandwiches come together in under 20 minutes, making them perfect for busy mornings or last-minute snack prep.
- Simple Ingredients: No need for fancy or hard-to-find items—just your favorite bread, peanut butter, and jelly.
- Perfect for Freezer Meal Prep: Make a batch and freeze them for weeks of grab-and-go convenience.
- Crowd-Pleaser: Kids, coworkers, or even yourself will appreciate the soft, sealed pockets that stay fresh and tasty.
- Unbelievably Delicious: The homemade touch means your sandwiches taste fresher and more satisfying than store-bought alternatives.
What sets this recipe apart is the little tricks I’ve added to get that perfect seal and avoid the dreaded freezer burn or soggy bread. For example, pressing the edges firmly with a sandwich cutter instead of just using a knife really makes a difference. Also, using a slightly thicker jelly helps prevent leaks without making the sandwich too sweet.
Honestly, it’s this balance of texture and flavor that makes every bite feel like a comforting hug, no matter how hectic your day gets. If you want a simple recipe that takes the stress out of meal prep but doesn’t skimp on taste, this one’s a keeper.
What Ingredients You Will Need
This recipe uses basic, wholesome ingredients to create those soft, sealed pockets that hold peanut butter and jelly perfectly. These are pantry staples for most, but I’ll note a few tips on choosing and swapping ingredients to match your preferences.
- Bread: Soft white sandwich bread (I prefer a brand like Wonder Bread for its perfect texture and soft crust). Avoid thick-sliced or artisan breads for best results.
- Peanut Butter: Creamy peanut butter works best to spread evenly and seal nicely. Natural peanut butter can work but sometimes makes sealing tricky due to oil separation.
- Jelly or Jam: Choose your favorite flavor—grape, strawberry, or raspberry are classic choices. Opt for thicker jams to prevent sogginess. I sometimes use seedless to keep the sandwiches smooth.
- Optional: A light spread of butter on the bread before adding peanut butter can help with sealing and prevent sogginess.
If you’re allergic to peanuts or want a twist, almond butter or sunflower seed butter are great swaps. Just watch for consistency—thicker nut butters seal better.
For gluten-free options, use soft gluten-free sandwich bread, but know sealing might take a bit more patience. I recommend brands that keep their bread moist and flexible for best results.
Equipment Needed
To make your Easy Homemade Uncrustables, you don’t need much beyond basic kitchen tools:
- Round Sandwich Cutter or Biscuit Cutter: About 3 to 4 inches in diameter. This is key for making those classic round shapes and sealing the edges well. If you don’t have one, a sharp knife and a small bowl can work.
- Baking Sheet or Tray: For laying out sandwiches before freezing.
- Parchment Paper or Silicone Mat: To prevent sticking on the tray.
- Spreading Knife or Small Spatula: For smooth peanut butter and jelly application.
- Plastic Wrap or Freezer Bags: For storing sandwiches once frozen.
If you want to get fancy, a crimper or pastry press can help seal edges even better, but I’ve found the sandwich cutter does a fine job. When it comes to maintenance, just make sure your cutters are clean and dry before use to avoid sticking.
Preparation Method
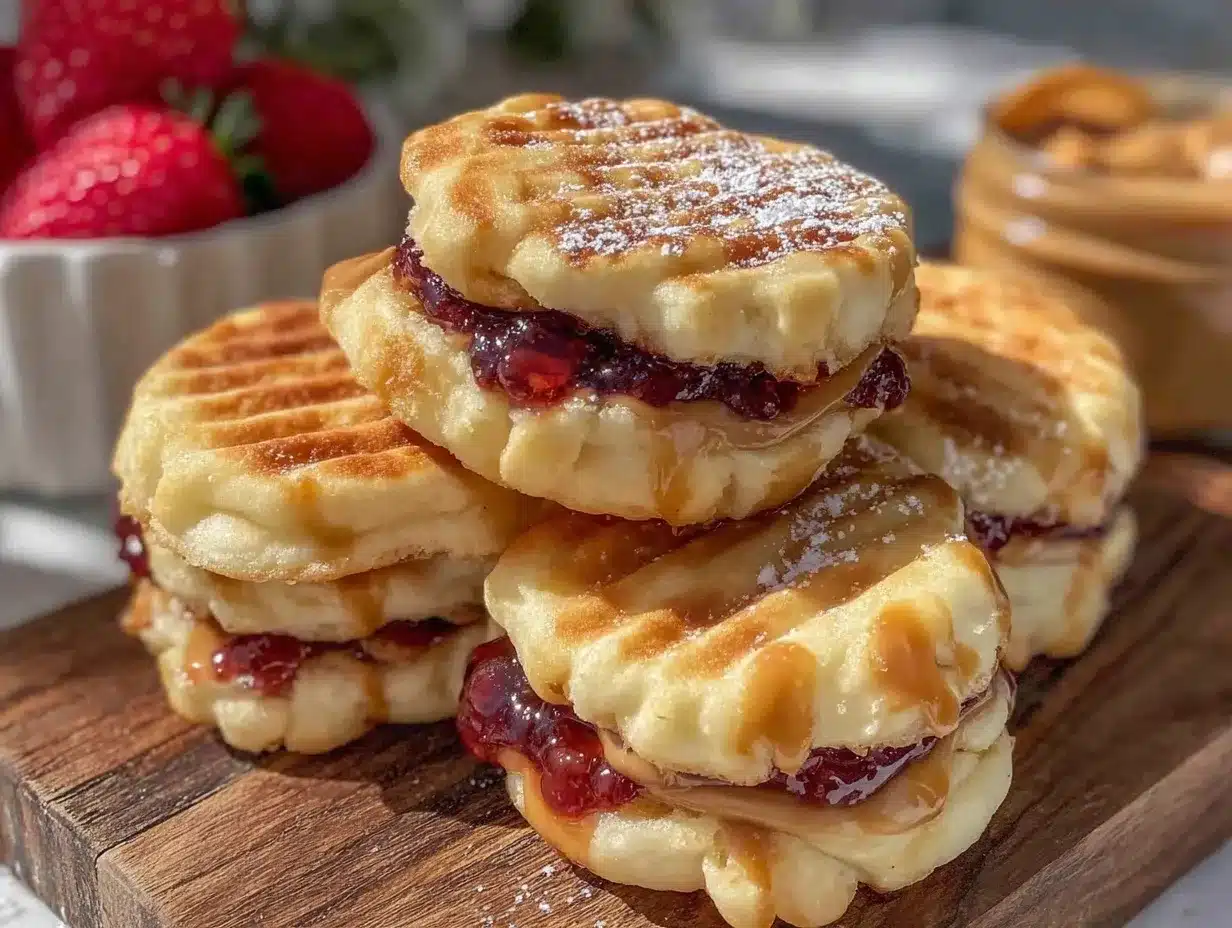
- Prepare Your Workspace: Lay out all ingredients and equipment. Line a baking sheet with parchment paper for easy cleanup. (5 minutes)
- Trim Bread Crusts: Using your round sandwich cutter, press down firmly on each slice of bread to cut out a round shape. Set the crusts aside for another use (bread crumbs, anyone?). (5 minutes)
- Spread Peanut Butter: On half of the bread rounds, spread a smooth, even layer of creamy peanut butter—about 1 tablespoon (15 ml) per sandwich. I like starting from the center and working outward to avoid tearing. (5 minutes)
- Add Jelly: On top of the peanut butter, spoon about 1 teaspoon (5 ml) of jelly or jam, spreading lightly but leaving an edge clear for sealing. (3 minutes)
- Seal the Sandwich: Place another bread round on top and press gently. Use your sandwich cutter to press firmly around edges, sealing the two rounds together. You’ll hear a satisfying “pop” or feel the edges crimp closed. (7 minutes)
- Freeze Before Storing: Place the sealed sandwiches on the lined baking sheet. Freeze uncovered for about 1 hour until firm. This step prevents the sandwiches from sticking together later. (1 hour)
- Wrap and Store: Once frozen, wrap individually in plastic wrap or place them in a freezer-safe bag with parchment paper between layers. Label with the date. These will keep well for up to 3 months. (5 minutes)
Pro tip: Don’t overfill with jelly or peanut butter—too much can make sealing tricky and cause leaks. Also, if your bread is a little stale, a quick spritz of water (light mist) before cutting can soften it up for better sealing.
Cooking Tips & Techniques
Making homemade Easy Homemade Uncrustables isn’t rocket science, but a few tricks can save you from sticky situations (literally!).
- Choose Soft Bread: Stale or thick bread won’t seal well. Fresh, soft sandwich bread is your best friend here.
- Work Quickly: The bread can dry out fast, making it crumbly. Have your spreads ready and work in small batches.
- Seal Like a Pro: Press firmly around the edges with the cutter. If you hear a faint pop or feel the edges sticking, you’re on the right track.
- Prevent Sogginess: A thin butter layer on the bread before peanut butter can create a moisture barrier that keeps sandwiches fresh longer.
- Freeze Individually: Freezing sandwiches on a tray before bagging keeps them from sticking together—trust me, it’s a game-changer.
- Thawing Tips: Leave frozen sandwiches in the fridge overnight or on the counter for 30 minutes before eating. They’ll be soft and ready to go.
I once tried making these with crunchy peanut butter and ended up with torn bread and messy edges. Since then, I stick to creamy for smooth spreading and sealing. Also, if jellies are too runny or watery, a quick simmer can thicken them up nicely.
Variations & Adaptations
You can customize this recipe in many ways depending on your taste, dietary needs, or what’s in the pantry:
- Nut-Free Version: Swap peanut butter for sunflower seed butter or soy nut butter to keep things allergy-friendly.
- Flavor Swaps: Try chocolate hazelnut spread for a sweet twist, or cream cheese and jam for a creamy texture.
- Whole Wheat or Gluten-Free: Use whole wheat sandwich bread or gluten-free slices to suit your diet. Just watch sealing as these breads can be a little more fragile.
- Extra Filling: Add sliced bananas or strawberries inside before sealing for fresh fruit flavor.
- Cooking Methods: While these are meant to be eaten cold or at room temp, you can toast them lightly in a pan for a warm, melty treat.
A personal favorite is mixing peanut butter with a touch of honey before spreading—adds just the right hint of sweetness that pairs perfectly with strawberry jam.
Serving & Storage Suggestions
These Easy Homemade Uncrustables are best enjoyed thawed to room temperature or slightly chilled. They make fantastic lunchbox treats, quick snacks, or even a simple breakfast on the run.
Serve alongside fresh fruit or crunchy veggies for a balanced meal. A cold glass of milk or your favorite tea pairs nicely, too.
For storage, keep the sandwiches tightly wrapped in the freezer for up to 3 months. When ready to eat, thaw overnight in the fridge or leave on the counter for about 30 minutes. If you’re in a hurry, a quick 15-second zap in the microwave (wrapped in a paper towel) softens them up nicely, but watch out for hot spots.
Leftover sandwiches can be repurposed into fun finger foods or cut into smaller shapes for kids’ snacks. Over time, the flavors meld nicely in the freezer, making each bite even tastier.
Nutritional Information & Benefits
Each homemade Uncrustable contains approximately:
| Nutrient | Amount per Sandwich |
|---|---|
| Calories | 250-280 kcal |
| Protein | 7-9 grams |
| Fat | 12-14 grams (mostly from peanut butter) |
| Carbohydrates | 28-32 grams |
| Fiber | 2-3 grams |
Peanut butter provides healthy fats and protein, while the jelly adds natural sugars and antioxidants from fruit. Choosing whole wheat bread bumps up fiber content, making the sandwich more filling and gut-friendly.
For those with dietary restrictions, swapping ingredients can tailor the nutrition—like using almond butter for extra vitamin E or gluten-free bread for celiac-friendly options.
From a wellness perspective, these sandwiches offer a balanced mix of macronutrients and are a wholesome alternative to many processed snack options.
Conclusion
Making your own Easy Homemade Uncrustables for freezer meal prep is truly a small effort with big rewards. You get the convenience of ready-to-eat snacks without the mystery ingredients or preservatives. Plus, the simple joy of biting into a soft, homemade sandwich that tastes like a hug from your kitchen.
Feel free to tweak the fillings, bread type, or even shape to fit your household’s vibe. This recipe is flexible enough to become your own little freezer staple.
Personally, it’s become my secret weapon for busy mornings and unexpected hangry moments. If you try it, I’d love to hear how you make it your own—drop a comment or share your favorite flavor combos. Here’s to no more scrambling for snacks and plenty of peaceful mornings ahead!
Frequently Asked Questions
Can I use other types of bread for these Uncrustables?
Yes! Soft sandwich bread works best. Whole wheat and gluten-free breads can be used but may require gentle handling to avoid tearing.
How long do homemade Uncrustables last in the freezer?
Stored properly in airtight freezer bags or wrapped tightly, they last up to 3 months without losing quality.
Can I use crunchy peanut butter instead of creamy?
Crunchy peanut butter is trickier to seal due to texture, but it’s possible if you’re gentle and press firmly around edges.
What’s the best way to thaw these sandwiches?
Thaw overnight in the refrigerator or leave at room temperature for 20-30 minutes. For a warm treat, microwave briefly with a paper towel.
Are there good alternatives for those with nut allergies?
Sunflower seed butter or soy nut butter are excellent nut-free alternatives that work well in this recipe.
For more creative homemade treats, you might enjoy the rich flavors in decadent red wine chocolate cake with berries or the fresh appeal of fluffy strawberry mousse cups. Both are lovely ways to round out a homemade meal plan!
Pin This Recipe!
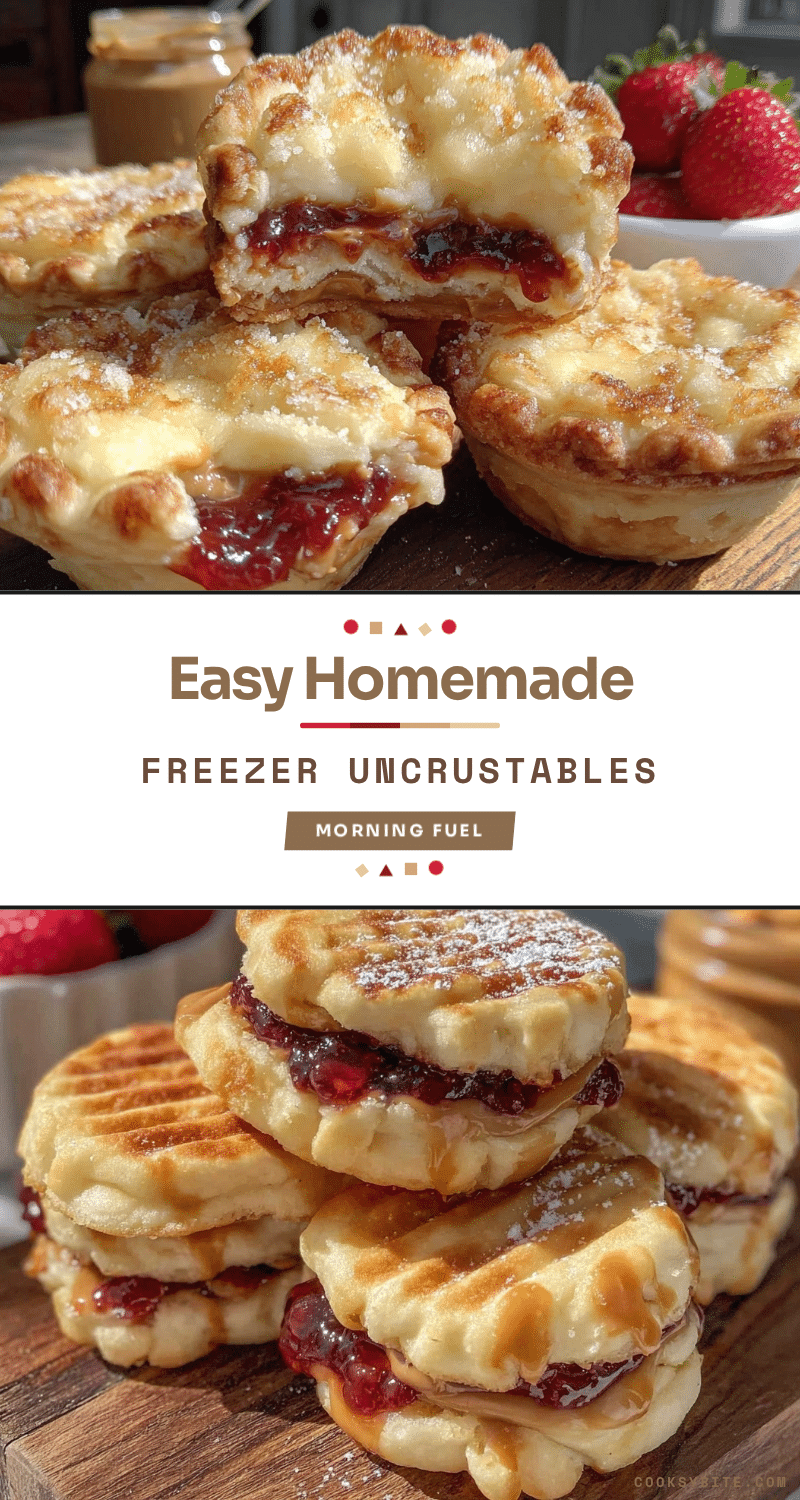
Easy Homemade Uncrustables Recipe for Perfect Freezer Meal Prep

A simple and quick recipe to make homemade peanut butter and jelly sandwich pockets perfect for freezer meal prep, offering convenience and fresh taste without preservatives.
- Prep Time: 20 minutes
- Cook Time: 0 minutes
- Total Time: 1 hour 20 minutes
- Yield: 6 sandwiches
- Category: Snack
- Cuisine: American
Ingredients
- Soft white sandwich bread (preferably Wonder Bread or similar soft crust bread)
- Creamy peanut butter (about 1 tablespoon per sandwich)
- Jelly or jam (about 1 teaspoon per sandwich, thicker jams preferred)
- Optional: light spread of butter on bread before peanut butter to help sealing and prevent sogginess
- Optional substitutions: almond butter or sunflower seed butter for peanut allergies
- Optional: whole wheat or gluten-free sandwich bread for dietary needs
Instructions
- Prepare your workspace by laying out all ingredients and equipment. Line a baking sheet with parchment paper for easy cleanup. (5 minutes)
- Trim bread crusts using a round sandwich cutter (3 to 4 inches diameter) to cut out round shapes. Set crusts aside for other uses. (5 minutes)
- Spread about 1 tablespoon of creamy peanut butter evenly on half of the bread rounds, starting from the center outward to avoid tearing. (5 minutes)
- Add about 1 teaspoon of jelly or jam on top of the peanut butter, spreading lightly but leaving an edge clear for sealing. (3 minutes)
- Place another bread round on top and press gently. Use the sandwich cutter to press firmly around edges, sealing the two rounds together until you hear a pop or feel the edges crimp closed. (7 minutes)
- Place the sealed sandwiches on the lined baking sheet and freeze uncovered for about 1 hour until firm to prevent sticking. (1 hour)
- Once frozen, wrap sandwiches individually in plastic wrap or place in freezer-safe bags with parchment paper between layers. Label with the date. Store for up to 3 months. (5 minutes)
Notes
Use soft white sandwich bread for best sealing; stale or thick bread may tear. Press edges firmly with the cutter to seal well. Use thicker jelly to prevent leaks. Freeze sandwiches individually on a tray before bagging to avoid sticking. Thaw overnight in fridge or 30 minutes at room temperature before eating. Optional light butter spread on bread helps prevent sogginess. Avoid overfilling with peanut butter or jelly to ensure proper sealing.
Nutrition
- Serving Size: 1 sandwich
- Calories: 265
- Sugar: 8
- Sodium: 150
- Fat: 13
- Saturated Fat: 2
- Carbohydrates: 30
- Fiber: 2.5
- Protein: 8
Keywords: Uncrustables, peanut butter and jelly, freezer meal prep, homemade sandwich pockets, easy snack, lunchbox ideas


