My friend Jen had sworn off chicken thighs for years. “Too greasy,” she’d say, pushing them around her plate at potlucks. “Too much work.” I’d nod and let it go, because honestly, arguing about chicken is not my idea of a good time. Then last Tuesday, she showed up at my door unannounced—exhausted from a double shift, holding a bag of sad-looking salad mix and a bottle of wine. I had about thirty minutes and a pack of chicken thighs in the fridge. So I just started cooking, figuring she’d pick at the edges and call it a night. Instead, I caught her standing at the stove, fork in hand, pulling pieces straight from the pan before I could even plate them. “Okay,” she said, mouth half-full, “this is different.” That’s the thing about one-pan garlic butter chicken thighs—they sneak up on you. You think you know what to expect, and then that first bite hits you with the kind of rich, savory comfort that makes you forget every bad chicken experience you’ve ever had. And the best part? The whole thing comes together in one skillet, with minimal cleanup and maximum flavor. Maybe you’ve been there—staring at a pack of chicken thighs, wondering if they’re worth the hassle. Let me tell you, they are.
Why You’ll Love This Recipe
Look, I’ve tested a lot of chicken recipes over the years. Some are fancy but take forever. Others are fast but taste like nothing. This one-pan garlic butter chicken thighs recipe hits that sweet spot where speed meets serious flavor. Here’s why it works for busy weeknights:
- Quick & Easy: Dinner’s on the table in under 30 minutes. No marinating, no complicated steps—just sear, simmer, and serve.
- Simple Ingredients: You probably have garlic, butter, and chicken in your kitchen right now. No fancy grocery runs required.
- Perfect for Weeknights: When you’re tired and hungry, this recipe delivers without making a mess of your kitchen.
- Crowd-Pleaser: Even people who “don’t like dark meat” come back for seconds. Jen’s the proof.
- Unbelievably Delicious: The garlic butter sauce is rich, savory, and just a little bit indulgent—like comfort food that actually respects your time.
What makes this version different from every other chicken thigh recipe out there? It’s the technique. You’re not just dumping butter in a pan. You’re building flavor in layers—searing the skin until it’s crackling crisp, then letting the garlic infuse the butter slowly so it doesn’t burn and turn bitter. The result is a sauce that coats every bite with deep, nutty garlic goodness. This isn’t just another weeknight dinner. It’s the kind that makes you close your eyes after the first bite, even if you’re eating it standing over the sink.
What Ingredients You Will Need
This recipe uses simple, wholesome ingredients that come together to deliver bold flavor without the fuss. Most of these are pantry staples, which makes this dish perfect for those nights when you don’t want to think too hard about dinner.
- Chicken thighs, bone-in, skin-on (about 6 thighs, roughly 2 pounds) — The bone keeps the meat juicy, and the skin gets beautifully crisp. I prefer Bell & Evans or organic thighs from Costco for consistent quality.
- Unsalted butter (4 tablespoons, divided) — Using unsalted lets you control the salt level. Salted butter can make the sauce too salty as it reduces.
- Garlic cloves (6-8 cloves, thinly sliced) — Fresh garlic is non-negotiable here. Pre-minced jarred garlic will burn and taste bitter. Trust me, I learned this the hard way.
- Chicken broth (1/2 cup) — Adds depth and helps deglaze the pan. Low-sodium is best so you can season to taste. Kitchen Basics is my go-to brand.
- Fresh thyme sprigs (4-5 sprigs) — The earthiness balances the rich butter. Dried thyme works in a pinch, but fresh is noticeably better.
- Salt (1 teaspoon) — Diamond Crystal kosher salt is what I use. If you’re using table salt, cut the amount in half.
- Black pepper (1/2 teaspoon, freshly ground) — Freshly ground makes a real difference here. Pre-ground pepper just doesn’t have the same kick.
- Lemon juice (1 tablespoon, fresh) — Brightens the whole dish and cuts through the richness. Bottled lemon juice won’t give you the same fresh pop.
- Fresh parsley (2 tablespoons, chopped) — For garnish and a little freshness at the end. Optional, but it makes the dish look finished.
Equipment Needed
You don’t need a lot of fancy tools for this one, which is exactly the point. Here’s what you’ll need:
- Large cast-iron skillet or heavy-bottomed pan (12-inch) — Cast iron holds heat beautifully and gives you that perfect sear. If you don’t have one, a stainless steel skillet works great too. Just avoid non-stick if you can—it won’t get the skin as crispy.
- Tongs — For flipping the chicken without piercing the skin. A good pair of spring-loaded tongs is worth the investment.
- Cutting board and sharp knife — For slicing garlic and chopping parsley. A dull knife will crush the garlic instead of slicing it cleanly.
- Measuring spoons — Because eyeballing salt and pepper never ends well.
- Paper towels — For patting the chicken dry. This step matters more than you think.
I’ve made this recipe in a cheap non-stick pan from the grocery store, and it worked fine—just didn’t get the same crispy skin. If you’re on a budget, a Lodge cast-iron skillet runs about $20 and will last you forever. Worth every penny.
Preparation Method
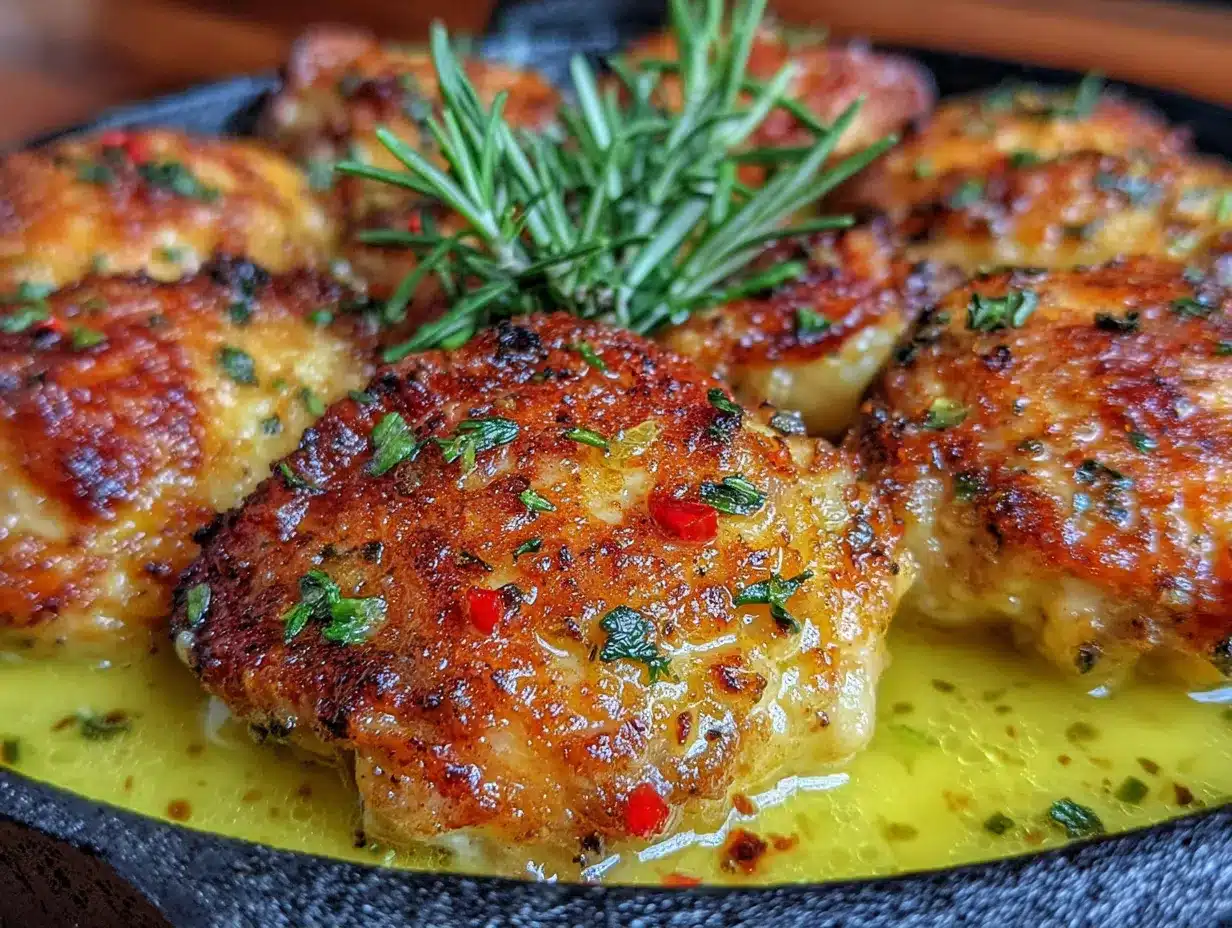
Let’s get cooking. This whole process takes about 25 minutes from start to finish, and most of that is hands-off time while the chicken simmers.
- Pat the chicken dry. Take your chicken thighs out of the fridge and pat them dry with paper towels. This is the most important step for crispy skin. Wet skin steams instead of sears, and nobody wants soggy chicken. Season both sides generously with salt and pepper.
- Heat the pan. Place your skillet over medium-high heat and add 2 tablespoons of butter. Let it melt and foam—wait until the foam subsides and the butter starts to smell nutty. This takes about 2 minutes. The pan should be hot enough that a drop of water sizzles immediately.
- Sear the chicken. Place the chicken thighs skin-side down in the hot butter. Don’t crowd the pan—if your skillet is smaller, work in batches. Let them cook undisturbed for 5-6 minutes. The skin should turn deep golden brown and release easily from the pan. If it sticks, it’s not ready yet. Flip and cook the other side for 3 minutes.
- Remove the chicken. Transfer the seared thighs to a plate. Don’t worry if they’re not fully cooked through—they’ll finish in the sauce. Leave the pan on the heat.
- Cook the garlic. Reduce the heat to medium-low. Add the sliced garlic and the remaining 2 tablespoons of butter. Stir constantly for about 30 seconds—the garlic should become fragrant and just start to soften. If it browns too quickly, pull the pan off the heat for a few seconds. Burnt garlic tastes bitter and will ruin the dish.
- Deglaze the pan. Pour in the chicken broth and scrape up any browned bits from the bottom of the pan with a wooden spoon. Those bits are pure flavor. Let the broth simmer for about 1 minute, reducing slightly.
- Add the thyme and lemon. Toss in the fresh thyme sprigs and lemon juice. Stir to combine. The sauce should look glossy and smell incredible at this point.
- Return the chicken. Nestle the chicken thighs back into the pan, skin-side up. Spoon some of the garlic butter sauce over the tops. Let everything simmer together for 8-10 minutes, until the chicken is cooked through (internal temperature should reach 165°F). The sauce will thicken slightly as it cooks.
- Finish and serve. Sprinkle fresh parsley over the top. Let the chicken rest in the pan for 2-3 minutes before serving. This lets the juices redistribute so every bite is tender and moist.
A quick note: if you’re using boneless, skinless thighs, reduce the cooking time to about 4-5 minutes per side during the sear and 5-6 minutes during the simmer. The skinless version won’t get crispy, but it’ll still soak up that garlic butter goodness.
Cooking Tips & Techniques
I’ve made this one-pan garlic butter chicken thighs recipe probably fifty times by now, and I’ve messed it up plenty along the way. Here’s what I’ve learned:
Patience is everything. The biggest mistake people make is moving the chicken too soon. Let that skin sit in the hot butter and develop a deep, golden crust. I once flipped a thigh after three minutes because I got impatient, and the skin tore off and stuck to the pan. Lesson learned. Wait for the chicken to release naturally—it’ll tell you when it’s ready.
Watch your garlic like a hawk. Garlic cooks fast, especially when it’s sliced thin. Thirty seconds is usually enough. The second you see it start to turn golden, add the broth to stop the cooking. Burnt garlic has this acrid, harsh taste that spreads through the whole dish. I ruined a batch last month because I answered the phone while the garlic was in the pan. Don’t be like me.
Use a thermometer. Chicken thighs are forgiving, but they’re best at 165°F. If you don’t have an instant-read thermometer, cut into the thickest part of a thigh—the juices should run clear, and there should be no pink near the bone. I use a Thermapen and it’s saved me from both undercooked and overcooked chicken more times than I can count.
Don’t skip the rest. Letting the chicken sit in the pan for a few minutes after cooking makes a real difference. The sauce thickens slightly, the flavors meld, and the meat stays juicy. If you serve it straight away, the sauce will be thinner and the chicken won’t be as tender.
Variations & Adaptations
This recipe is flexible, and I’ve tried a few twists over the years. Here are some that actually work:
Spicy Garlic Butter Chicken: Add 1/2 teaspoon of red pepper flakes along with the garlic. The heat cuts through the richness beautifully. I did this on a whim one night and now it’s my husband’s favorite version.
Creamy Garlic Butter Chicken: After deglazing with broth, stir in 1/4 cup of heavy cream and let it simmer for 2 minutes before adding the chicken back. The sauce becomes velvety and indulgent—perfect for serving over mashed potatoes.
Lemon-Herb Variation: Swap the thyme for rosemary and add an extra tablespoon of lemon juice. The bright, piney flavor works great in spring and summer. I’ve also used oregano in a pinch, and it was surprisingly good.
Dairy-Free Option: Substitute the butter with a high-quality olive oil or vegan butter. The flavor changes slightly, but it’s still delicious. Just make sure your vegan butter has a high smoke point so it doesn’t burn during the sear.
Oven-Finished Method: If you’re cooking for a crowd, sear the chicken as directed, then transfer the pan to a 375°F oven for 15-20 minutes instead of simmering on the stove. This frees up your stovetop for sides and gives you perfectly cooked chicken with less hands-on time.
Serving & Storage Suggestions
These garlic butter chicken thighs are incredibly versatile when it comes to serving. Here’s how I like to enjoy them:
Serving Temperature: Serve hot, straight from the pan. The sauce should be bubbling and the skin should still have a little crunch. Spoon extra garlic butter sauce over each thigh before serving—that’s the best part.
What to Serve With It: I usually pair this with simple sides that soak up the sauce. Creamy mashed potatoes are my top pick—the garlic butter pools in every crevice. Rice or crusty bread works great too. For vegetables, try steamed green beans or a simple arugula salad with lemon vinaigrette. The brightness balances the richness.
Storage: Leftovers keep well in an airtight container in the fridge for up to 4 days. The flavors actually deepen overnight, making this one of those rare dishes that’s almost better the next day.
Reheating: The best way to reheat is in a skillet over medium-low heat with a splash of chicken broth or water. Cover the pan and let it warm gently for 5-7 minutes. The microwave works in a pinch, but the skin won’t be crispy. If you have an air fryer, reheat at 350°F for 3-4 minutes—the skin crisps right back up.
Freezing: You can freeze the cooked chicken in the sauce for up to 3 months. Thaw overnight in the fridge and reheat as directed. I’ve done this for meal prep, and it works surprisingly well.
Nutritional Information & Benefits
Here’s an approximate breakdown per serving (one thigh with sauce):
- Calories: 380
- Protein: 28g
- Fat: 28g
- Carbohydrates: 3g
- Fiber: 0g
- Sugar: 0g
- Sodium: 480mg
Chicken thighs are a great source of protein, iron, and B vitamins, which support energy metabolism and red blood cell production. The bone-in version also provides collagen, which is great for joint health and skin elasticity. Garlic is known for its anti-inflammatory properties and immune-boosting benefits. While this dish is higher in fat than a lean chicken breast recipe, the fat comes primarily from butter and the skin, which makes it satisfying and helps you feel full longer. If you’re watching your saturated fat intake, you can remove the skin before eating or swap half the butter for olive oil. This recipe is naturally low-carb and gluten-free, making it suitable for keto and paleo diets. It contains dairy from the butter, but as mentioned, you can use a dairy-free alternative.
Conclusion
This one-pan garlic butter chicken thighs recipe is the kind of meal that makes weeknight cooking feel effortless. It’s fast enough for a Tuesday, but impressive enough that you’d serve it to guests without a second thought. The crispy skin, the fragrant garlic butter, the way the sauce coats every bite—it’s simple food done right. And honestly, that’s what I love most about it. No complicated techniques, no obscure ingredients, no stress. Just good chicken that makes you feel like you’ve got dinner handled. I hope you give it a try, and I hope it surprises you the way it surprised Jen. If you make it, let me know how it turns out—tag me in your photos or leave a comment below. I love hearing about your kitchen wins. Until next time, happy cooking!
Frequently Asked Questions
Can I use boneless, skinless chicken thighs?
Absolutely. Just reduce the cooking time—sear for 3-4 minutes per side and simmer for 5-6 minutes. You won’t get crispy skin, but the garlic butter sauce will still be delicious.
How do I prevent the garlic from burning?
Keep the heat on medium-low when you add the garlic, and stir constantly. The moment it becomes fragrant and softens slightly (about 30 seconds), add the broth to stop the cooking process.
Can I make this recipe ahead of time?
Yes! Cook the chicken completely, then store it in the sauce in the fridge for up to 4 days. Reheat gently in a skillet with a splash of broth. The flavors actually get better overnight.
What if I don’t have a cast-iron skillet?
No problem. A stainless steel or heavy non-stick skillet works fine. Just make sure the pan is hot before you add the chicken, and don’t crowd the pieces. You want a good sear, not steamed chicken.
Is this recipe gluten-free?
Yes, as written. Chicken, butter, garlic, broth, and herbs are all naturally gluten-free. Just double-check your chicken broth label to make sure it doesn’t contain any hidden gluten.
Pin This Recipe!
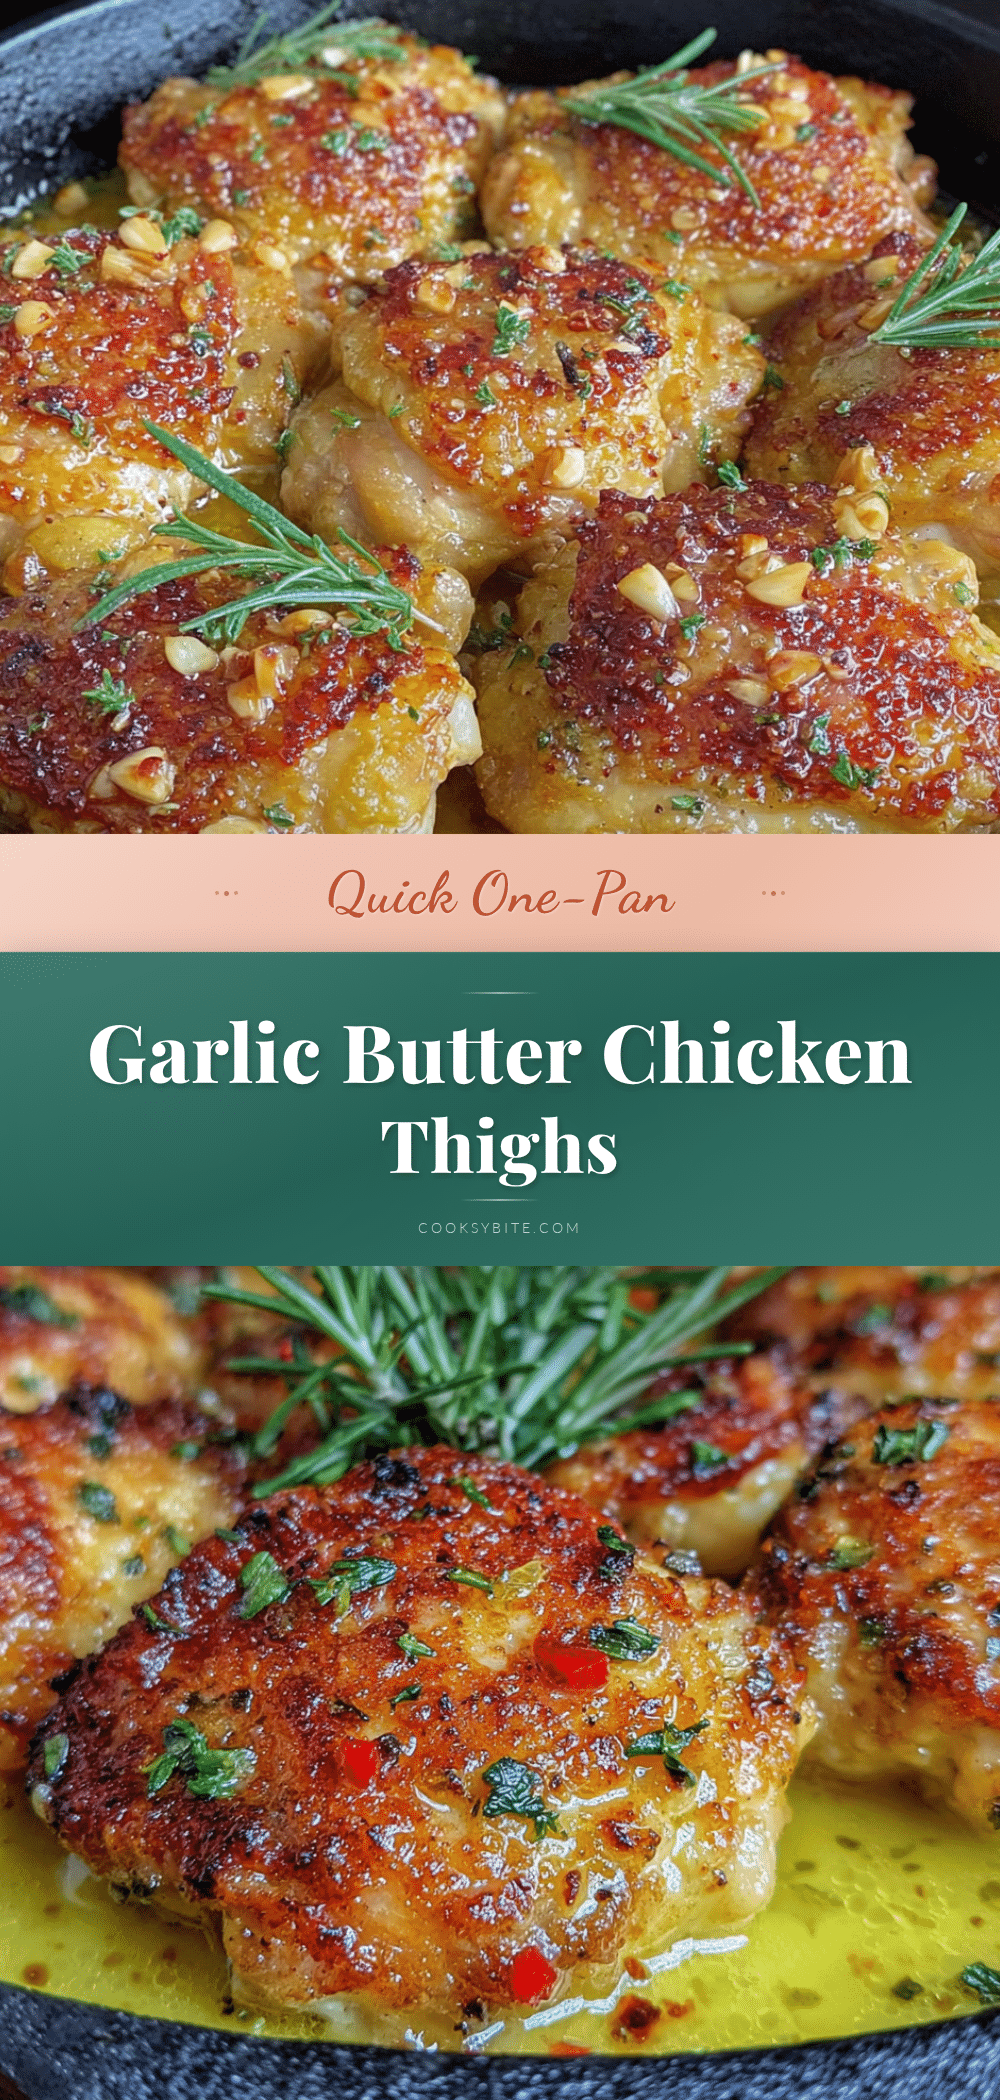
Easy One-Pan Garlic Butter Chicken Thighs Recipe

Crispy, juicy chicken thighs cooked in a rich garlic butter sauce, all in one skillet. Ready in under 30 minutes, this weeknight dinner is simple, flavorful, and sure to please even picky eaters.
- Prep Time: 10 minutes
- Cook Time: 20 minutes
- Total Time: 30 minutes
- Yield: 6 servings 1x
- Category: Main Course
- Cuisine: American
Ingredients
- 6 bone-in, skin-on chicken thighs (about 2 pounds)
- 4 tablespoons unsalted butter, divided
- 6–8 garlic cloves, thinly sliced
- 1/2 cup low-sodium chicken broth
- 4–5 fresh thyme sprigs
- 1 teaspoon kosher salt (Diamond Crystal; use 1/2 teaspoon if using table salt)
- 1/2 teaspoon freshly ground black pepper
- 1 tablespoon fresh lemon juice
- 2 tablespoons fresh parsley, chopped
Instructions
- Pat the chicken thighs dry with paper towels. Season both sides generously with salt and pepper.
- Heat a large cast-iron skillet or heavy-bottomed pan over medium-high heat. Add 2 tablespoons of butter and let it melt and foam until the foam subsides and the butter smells nutty, about 2 minutes.
- Place the chicken thighs skin-side down in the hot butter. Cook undisturbed for 5-6 minutes until the skin is deep golden brown and releases easily. Flip and cook the other side for 3 minutes.
- Transfer the seared chicken to a plate. Leave the pan on the heat.
- Reduce heat to medium-low. Add the sliced garlic and remaining 2 tablespoons of butter. Stir constantly for about 30 seconds until fragrant and just softened. Do not let the garlic brown.
- Pour in the chicken broth and scrape up any browned bits from the bottom of the pan. Let simmer for about 1 minute.
- Add the fresh thyme sprigs and lemon juice. Stir to combine.
- Return the chicken thighs to the pan, skin-side up. Spoon some sauce over the tops. Simmer for 8-10 minutes until the chicken is cooked through (internal temperature reaches 165°F).
- Sprinkle fresh parsley over the top. Let the chicken rest in the pan for 2-3 minutes before serving.
Notes
Pat the chicken dry for crispy skin. Watch the garlic carefully to prevent burning. Let the chicken rest after cooking for best texture. For boneless, skinless thighs, reduce sear time to 3-4 minutes per side and simmer for 5-6 minutes.
Nutrition
- Serving Size: 1 chicken thigh with
- Calories: 380
- Sodium: 480
- Fat: 28
- Saturated Fat: 12
- Carbohydrates: 3
- Protein: 28
Keywords: garlic butter chicken thighs, one-pan chicken, easy chicken dinner, weeknight chicken, crispy chicken thighs


