The second the foil pan hit the coffee table, six hands shot toward it like we were playing a very serious game of football ourselves. My cousin’s boyfriend, who barely spoke all night, looked up after his first bite and just said, “Who made this?” That moment—the one where a dish stops conversation cold—is exactly why I keep making this dip.
I wasn’t trying to reinvent the wheel. I just wanted something that wouldn’t turn into a soggy mess halfway through the second quarter. You know how it goes. You layer everything carefully, and by halftime, the chips are breaking and the guacamole is sliding off into a sad, brown puddle. So I started tinkering. I tested different bean spreads, experimented with cheese ratios, and learned the hard way that hot ingredients and cold ingredients need a strategic meeting point.
This ultimate loaded 7-layer nacho football dip is the result of those trials. It’s sturdy enough to survive a full game, but still feels indulgent and fresh. Honestly, it’s the kind of recipe that makes you look like you spent hours in the kitchen when really, it’s just smart assembly. And that’s my favorite kind of cooking—the kind that lets you actually enjoy the party.
Why You’ll Love This Recipe
Let’s be real. There are a million seven-layer dip recipes out there. But this one? It’s different. I’ve tested this thing on game days, backyard barbecues, and even a New Year’s Eve party where people were way too fancy to admit they loved a nacho dip. They loved it anyway.
- Game-Day Ready: Comes together in about 20 minutes of active work. You can even prep the layers the night before and just add the fresh toppings before serving.
- No Soggy Chips: The secret is in the order of the layers and draining your ingredients properly. No one wants a broken chip.
- Simple Ingredients: Everything is available at your regular grocery store. No hunting for obscure specialty items.
- Crowd-Pleaser: It disappears fast. I’ve watched vegetarians and meat-lovers fight over the last scoop.
- Customizable: You can swap in your favorite salsa, use different beans, or add a protein layer if you want.
What makes this different from the rest is the texture. I use a refried bean base that’s seasoned just right, and I layer sour cream with a little lime juice so it doesn’t feel heavy. The cheese melts into everything without making it greasy. It’s the kind of dip where every bite has a little bit of everything. You don’t have to dig for the good stuff.
This recipe is for the host who wants to actually sit down and watch the game. Or the movie. Or just hang out with friends without being stuck in the kitchen. It’s comfort food that works.
Ingredients You Will Need
This recipe uses simple, honest ingredients. Most of them are probably in your pantry or fridge right now. The key is choosing the right versions of each one for the best texture and flavor.
For the Base Layers
- Refried beans: 1 can (16 oz). I prefer Rosarita or Old El Paso for a smooth, creamy texture. Look for vegetarian refried beans if you want to keep it meat-free.
- Sour cream: 1 cup (240 ml). Full-fat works best here. Low-fat can make the dip watery.
- Cream cheese: 4 oz (113 g), softened to room temperature. This adds richness and helps the sour cream layer stay thick.
- Lime juice: 1 tablespoon, fresh squeezed. It brightens up the creamy layer.
For the Fresh Layers
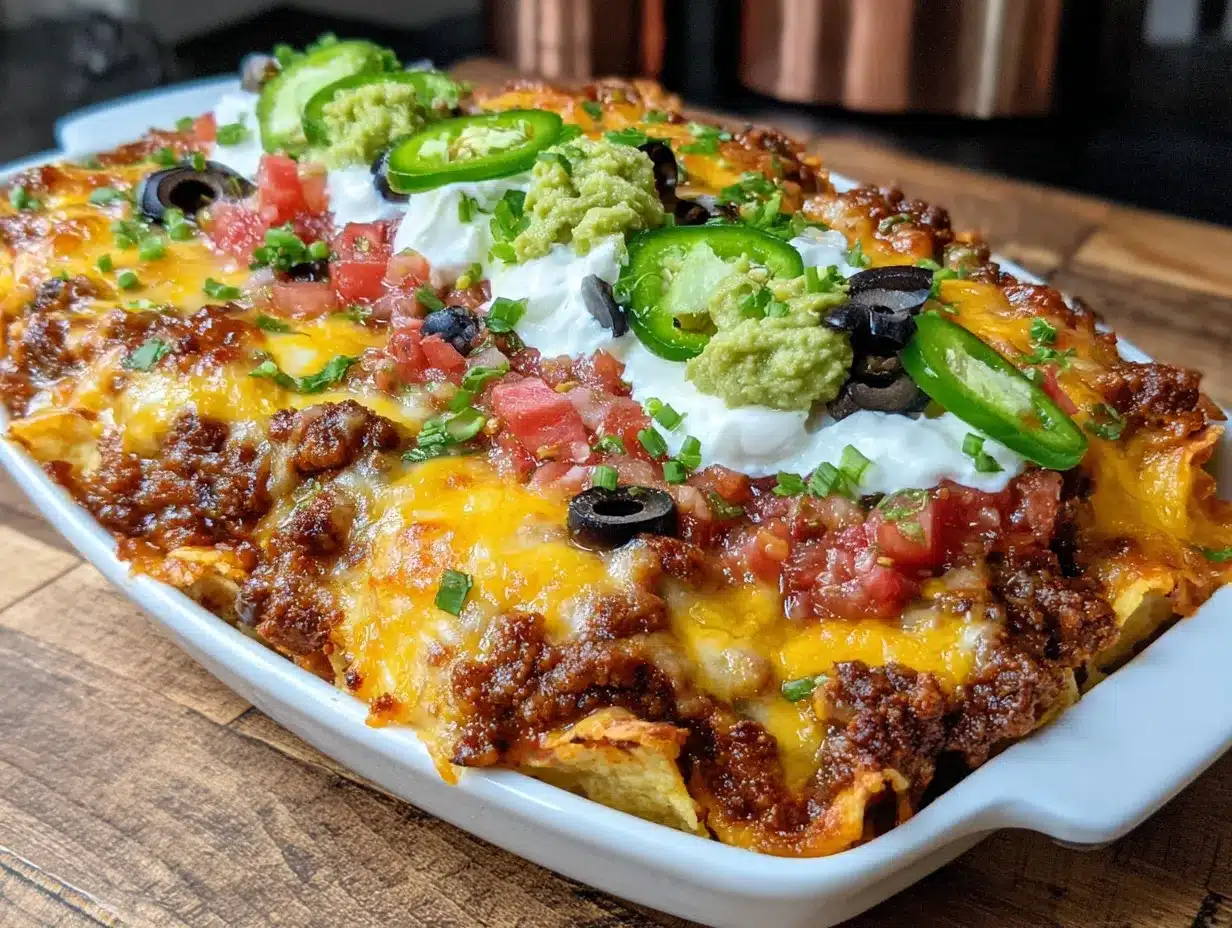
- Guacamole: 1 ½ cups (about 3 ripe avocados). You can use store-bought, but homemade is so much better. I’ll share my quick version in the method.
- Salsa: 1 cup (240 ml). Use a thick, chunky salsa. Thin, watery salsa will ruin the layers. Pace or Herdez are reliable choices.
- Shredded Mexican blend cheese: 1 ½ cups (170 g). A mix of cheddar, Monterey Jack, and asadero melts beautifully.
- Black olives: ½ cup (65 g), sliced. Canned is fine—just drain them well.
- Green onions: 3 to 4, thinly sliced. Use both the white and green parts.
- Fresh tomatoes: 1 medium, seeded and diced. Roma tomatoes work best because they’re less watery.
- Fresh cilantro: ¼ cup, chopped. For that final pop of freshness.
For Serving
- Tortilla chips: One large bag. Go with restaurant-style chips—they’re sturdier and hold up better to the weight of the dip.
Substitution tip: If you want a lighter version, swap the sour cream for plain Greek yogurt. It works surprisingly well. For a vegan option, use dairy-free cream cheese and sour cream, and skip the cheese or use a plant-based shred.
Equipment Needed
You don’t need anything fancy here. That’s the beauty of this recipe.
- 9×13-inch baking dish or a large serving platter: A glass or ceramic dish works great. I use a white ceramic dish because it looks nice on the table.
- Small mixing bowls: For prepping the individual layers.
- Spatula: An offset spatula helps you spread layers evenly, but a regular one works too.
- Chef’s knife and cutting board: For chopping the fresh ingredients.
- Can opener: Don’t forget this one—I’ve definitely had to pry open a can with a butter knife before.
- Microwave or small saucepan: To warm the refried beans and melt the cheese slightly.
If you don’t have a 9×13 dish, a large pie plate or even a cast iron skillet works. Just adjust the layering slightly to fit the shape.
Preparation Method
This is where the magic happens. Follow these steps in order, and you’ll have a dip that’s beautiful and structurally sound.
- Prep your ingredients first. This is my number one tip. Dice the tomatoes, slice the olives, chop the green onions, and pick the cilantro leaves. Measure out your cheese. Having everything ready makes assembly a breeze. Trust me, you don’t want to be chopping tomatoes while your beans are cooling down.
- Warm the refried beans. Empty the can into a microwave-safe bowl. Heat for 1 minute, stir, then heat for another 30 seconds. You want them warm but not boiling. Stir in a pinch of cumin and chili powder if you want a little extra flavor. Spread the warm beans evenly across the bottom of your dish. This is your foundation, so make it even.
- Make the sour cream layer. In a small bowl, mix the softened cream cheese, sour cream, and lime juice. Whisk until smooth and completely combined. You can use a fork if you don’t have a whisk. Spread this over the bean layer gently. Try not to pull up the beans—just let the mixture glide on top.
- Add the guacamole. If you’re making it fresh, mash three ripe avocados with a fork. Stir in 2 tablespoons of finely diced onion, 1 tablespoon of lime juice, a pinch of salt, and a tablespoon of chopped cilantro. Spread this over the sour cream layer. It’s okay if it’s a little chunky—that’s the texture you want.
- Layer the salsa. Spoon the salsa over the guacamole. Use a slotted spoon to drain off any excess liquid first. This is critical. Too much liquid will make the guacamole slide around. Spread the salsa gently, leaving a small border around the edges so you can see the layers.
- Top with shredded cheese. Sprinkle the Mexican blend cheese evenly over the salsa. Don’t dump it all in one spot—distribute it so every bite gets some cheese. If you want it extra melty, pop the dish in a 350°F (175°C) oven for 5 to 7 minutes, just until the cheese softens. I usually skip this step because I like the cold-hot contrast, but it’s your call.
- Add the cold toppings. Scatter the sliced black olives, diced tomatoes, and green onions over the cheese. Finish with the fresh cilantro. This is where the dip gets its visual pop.
- Chill before serving. Cover the dish with plastic wrap and refrigerate for at least 30 minutes. This helps the layers set and makes scooping much easier. You can make it up to 4 hours ahead of time.
Sensory cues: When you spread the sour cream layer, it should feel smooth and silky. The guacamole should be thick enough to hold its shape when spooned. The finished dip should look like a colorful mosaic—each layer distinct and vibrant.
Cooking Tips & Techniques
I’ve made this dip easily two dozen times. Here’s what I’ve learned the hard way so you don’t have to.
Drain everything. This is the single most important rule. Salsa, olives, even the canned beans if they seem watery. Excess moisture is the enemy of a good layered dip. It turns everything into soup. I once used a very watery salsa and ended up with guacamole floating in red liquid. Not a good look.
Let the cream cheese soften naturally. I know it’s tempting to microwave it, but it can get clumpy. Just leave it on the counter for 20 minutes while you prep everything else. It blends so much better at room temperature.
Use a gentle hand when spreading. You’re not trying to mix the layers together. Use the back of a spoon or an offset spatula and let the weight of the spread do the work. If you press too hard, the layers will bleed into each other.
Temperature matters. The warm bean layer against the cold sour cream layer creates a nice contrast. But if the beans are too hot, they’ll melt the cream cheese mixture. Aim for warm, not hot. Test it with your finger—if it feels uncomfortably hot, let it cool for a few minutes.
Make it ahead. This dip actually gets better after an hour in the fridge. The flavors meld together, and the layers become more cohesive. Just add the fresh cilantro right before serving so it doesn’t wilt.
Variations & Adaptations
This recipe is a template. Change it up based on what you have or who you’re feeding.
- Add a protein layer: Brown ½ pound of ground beef or turkey with taco seasoning. Let it cool, then spread it between the bean and sour cream layers. My brother-in-law insists on this version, and honestly, it’s pretty great.
- Spicy version: Use jalapeño-infused refried beans, add a layer of pickled jalapeños, and use a hot salsa. I once made this for a group that loved heat, and it was gone in 15 minutes.
- Vegetarian and vegan: Use vegetarian refried beans, dairy-free sour cream and cream cheese, and a plant-based cheese shred. The texture holds up surprisingly well. I’ve served this to a mixed crowd and no one noticed the difference.
- Breakfast nacho dip: Swap the salsa for pico de gallo and add a layer of scrambled eggs on top. It sounds weird, but it works for brunch parties.
- Different beans: Not a fan of refried beans? Use black beans that have been mashed with a little cumin and lime juice. It gives the dip a heartier texture.
Serving & Storage Suggestions
This dip is best served cold or at room temperature. I usually take it out of the fridge about 15 minutes before the party starts so it’s not ice-cold. The flavors are more pronounced that way.
What to serve with it:
- Restaurant-style tortilla chips are the obvious choice. They’re sturdy and salty.
- For a lighter option, use cucumber slices, bell pepper strips, or jicama sticks. It’s actually really good this way.
- If you’re feeling extra, serve it alongside pink champagne jello shots for a fun game-day spread.
Storage: Cover the dish tightly with plastic wrap or transfer leftovers to an airtight container. It will keep in the fridge for up to 2 days. The guacamole will brown slightly, but it’s still safe to eat. Just scrape off the top layer if it bothers you.
Reheating: I don’t recommend reheating the whole dip. The fresh layers don’t hold up. If you want a warm dip, make a separate batch without the fresh toppings and heat it in the oven. Or just eat the leftovers cold—it’s still delicious.
Flavor development: Honestly, the dip tastes even better the next day. The layers settle and the flavors blend together. It’s a great make-ahead option for busy hosts.
Nutritional Information & Benefits
Let’s be real—this is a party dip. It’s not health food. But it does have some redeeming qualities.
- Estimated per serving (based on 12 servings): Calories: 280, Fat: 18g, Carbs: 22g, Protein: 8g, Fiber: 6g.
- Avocados are packed with healthy monounsaturated fats and fiber. They’re good for your heart and keep you full.
- Beans are a great source of plant-based protein and fiber. They also help stabilize blood sugar.
- Tomatoes and cilantro add antioxidants and vitamins A and C.
If you’re watching your intake, use Greek yogurt instead of sour cream and go easy on the cheese. You can also swap the chips for veggie sticks. It’s not the same experience, but it works in a pinch.
Conclusion
This dip has become my go-to for every gathering. It’s reliable, it’s delicious, and it always makes people happy. I love that I can make it ahead of time and not worry about a thing. The layers hold up, the flavors are balanced, and there’s never a single leftover.
I’d love to hear how yours turns out. Did you add your own twist? Did you use a different cheese blend? Drop a comment below and let me know. And if you’re looking for another party favorite, try my mini lemon blueberry cheesecakes for a sweet finish.
Go ahead, make this dip for your next game day or movie night. You’ll be glad you did.
Frequently Asked Questions
Can I make this dip a day ahead?
Yes, absolutely. Assemble the dip completely, cover it tightly, and refrigerate. Add the fresh cilantro just before serving. The flavors actually get better overnight.
How do I keep the guacamole from turning brown?
Press a layer of plastic wrap directly onto the surface of the guacamole before adding the next layer. The lime juice in the guacamole also helps slow down browning. If you’re making it a day ahead, add a little extra lime juice.
Can I serve this dip warm?
You can, but it changes the texture. If you want a warm dip, skip the guacamole and fresh toppings, and bake the bean, sour cream, and cheese layers at 350°F for 10 minutes. Add the cold toppings after baking.
What if I don’t have a 9×13 dish?
Use a large pie plate, a shallow serving bowl, or even a cast iron skillet. Just adjust the layering to fit the shape. The dip will look a little different, but it’ll taste the same.
Can I freeze this dip?
I don’t recommend it. The sour cream and guacamole don’t freeze well. They’ll separate and become watery when thawed. This dip is best made fresh or stored in the fridge for up to 2 days.
Pin This Recipe!
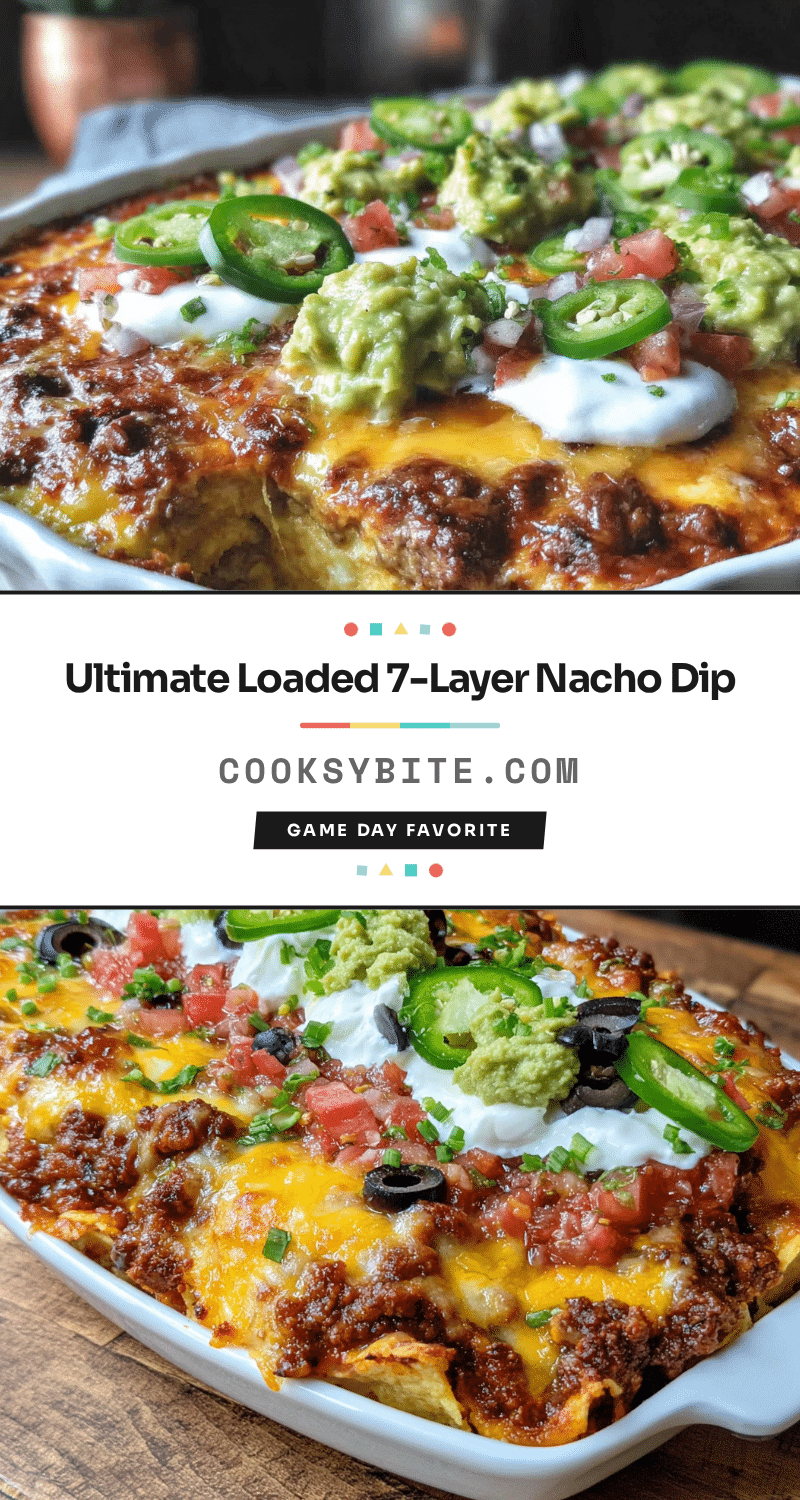
Ultimate Loaded 7-Layer Nacho Football Dip – Best Easy Recipe

This ultimate loaded 7-layer nacho football dip is sturdy enough to survive a full game, but still feels indulgent and fresh. It’s the kind of recipe that makes you look like you spent hours in the kitchen when really, it’s just smart assembly.
- Prep Time: 20 minutes
- Cook Time: 5-7 minutes (optional)
- Total Time: 55 minutes (including chilling)
- Yield: 12 servings 1x
- Category: Appetizer
- Cuisine: Mexican-American
Ingredients
- 1 can (16 oz) refried beans
- 1 cup (240 ml) sour cream
- 4 oz (113 g) cream cheese, softened
- 1 tablespoon fresh lime juice
- 1 ½ cups guacamole (about 3 ripe avocados)
- 1 cup (240 ml) thick chunky salsa
- 1 ½ cups (170 g) shredded Mexican blend cheese
- ½ cup (65 g) sliced black olives, drained
- 3 to 4 green onions, thinly sliced
- 1 medium Roma tomato, seeded and diced
- ¼ cup chopped fresh cilantro
- 1 large bag restaurant-style tortilla chips
Instructions
- Prep your ingredients first: dice the tomatoes, slice the olives, chop the green onions, and pick the cilantro leaves. Measure out your cheese.
- Warm the refried beans: empty the can into a microwave-safe bowl. Heat for 1 minute, stir, then heat for another 30 seconds. Stir in a pinch of cumin and chili powder if desired. Spread the warm beans evenly across the bottom of your dish.
- Make the sour cream layer: in a small bowl, mix the softened cream cheese, sour cream, and lime juice. Whisk until smooth. Spread this over the bean layer gently.
- Add the guacamole: if making fresh, mash three ripe avocados with a fork. Stir in 2 tablespoons finely diced onion, 1 tablespoon lime juice, a pinch of salt, and 1 tablespoon chopped cilantro. Spread over the sour cream layer.
- Layer the salsa: spoon the salsa over the guacamole using a slotted spoon to drain off excess liquid. Spread gently, leaving a small border around the edges.
- Top with shredded cheese: sprinkle the Mexican blend cheese evenly over the salsa. If desired, bake at 350°F (175°C) for 5 to 7 minutes until cheese softens.
- Add the cold toppings: scatter sliced black olives, diced tomatoes, and green onions over the cheese. Finish with fresh cilantro.
- Chill before serving: cover the dish with plastic wrap and refrigerate for at least 30 minutes. Can be made up to 4 hours ahead.
Notes
Drain all wet ingredients (salsa, olives, beans) to prevent sogginess. Let cream cheese soften naturally for best blending. Use a gentle hand when spreading layers to keep them distinct. The dip can be made a day ahead; add fresh cilantro just before serving. For a warm version, skip guacamole and fresh toppings, bake bean/sour cream/cheese layers at 350°F for 10 minutes, then add cold toppings after baking.
Nutrition
- Serving Size: 1 serving (based on
- Calories: 280
- Sugar: 4
- Sodium: 520
- Fat: 18
- Saturated Fat: 8
- Carbohydrates: 22
- Fiber: 6
- Protein: 8
Keywords: 7-layer dip, nacho dip, football dip, game day dip, layered dip, party dip, easy appetizer


